
Cracks appear in plaster and drywall (check out the different types of ceiling textures and drywall options!) for various reasons, including normal house settling, roof truss uplift, faulty workmanship, or water leaks. While repairing cracks in walls is simple, repairing cracks in ceilings, which usually have some form of texture applied and are overhead, is a bit more complicated.
A savvy homeowner can frequently effectively repair cracks in ceilings by following these tips.
Repairing Ceiling Cracks
This guide, packed with professional advice, will effectively show you how to repair ceiling cracks without phoning professionals.
Consider Your Resources
A flexible, high-quality putty knife will suffice for most cracks. Purdy putty knives come in various sizes with stiff and flex blades. These putty knives are excellent for patching and filling nail holes.
However, a good-quality putty knife will not always suffice. Here are some additional resources to consider:
- Protective sheets/ drop cloths
- Goggles and a dust mask
- A platform unit or ladder
- Joint compound, ready-mixed, or easy sand filler
- For larger cracks, fiberglass or mesh repair tape
- Sandpaper
- Brush or vacuum
- Cloth
Keep the Area Safe

Wear protective equipment, such as goggles and a face mask, when working with old plaster. Cover any furniture and walls with plastic. Lay down drop cloths so you can quickly clean up any scrapings or dust later.
Apply Joint Filler or Compound
Making a crack slightly wider is the best solution for any crack. This ensures you get sufficient easy sand into the gap to render a significantly strong fill. After that, sand or brush away debris before applying joint filler or compound.
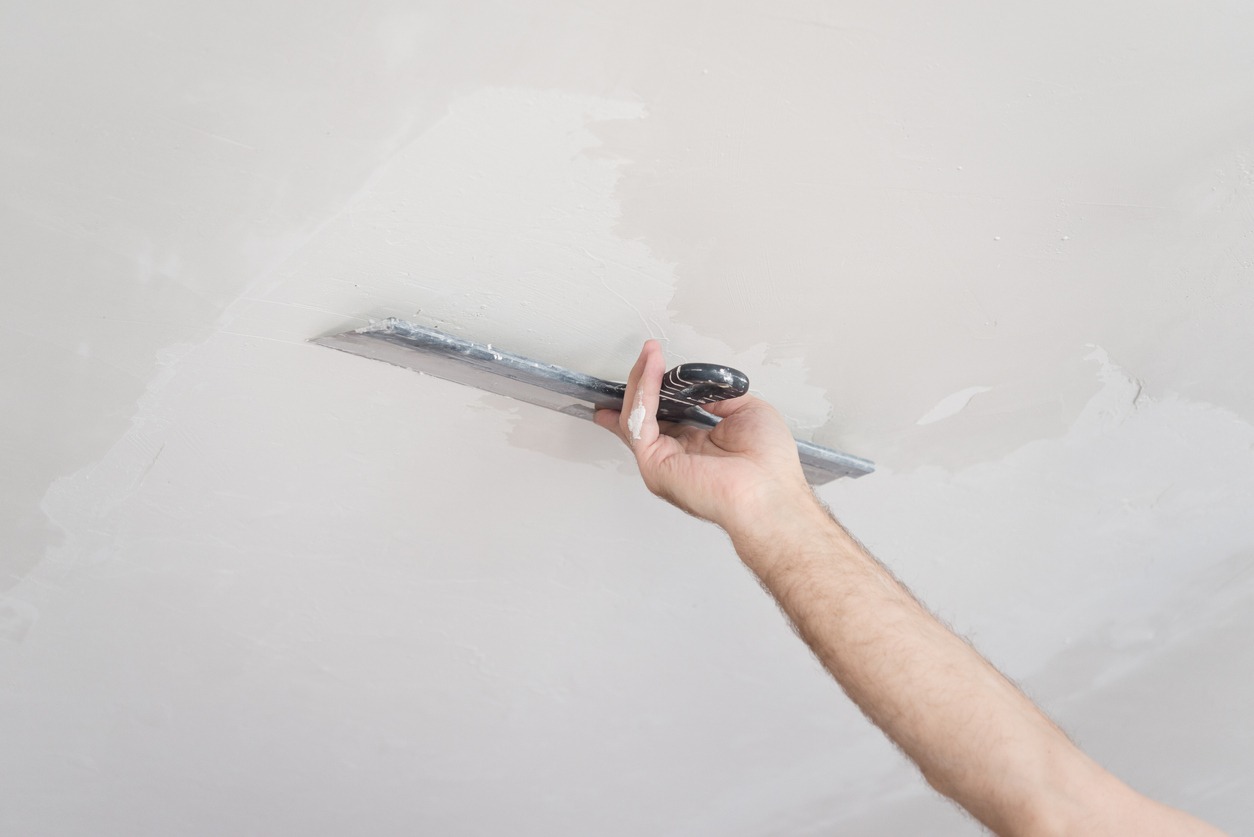
Apply joint filler or compound to the crack with a putty knife and work it along the gouge’s length. Wet the knife blade and scrape from the middle to the edge to remove any excess. Keep your putty knife clean as you go; without a significant buildup of joint compound, this will prevent streaks in the filler on application.
If the ceiling crack is huge, consider applying fiberglass or mesh repair tape over the crack. Then spread the joint compound on the tape and smooth it out.
Dry and Sand the Area
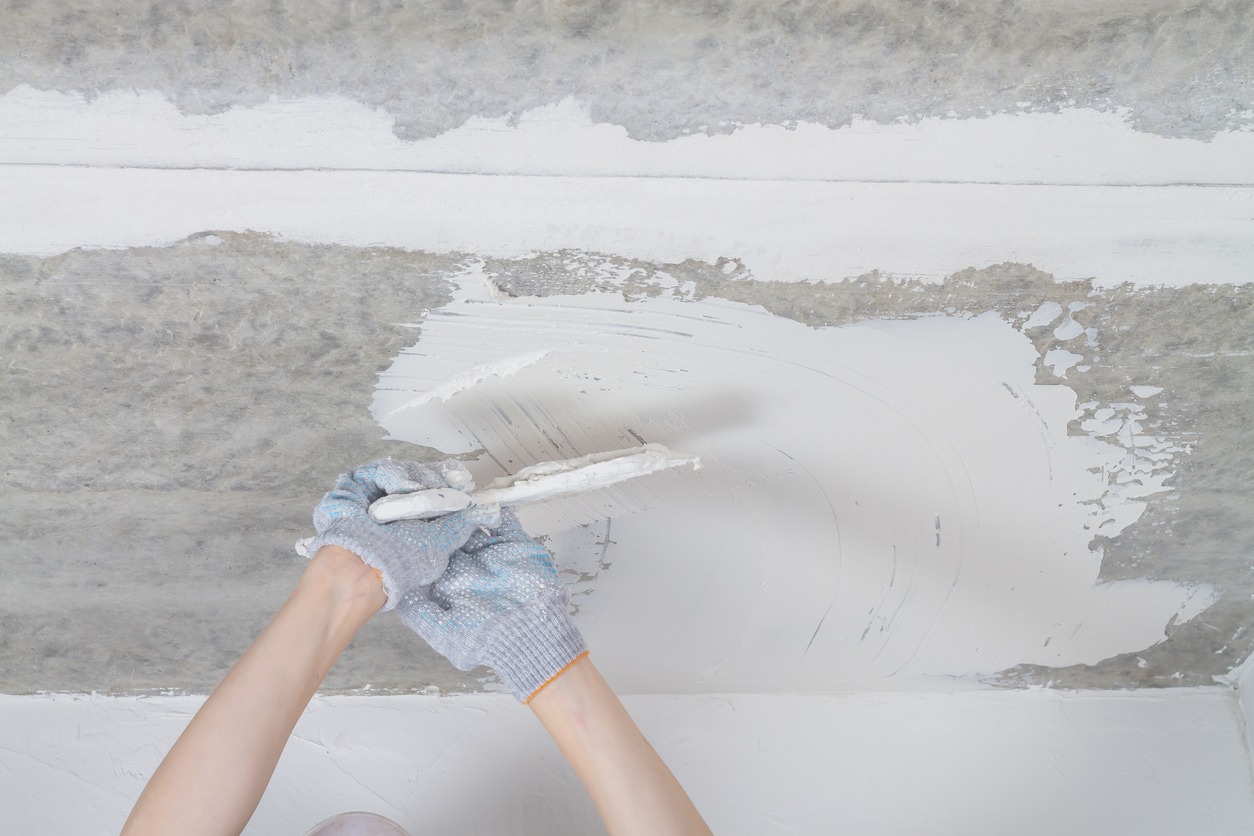
Apply multiple thin layers of joint filler or compound to achieve the best blending results. After it has dried, sand the surface to make it smooth and flat. You can do this by hand with a sanding block or an electric sander to speed up the process.
When finished, climb down the ladder and hang back to ensure the ceiling’s surface is even.
Finishing and Cleaning
Clean the area you’ve filled with the nozzle of your vacuum, then wipe it down with a cloth. Because there will be a lot of dust particles around, clean up the overall area before you start painting.
Ceiling Repair Dos and Don’ts
Ceiling cracks distract from any room’s appearance, but repairing them is often a do-it-yourself project. Here are some dos and don’ts when repairing a cracked ceiling.
Do Determine the Source of the Crack
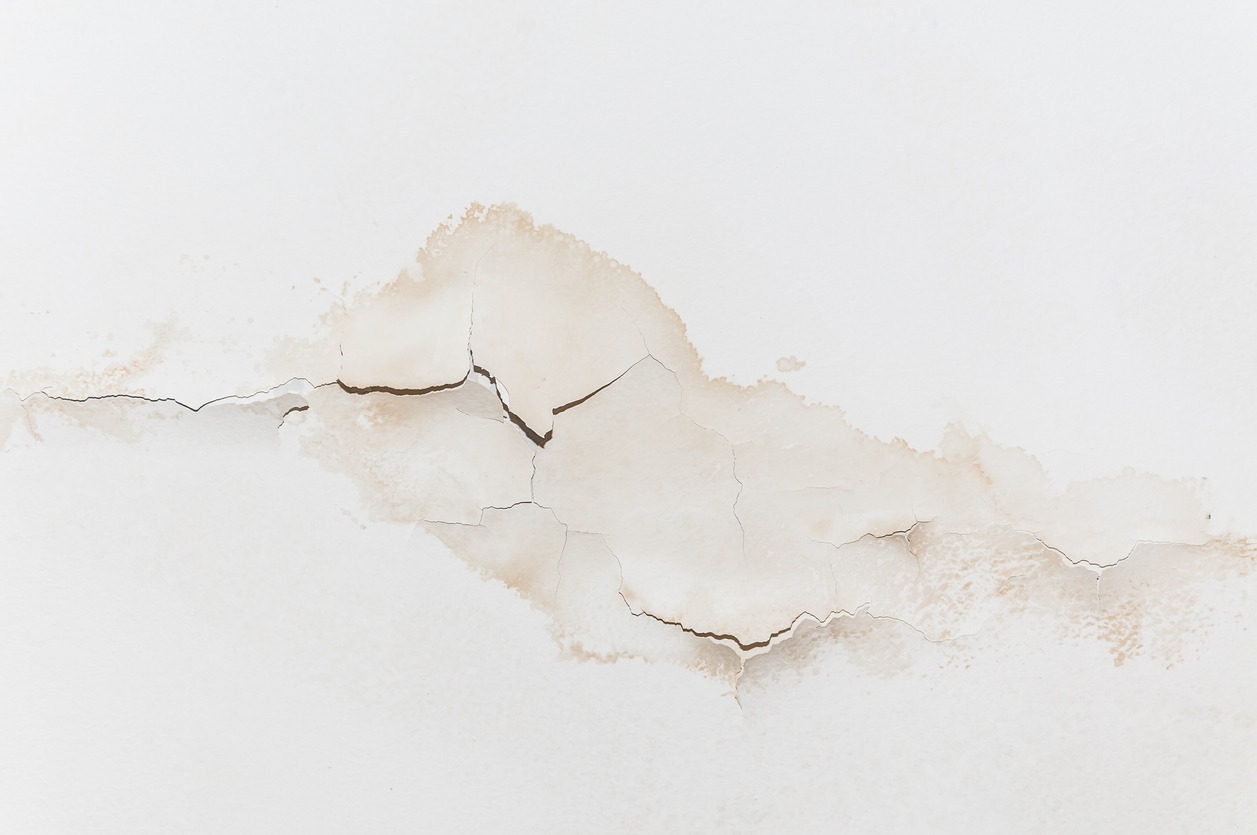
The cause of a ceiling crack is sometimes apparent, such as visible water stains on the ceiling, indicating that a leak prompted the joint compound to deform and crack. An intricate spider web of hairline cracks is frequently due to incorporating joint compound too thickly, causing shrinkage and crack development as it dried. Before addressing this ceiling repair, address the source of the cracks, such as repairing leaks to prevent future cracks.
Don’t Continue Without a Plan
Ceiling repairs may involve removing some texture to render the repair and then patching your ceiling with a product matching the rest of its surface, depending on the extent of the crack and the type of ceiling texture. Rather than smearing spackle into the crack with your finger, consider whether painting or retexturing will be required to give the ceiling a finished appearance once the crack repairs are complete. Consider all aspects of your project and the intended outcome for the best results.
Do Consider Removing the Popcorn Ceiling
Because this type of ceiling can lower a home’s market value, now could be an excellent time to remove it or cover it up with rigid foam or drywall panels. Asbestos may be present in popcorn ceilings installed before 1978, so it’s critical to determine the type of popcorn texture on your ceiling before fixing it up. It is usually preferable to have an asbestos-remediation specialist remove an asbestos-containing popcorn ceiling.
Don’t Hesitate to Buy the Right Ceiling Repair Tools Instead of Skimping
If the crack is a very thin hairline and has been there for a while, a little spackling on your finger and smearing it carefully into the crack, brushing away residue from the surface should suffice. However, more often than not, the ceiling will have multiple cracks or a larger crack. In this case, using the proper materials and tools will yield the best results.
Do Safeguard the Floor and Walls
When working overhead, wet drywall compound has a habit of dripping everywhere, so take precautions to protect the floor, walls, and any other stuff in the room. Cover any furniture with flimsy plastic drop cloths and lay a canvas tarp on the floor.
Don’t Reduce Drying Time
Ceiling crack repairs with wet drywall compound must be completely dry before applying another coating. The general rule here is to spread the mixture in as thin a coat as possible, removing excess with a taping knife.
The compound will switch into bright white when completely dry. It can then be sanded down and re-coated.
Do Add a Finishing Touch
If the repairs do not match the rest of the ceiling, they can look nearly as awful as the cracks themselves. Ceiling patch repair products are sold in semi-liquids and sprays for application with a sponge; choose one that matches the texture of the ceiling. If you want to paint the ceiling, search for neutral-colored high-hiding ceiling paint.
Don’t Forget to Keep Safe
Sanding the drywall compound can produce billows of dust, so a DIYer must wear a dust mask and eye protection before beginning. Furthermore, only use a sturdy step ladder to reach the ceiling when working overhead.