
Flooding in your home can cause extensive damage to your property, right from the basement, household appliances, books, unique documents, and photos. Unlike what most homeowners think, water damage to books and papers is possible. However, you should act quickly and carefully. Restoration experts recommend that you should begin restoration of your books, photos, and documents within two days before they start deteriorating and becoming moldy.
Emergency Book and Document Restoration Procedures
Follow the following steps immediately after your flooded house has been declared safe to restore your books and documents;
Provide sufficient air circulation
You should stabilize the environment in the room to increase the chances of recovering your documents successfully. To do this, open all the doors and windows to provide maximum air circulation. You can as well use HVAC systems to improve air circulation.
Minimize humidity
The next step is reducing humidity or moisture in the affected rooms. High humidity creates a greenhouse effect, which makes your document recovery process quite daunting. If possible, use a dehumidifier to complete this process. Similarly, reduce the room temperatures to between 50 and 60 degrees to slow down the rate of deterioration of your treasured documents and smoothen the recovery process.
Document Restoration after Flood Damage
The worst damage to paper documents following flood or water damage occurs after 8 hours. Therefore, you should begin document restoration procedures almost immediately to better the success rates. Begin by assessing the extent of the damage, stabilize the area as mentioned above, and initiate the recovery process. Recovery can be achieved through;
1. Air Drying
Air drying is the best strategy with better chances of recovering your documents successfully. It can be used for both small and large amounts of documents effectively. Air drying recovery process is as follows;
- Set up a table with a clean cover
- Remove all wet documents from the flooded area using milk crates
- Discard files and folders to ensure proper drying of the documents
- Air-dry the documents for more than 30 minutes, depending on how soaked they were.
- Keep them in new files/folders
2. Freezing
Just like air drying, freezing is an ideal document recovery process that most restoration companies use. This method works best for documents that cannot be restored by air drying. The process is as follows;
- Remove the documents from the flooded area into the recovery room
- Unlike air drying, freezing requires some machinery that restoration companies may provide. Document recovery companies use highly efficient freeze-drying chambers that are very effective.
- Avoid using shrinking wrap boxes as they will destroy the original shape of the documents.
- Damaged documents are often placed in vacuum freezing chambers. Doing this is overly efficient as it extracts vapor from the documents simultaneously. However, it shouldn’t be used on documents with the artwork.
- Put documents made from organic materials in cold storage immediately to prevent mold growth.
- Keep waterlogged documents aligned in the freezer with temperatures set at -18 degrees. This makes it possible to recover them at their original shape.
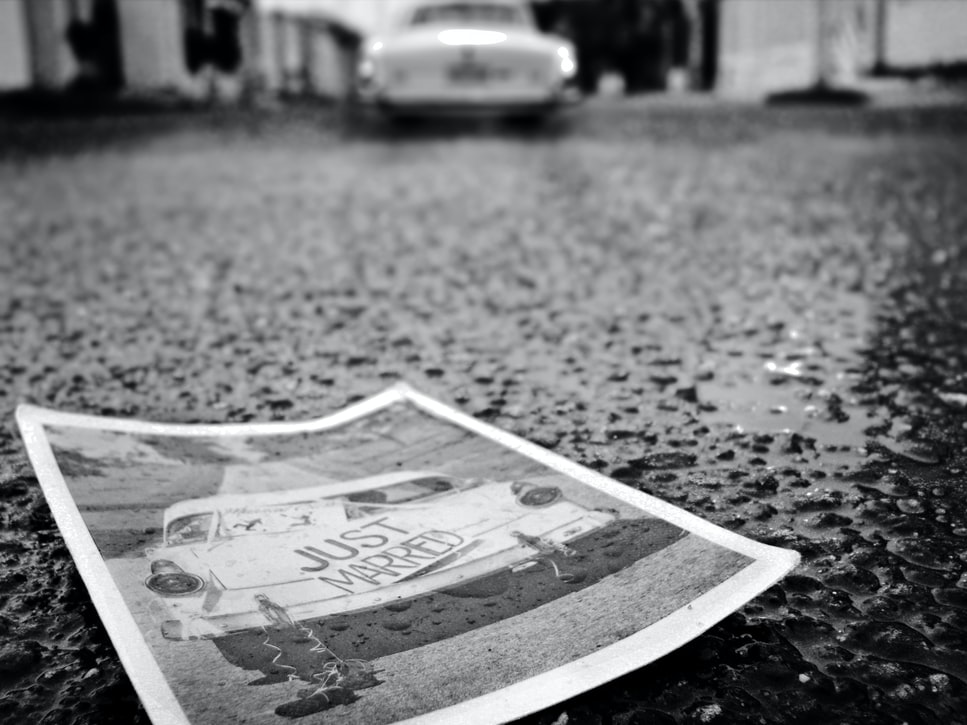
Recovering Water Damaged Photos
Unlike damaged documents, recovering water-damaged photos is challenging but possible if you use the right recovery process. Hiring professional restoration service providers also increases the chances of successful recovery. Follow the following tips;
- Remove the waterlogged albums from water carefully
- Separate any photos or albums stacked together. Don’t rub photos against each other as it may damage the pictures
- Rinse the photos using cold water
- Lay the photos facing up on a blotting paper or a clean paper towel. Don’t use newspapers or printed paper towels as the ink will be transferred to the photos.
- It is recommended that you dry the photos in a wet room. Exposing them to the sun or wind can curl and damage the photos.
- If possible, freeze the water-damaged pictures as it helps minimize further damage.
How to Handle Water Damaged Photos
Remove the damaged photos immediately to prevent mold growth, photos from sticking together and increase the chances of succeeding in the restoration process.
- Always begin by removing wet photos without negatives to reduce damage and smoothen the restoration process.
- For framed pictures, keep them intact when removing them and carefully separate them during restoration.
- If you hire a restoration service provider, note that the restoration process includes removal of stains, marks, tears, enhancing overall brightness, contrast, and color balance.
- Use a soft cloth to clean water-damaged photos with microfilm. If the pictures are slightly charred, engage professional photo restoration service providers with expert tools and procedures.
The Bottom Line
Restoring water-damaged documents and photos is labor-intensive and quite expensive. Due to the complexity of this process, only attempt it if you have the necessary tools and skills. Otherwise, it is prudent to hire the services of water damage restoration experts for a better outcome.