
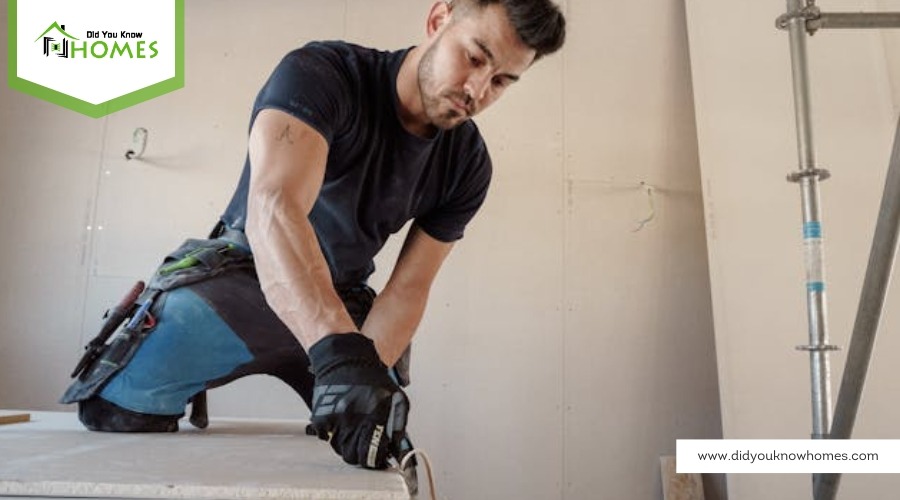
Diving into drywall demands dedication and the right dossier of devices. You’re about to begin on a journey where precision meets practicality, from the sharp slice of a utility knife to the smooth sweep of sanding tools. Whether you’re cutting, installing, or applying the final touches, each step requires a specific set of tools to guarantee efficiency and excellence. But here’s the catch: selecting the perfect tool isn’t just about making the cut; it’s about understanding the subtleties that separate a good finish from a great one.
Keep going to uncover the essentials that could elevate your drywall work from satisfactory to stellar.
Cutting Drywall: Essential Tools
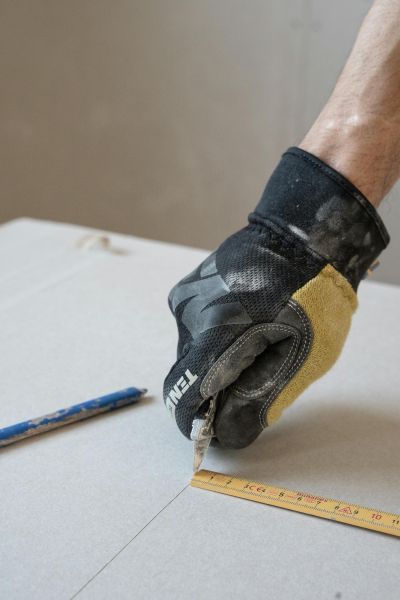
To smoothly cut drywall, you’ll need a utility knife, ideally used alongside a T-square for precise measurements. This combination guarantees you’re not just guessing where to slice; you’re making calculated, straight cuts every time. When it’s time to apply mud, you’ll find drywall knives indispensable. With sizes ranging from 4 to 12 inches, they’re designed to spread mud evenly, ensuring a smooth finish across all stages of your project.
However, when you’re faced with the need to cut out small, intricate shapes, like those for light switches or outlets, a jab saw becomes your go-to tool. Its sharp teeth are perfect for piercing through drywall, offering you the precision needed for these detailed cuts. For longer, straighter lines or more complex shapes, consider stepping up to a reciprocating saw or an oscillating multi-tool. These power tools can greatly speed up the cutting process, making your work more efficient.
Installing Drywall: The Basics
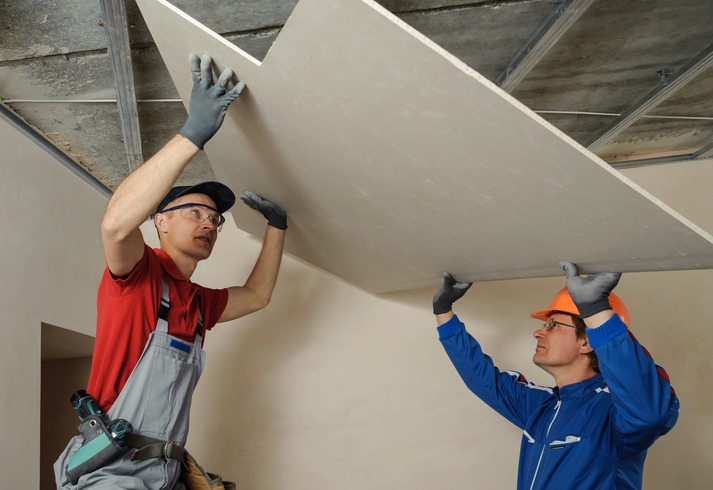
Now that you’re familiar with the essential tools for cutting drywall, it’s time to focus on how to properly install it. You’ll need to select the right size panels and learn the best techniques for measuring and cutting them to fit your space perfectly. This step is important for achieving a seamless finish and minimizing visible seams in your installation.
Drywall Panel Selection
Selecting the right drywall panel for your project depends on several factors, including size, thickness, and specific room needs. Drywall panels are typically 4 feet wide and come in lengths of 8, 10, or 12 feet, offering versatility for different spaces. The common thicknesses—1/4-inch, 3/8-inch, 1/2-inch, and 5/8-inch—serve various purposes. For humid areas like bathrooms, moisture-resistant green board is your go-to, while fire-resistant drywall enhances safety in key areas. If you’re aiming to reduce noise, soundproof drywall panels, designed with additional layers, are ideal for bedrooms or home theaters. Additionally, curved drywall panels allow for creating unique architectural features, adding character to spaces with archways and rounded walls.
Measuring and Cutting Techniques
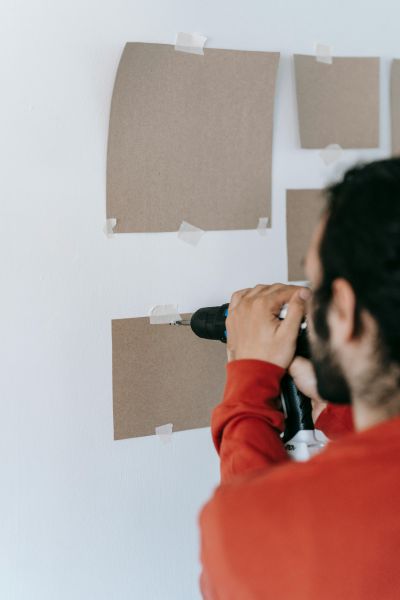
After choosing the right drywall panel for your project, it’s time to learn the precise measuring and cutting techniques needed for installation. A drywall T-square, typically around 48 inches long, is your go-to for cutting full sheets with precision. For various cutting tasks, you’ll need a utility knife with important interchangeable blades to make sure clean edges. When it’s time to hang the panels, a cordless drill, preferably 12V or 18V, makes driving screws into wood studs a breeze. As you move towards finishing, drywall knives in 4-inch, 6-inch, and 12-inch sizes are essential for applying mud effectively. Lastly, don’t overlook sanding screens, including coarse fiberglass mesh and regular sandpaper sheets, for that smooth finish you’re aiming for.
Finishing Touches: Drywall Sanding
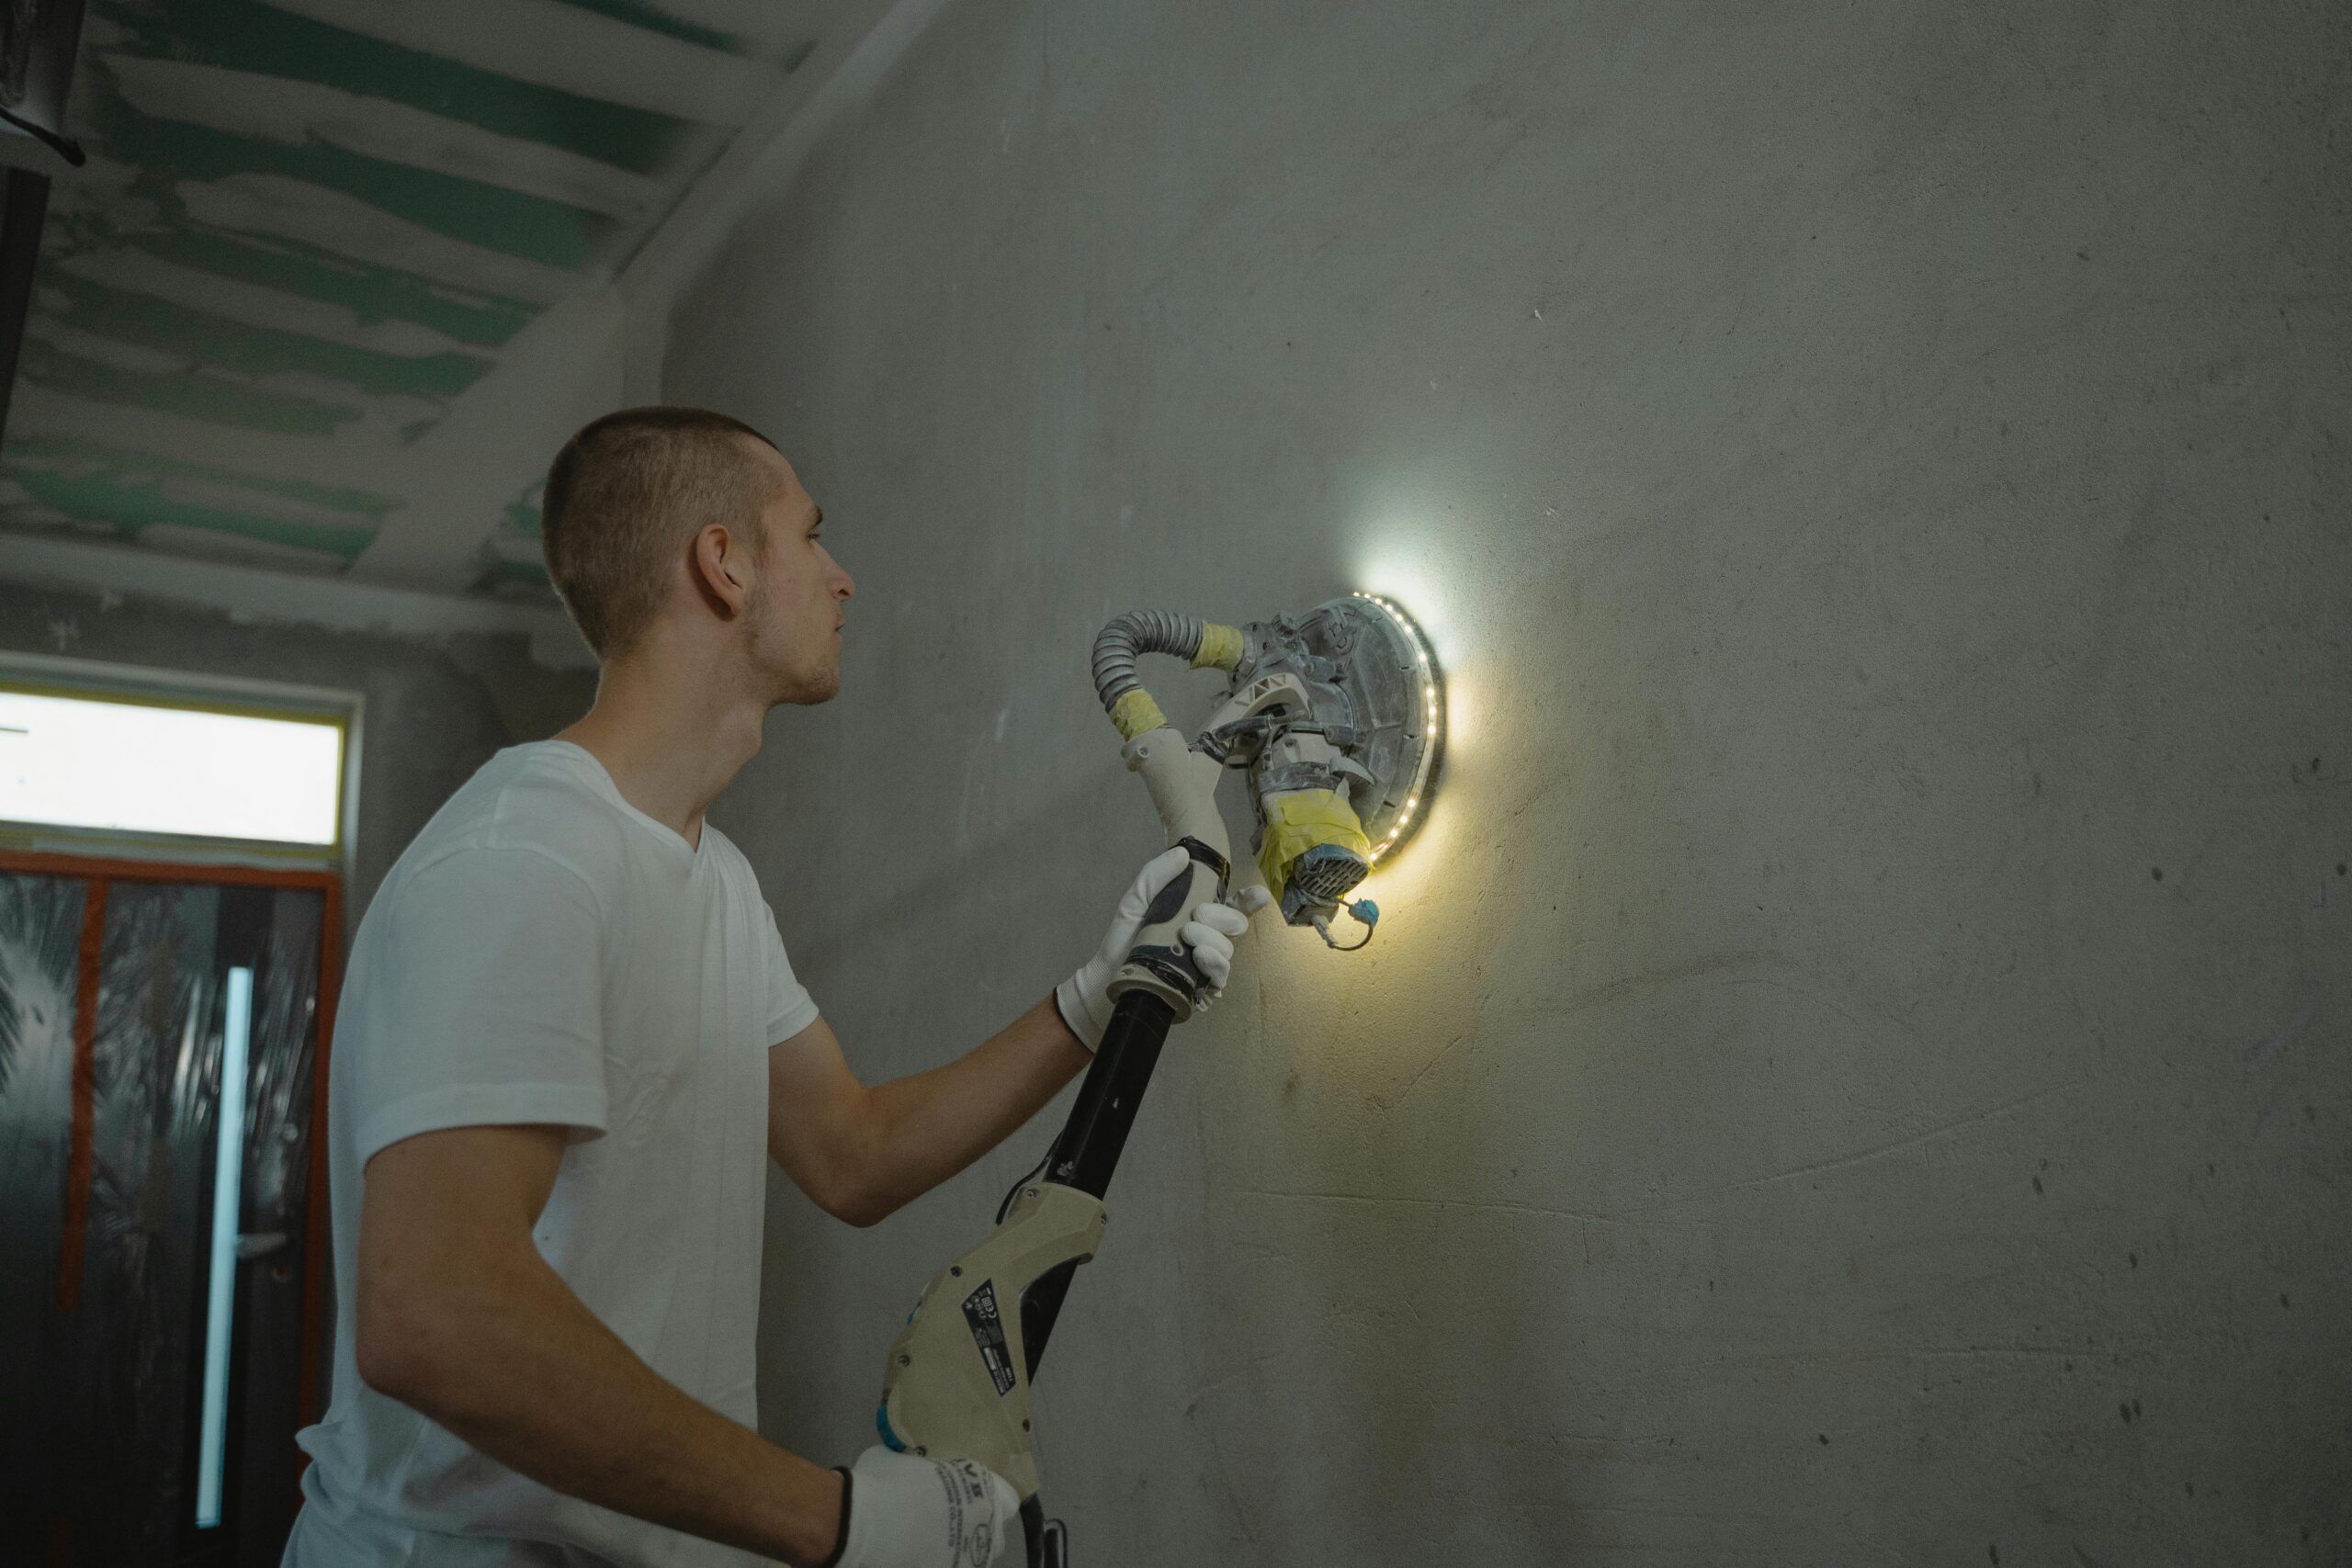
After installing your drywall, you’re ready to move on to the critical step of sanding, which guarantees a smooth finish. You’ll need to familiarize yourself with the right tools and techniques, including the use of sanding screens, poles, and sponges, for different tasks. Mastering these will prepare your walls perfectly for painting, elevating the professional look of your project.
Sanding Tools Overview
To achieve a flawless finish on your drywall, you’ll need the right sanding tools, each tailored for different stages of the sanding process. Here’s a quick overview of the essential sanding tools:
- Sanding Screens: Essential for dust-free sanding, with coarse fiberglass mesh for initial rough sanding and regular sandpaper for finer finishing touches.
- Sanding Pole: A sander and sanding pole combination allows for easy attachment of mesh sanding sheets, making high and hard-to-reach areas more accessible.
- Drywall Sanding Sponges: These provide an abrasive surface suitable for both wet sanding and touch-up work, ensuring versatility in your sanding techniques.
- Selection of the Right Tools: Combining sanding screens, a sanding pole, and drywall sanding sponges guarantees a smooth finish, highlighting the importance of the right tools and sanding techniques for professional results.
Technique Tips
Mastering the proper sanding techniques is crucial to achieving that polished and professional finish on your drywall. Proper sanding techniques make certain you don’t miss any steps or overlook the importance of using the correct sanding tools. Here’s a quick guide:
| Tool Type | Usage |
|---|---|
| Fiberglass Mesh | Dust-free sanding for initial layers |
| Sanding Sheets | Finer sanding to smooth the surface |
| Sanding Poles | Easy access to high areas |
| Sanding Sponges | Wet sanding and touch-ups |
Begin with coarse fiberglass mesh for the first pass, then switch to regular sanding sheets for a finer finish. Utilize sanding poles to reach high spots and sanding sponges for wet sanding or detailed work. Remember, it’s about using the right tool at the right time.
Advanced Drywall Cutting Techniques
When tackling drywall projects, knowing advanced cutting techniques can greatly enhance your precision and efficiency. These methods not only streamline the installation process but also greatly reduce cleanup time by minimizing dust. Here’s how you can apply these techniques effectively:
- Use an Electric Multi-Tool for Precise Cuts: An electric multi-tool is your go-to for making precise cuts with minimal dust. It’s especially useful for cutting long straight lines or intricate shapes, where precision is key.
- Start Cuts with a Jab Saw: For intricate shapes and starting cuts, a jab saw is essential. Its tough and sturdy design allows you to puncture the drywall with ease, setting the stage for more detailed work with other tools.
- Leverage Reciprocating Saws for Long, Straight Lines: Reciprocating saws or oscillating multi-tools are your best bet for cutting long, straight lines quickly. They complement the jab saw’s precision with their speed and efficiency.
- Combine Jab Saws and Electric Multi-Tools: These tools work hand in hand for various cuts. While the jab saw initiates the cut, electric multi-tools take over to provide the clean, precise lines or shapes needed for your project.
Power Tools for Efficient Installation
Selecting the right power tools can greatly streamline your drywall installation process, making it quicker and more efficient. A cordless drill, especially one with 18V power, is essential for driving screws into wood studs with ease. You’ll find it indispensable for securing drywall panels firmly and efficiently.
Electric multi-tools are your best bet for making precise cuts, whether you’re creating long, straight lines or intricate shapes in drywall. These versatile tools reduce installation time to a large extent, allowing for a smoother workflow. Similarly, a reciprocating saw or an oscillating multi-tool can speed up the cutting process, particularly for long, straight lines, enhancing your efficiency even further.
For those tackling projects solo, drywall lifts are a game-changer. They enable you to lift and hold drywall sheets in place for installation without needing an extra pair of hands, making your project manageable and less labor-intensive.
To wrap it up, texture sprayers are essential for achieving a professional finish. They’re perfect for applying textured finishes that not only enhance the wall’s appearance but also hide any imperfections, ensuring your drywall installation looks impeccable.
Incorporating these power tools into your arsenal will unquestionably lead to a more efficient installation process, saving you time and effort.
Mastering Drywall Taping and Mudding
To achieve a flawless finish, you’ll often need the right tools and techniques for drywall taping and mudding. This phase is critical for a smooth wall surface, ready for painting or wallpaper. Here’s a rundown of the essentials:
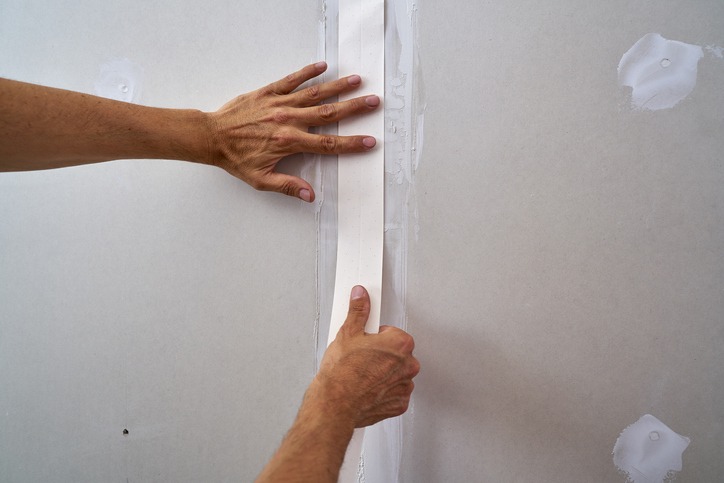
- Taping Knives and Joint Compound: You’ll need taping knives ranging from 4 to 12 inches to apply and smooth the joint compound effectively. The wider the knife, the smoother the finish you’ll achieve. Combine these with high-quality tape and joint compound to fill in the seams between drywall sheets.
- Mud Mixing Tools and Mud Pans: Lump-free compound is key for a professional finish. Mixers and paddle attachments for your drill will ensure a consistent texture. Use mud pans to hold and carry the compound as you work.
- Sanding Tools: After the mud dries, sanding is essential to achieve a perfectly smooth surface. Make sure you have the right sanding tools to eliminate any imperfections without damaging the drywall.
- Precision Tools: For accurate cutting and installation, tools like drywall saws, screw guns, T-squares, and even automatic taping tools can enhance efficiency and accuracy to a great extent.
Drywall Texturing Techniques
Exploring various drywall texturing techniques can transform your walls from plain to visually intriguing with just a few materials and some creativity. Whether you’re aiming for a subtle texture or something that stands out, mastering these methods requires understanding their unique applications and the tools involved.
| Technique | Tools Needed |
|---|---|
| Knockdown | Trowel, Joint Compound |
| Orange Peel | Hopper Gun, Joint Compound |
| Popcorn | Hopper Gun, Acoustic Texture |
| Skip Trowel | Trowel, Joint Compound |
Knockdown texture involves spraying joint compound onto the wall and then using a trowel to slightly flatten the peaks, creating a textured look that’s both sophisticated and versatile. The orange peel technique, achieved by spraying joint compound with a hopper gun, offers a bumpy surface that resembles the skin of an orange. It’s a popular choice for its simplicity and subtle texture.
Popcorn texture, also known as acoustic texture, is sought after for its soundproofing qualities. Applied with a hopper gun, it creates a rough, granular surface. Finally, the skip trowel technique gives a rustic, hand-troweled appearance by applying joint compound in a random pattern with a trowel. Each of these techniques can significantly enhance the aesthetics of your space with a bit of practice and the right tools.
Maintaining Your Drywall Tools
After mastering various drywall texturing techniques, maintaining your tools properly to make sure they’re always ready for the next project is crucial. Keeping your drywall tools in top condition doesn’t just extend their lifespan; it also guarantees your work remains efficient and high-quality. Here are four key steps to maintaining your drywall tools:
- Regularly Clean After Use: Always clean your drywall tools immediately after use. This prevents the buildup of dried joint compound and other debris, which can affect the tool’s performance and make future cleanup harder.
- Store Tools Properly: Make it a habit to store your drywall tools in a dry, organized space. Proper storage prevents rust and damage, ensuring your tools are in good condition when you need them.
- Check and Tighten Loose Parts: Periodically check your tools for any loose screws or parts and tighten them as necessary. This guarantees performance and prevents accidents or tool failure during use.
- Maintain Sharpness and Efficiency: Replace worn-out blades on utility and drywall knives to maintain sharpness. Also, don’t forget to lubricate moving parts on power tools to keep them running smoothly. Regular maintenance like this keeps your tools efficient and ready for action.
Conclusion
In wrapping up, you’ve now got the lowdown on all the tools you need for your drywall projects, from simple cuts to intricate finishes. Whether you’re tackling installation, mastering the art of mudding, or diving into texturing, the right tools are vital. Don’t forget, keeping them in top shape is key to smooth sailing. So, gear up, get going, and remember, practice makes perfect. Here’s to making your drywall work look effortlessly professional!