
Before beginning your drywalling journey, it’s paramount to ponder a plethora of pivotal preparations. You’ll need to assess the wall’s condition, making sure it’s primed and ready for the panels. Understanding when nails trump screws becomes essential, not just for holding power but for the integrity of your walls.
As you start on this endeavor, remember, the devil’s in the details—from marking stud locations to meticulously measuring and cutting your drywall. But there’s more beneath the surface that could make or break your project. Why not uncover these hidden aspects to make sure your installation goes without a hitch?
Assess Wall Condition
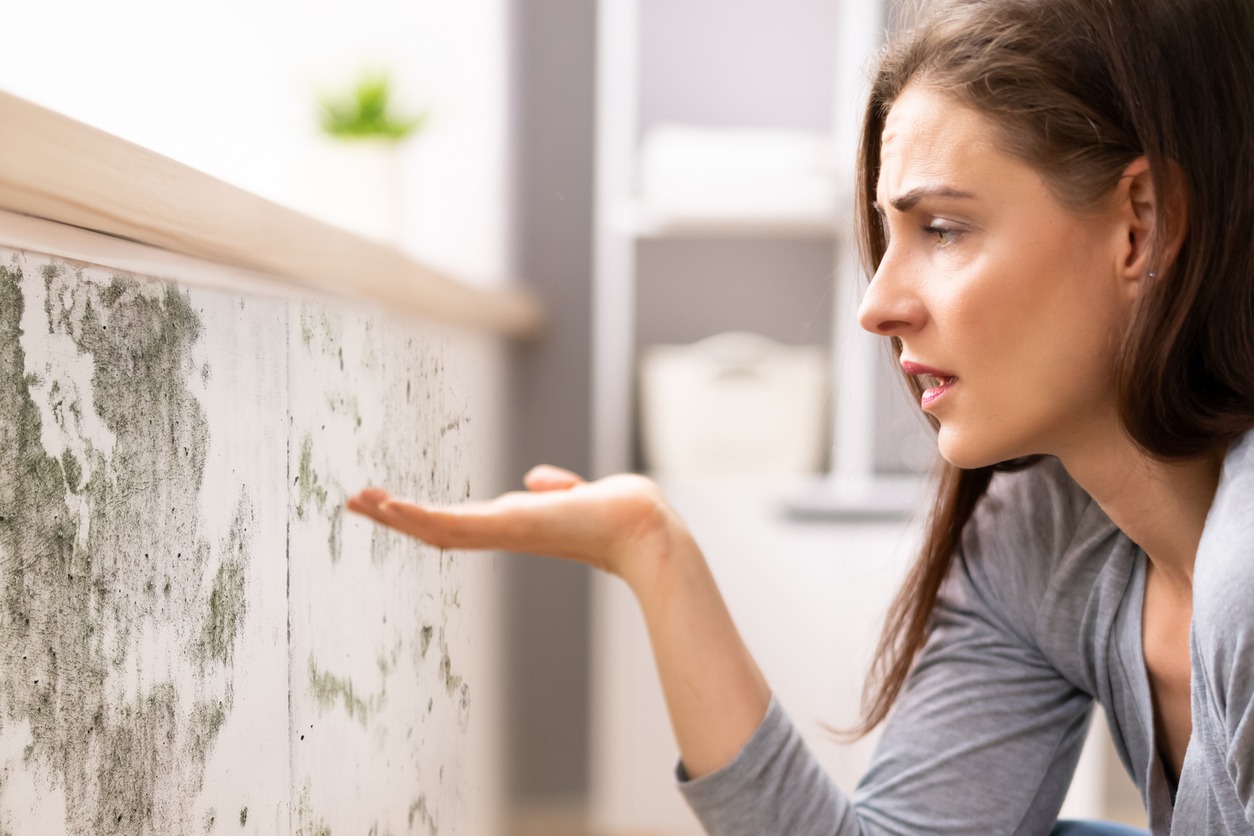
Before installing drywall, you must thoroughly inspect your walls for any issues that could hinder the process. Start by looking for cracks, holes, or signs of water damage that will need repair. These imperfections can affect not only the appearance but also the durability of your drywall if not addressed. It is vital to make sure the structural integrity of your walls is intact; termite or pest infestations can severely compromise this. If you spot any signs of these pests, it is important to tackle the problem before proceeding.
Additionally, assess the levelness and plumb of your walls. Uneven walls can make drywall installation challenging, resulting in a finish that’s less than ideal. Check existing insulation or vapor barriers too. Depending on what you find, you might need to add more materials to make certain your space is properly insulated and protected from moisture.
Scope of Work
Before jumping into your drywall project, you’ll need to clearly identify the project’s size and define the work boundaries. This step guarantees you’re aware of the extent of the work ahead and helps in planning resources effectively. It’s essential to get these details right to avoid surprises during the installation process.
Identifying Project Size
To accurately gauge your project’s scale, start by evaluating the square footage of the area where you’ll be installing drywall. This initial step is pivotal to understanding the overall project size. You’ll need to calculate the number of drywall sheets required, which hinges on both the square footage and the height of your walls and ceilings. Remember to account for windows and doors, as these additional features will affect your calculations and the complexity of the drywall installation. Also, take note of any unique architectural elements like curved walls or the need for soundproofing, which could influence the amount of material needed and pinpoint where to place wall studs or ceiling marks. This careful planning ensures you’re well-prepared for the project ahead.
Defining Work Boundaries
After understanding your project’s size, it’s important to now define the work boundaries where drywall installation will occur. Clearly outlining the areas for drywall installation avoids confusion and guarantees accurate cost estimates. It’s essential to specify the rooms or spaces involved to streamline the process. Identifying any unique features or requirements within these boundaries helps address potential challenges proactively. Effective communication of the scope of work to all parties, including contractors and suppliers, is key for seamless coordination. By establishing clear boundaries, you set expectations regarding project timelines, resources, and responsibilities. This step is crucial in preparing for drywall installation, ensuring everyone’s on the same page and contributing to the project’s success.
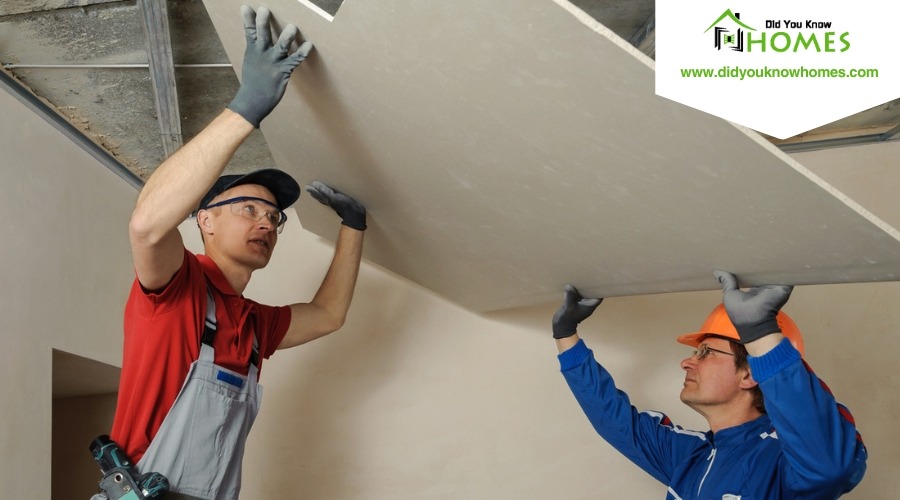
Gather Necessary Tools
Gathering the proper tools, including a utility knife, T-square, and drywall saw, is your first step toward a smooth drywall installation. These essentials lay the groundwork for cutting, measuring, and installing drywall panels accurately. However, your toolkit needs to extend beyond these basics to guarantee efficiency and safety during the installation process.
To help you prepare, here’s a list of additional tools and safety gear you’ll need:
- Drywall screws for securing the panels to the studs, and a cordless drill for fast and effortless screwing.
- Safety glasses and a dust mask to protect your eyes and lungs from dust and debris. Don’t overlook the importance of knee pads; they’ll be a relief during extended periods of kneeling.
- A drywall lift, especially for ceilings or high walls, can be a game-changer, reducing physical strain and the risk of panel damage.
Prepare the Installation Area
Now that you’ve assembled your toolkit, it’s time to focus on prepping the installation area to make sure a smooth workflow. First things first, you’ll need to clear the area of any obstructions, debris, or furniture. This step is important for creating ample space to work comfortably and move around easily.
| Task | Importance | Tools/Materials Needed |
|---|---|---|
| Clear installation area | High | None |
| Make sure proper lighting | Essential | Additional lighting sources |
| Protect floors and surfaces | Mandatory | Drop cloths, plastic sheets |
| Organize tools and materials | Critical for efficiency | Workbench, storage bins |
Make sure to use drop cloths or plastic sheets to protect the floors and any surfaces from dust, debris, and possible damage from your tools or the drywall itself. Proper lighting is another key aspect you can’t overlook; it will help you with accurate measurements and precise cuts. Organizing your tools and materials, possibly with the help of a workbench or staging area for your drywall panels, will streamline the process, making it easier to grab what you need, when you need it—be it tape, paper, or compound for that first important joint.
Understand Drywall Types
Before you select your drywall, it’s essential to understand the different types available. Each variety, from fire-resistant to soundproofing, is tailored for specific settings and needs. Knowing the material varieties, their thickness and size options, and ideal use cases will guide you in choosing the perfect drywall for your project.
Drywall Material Varieties
Understanding the different types of drywall is essential as each offers unique benefits tailored to specific needs and environments. When you’re gearing up for drywall installation, it’s crucial to grasp the variety of drywall types available:
- Regular Drywall: This is the most common type, suitable for most interior walls and ceilings.
- Moisture-Resistant Drywall (Green Board): Designed for high humidity areas like bathrooms and kitchens, it helps prevent mold growth.
- Fire-Resistant and Soundproofing Drywall: Contains additives to enhance fire resistance, ideal for areas needing extra safety. Soundproofing options are thicker and denser, important for reducing noise transmission between rooms.
Each type showcases specific characteristics to meet distinct building requirements and adapt to various environments, ensuring your project’s success.
Thickness and Size Options
After exploring the various types of drywall, let’s examine the available thicknesses and sizes to best suit your project’s needs. Selecting the right drywall panels regarding thickness and size is vital for handling requirements, reducing seams, ensuring support, and enhancing safety.
| Thickness | Common Use | Size Options |
|---|---|---|
| 1/4 inch | Curved walls or overlaying | 4×8, 4×12 feet |
| 3/8 inch | Repair or patch work | 4×8 feet |
| 1/2 inch | Most residential projects | 4×8, 4×12 feet |
| 5/8 inch | Soundproofing, fire resistance | 4×8, 4×12 feet |
| Type X | Added fire resistance | 4×8, 4×12 feet |
Ideal Use Cases
Selecting the right type of drywall for your project guarantees peak performance in specific environments, from moisture-prone bathrooms to noise-sensitive bedrooms. Understanding the ideal use cases for various drywall types ensures your space meets its functional needs.
- Green Board: Opt for moisture-resistant green board in areas like bathrooms and kitchens where humidity is a concern.
- Fire-Resistant Drywall (Type X): Consider fire-resistant drywall for increased safety in areas prone to heat exposure or where building codes require it.
- Blue Board and Flex Drywall: Use blue board for high-quality veneer plastering that enhances aesthetic appeal and flex drywall for creating stunning curves or arches in your design.
Calculate Material Requirements

To accurately determine how much drywall you’ll need, start by measuring the total square footage of the walls and ceilings you plan to cover. This initial step is important for your material calculation. It’s not just about the number of drywall panels; you also need to take into account the thickness of these panels. Depending on whether you’re working on a residential or commercial project, you might opt for 1/2 inch or 5/8 inch sheets. The choice affects not only the piece count but also the edge treatment and overall stability of your walls.
Using this square footage, you can then calculate how many sheets you’ll require. Remember, each sheet will need to be secured with screws, and every joint and edge will require a coat of mud and possibly tape for a smooth finish. These materials should be included in your overall calculation.
Don’t forget to factor in any unique features like windows, doors, or archways. They’ll necessitate custom cuts and potentially more waste, impacting your total material needs. While planning for excess material might seem like the next logical step, it’s important to focus on getting your initial calculations as accurate as possible.
Plan for Waste Disposal
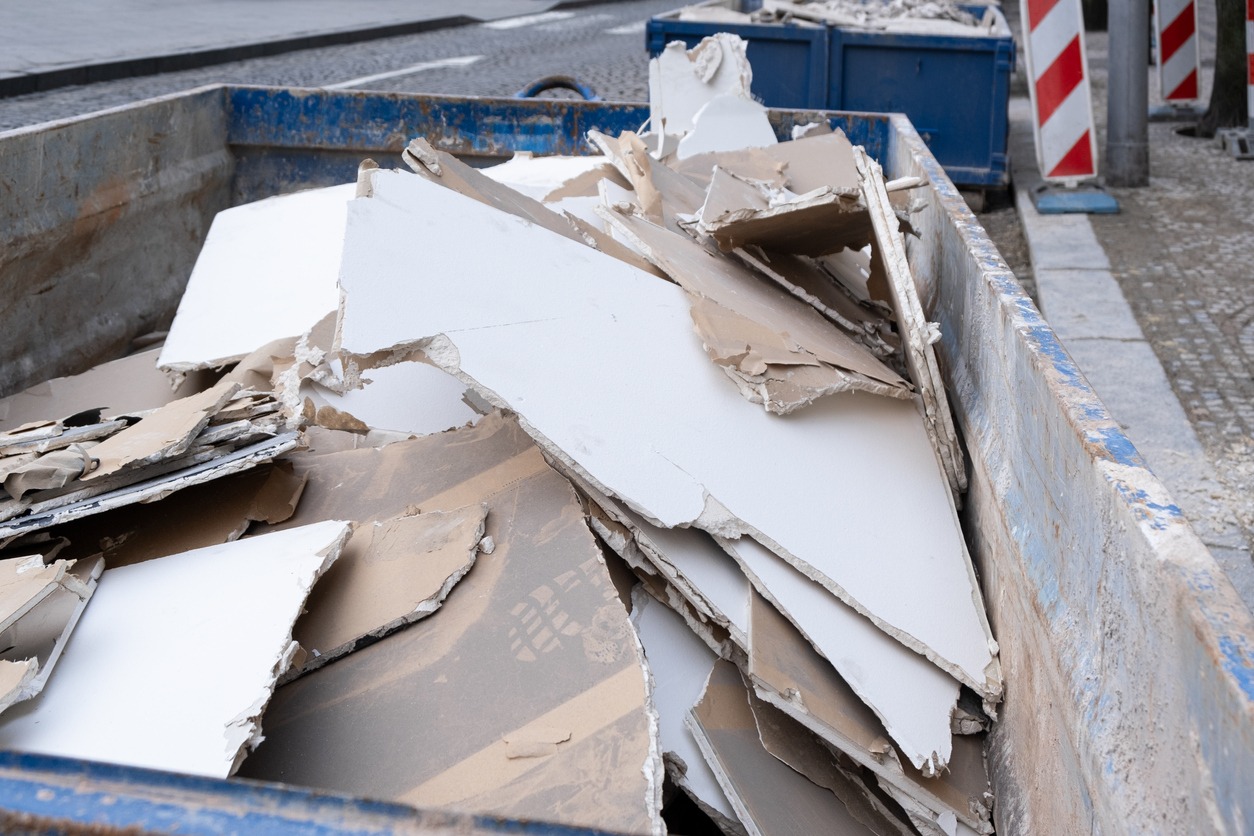
Having calculated your material needs for the drywall installation, it’s crucial to contemplate how you’ll handle the inevitable waste produced during the process. Proper waste disposal is not just about tidiness; it’s about responsible disposal and recycling practices that align with local regulations. Here are three key actions to plan for waste disposal efficiently:
- Assess the Waste Volume: Before starting, estimate the amount of waste your project will generate. This foresight allows you to choose the right disposal method, be it renting a dumpster or arranging for a waste management service to handle your construction debris.
- Separate for Recycling: Drywall installation often results in a mix of waste materials. By separating drywall waste from other types of construction debris, you enable recycling efforts, reducing the environmental impact of your project.
- Follow Local Guidelines: Each area has its own set of rules regarding the disposal of construction waste. Make sure you’re familiar with and adhere to these local regulations to avoid potential fines and contribute to responsible waste management practices.
Minimizing waste by precise measuring and cutting of drywall sheets not only saves resources but also reduces the burden on waste disposal and recycling systems.
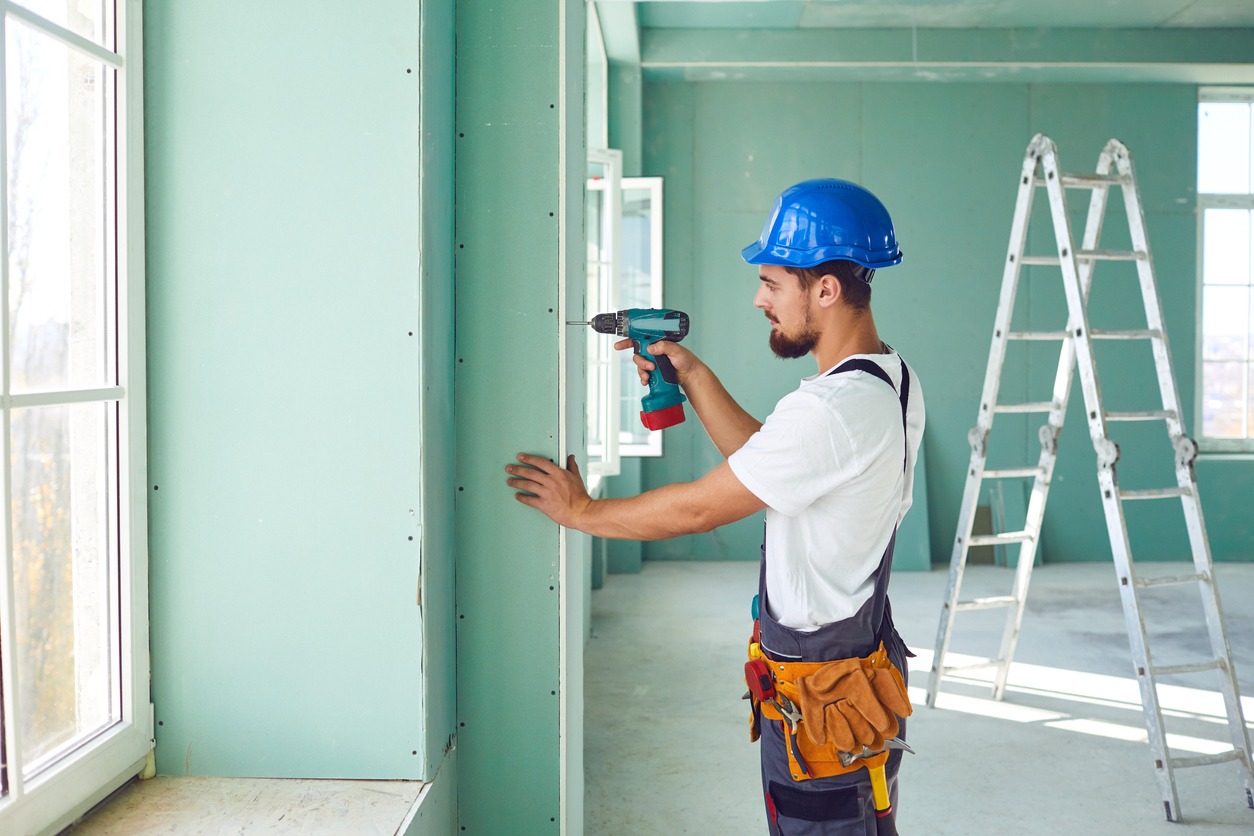
Review Installation Techniques

Before diving into your drywall project, it’s important you understand the various installation techniques to guarantee a smooth and professional finish. Proper hanging is the foundation of a successful drywall installation. This step is critical to prevent future issues and ensures that your walls are sturdy. You’ll also need to master the art of applying joint compound and taping methods. These skills are essential for seamless walls and ceilings, making any imperfections virtually disappear.
Getting familiar with cutting techniques is another key aspect. Whether it’s around windows, doors, or electrical outlets, precise cuts make a significant difference in the overall look and fit of your drywall. Corner finishing can be particularly tricky, but with the right approach, you can achieve sharp, clean edges that define the room.
Safety Precautions

When tackling drywall installation, it’s essential you wear safety glasses to shield your eyes from dust and debris. But that’s just the start. Drywall work throws a lot of particulates into the air, and you don’t want to take a casual approach to your health and safety. Here’s a concise guide to keeping yourself protected:
- Personal Protective Equipment (PPE):
- Safety glasses: Protect your eyes from harmful debris.
- Dust mask: Don’t underestimate the importance of a dust mask. It prevents the inhalation of small particles and irritants, safeguarding your respiratory health from airborne dust.
- Work Environment Safety:
- Proper ventilation: Always make sure your workspace is well-ventilated. This reduces your exposure to airborne dust and fumes that can be harmful over time.
- First aid kit: Accidents happen, so having a first aid kit nearby is a must. It’s your immediate go-to for minor injuries or accidents.
- Electrical Safety:
- Avoid overloading power outlets and use the right extension cords to prevent electrical hazards. Being mindful of your electrical setup is critical to avoid any unwanted surprises.
Conclusion
In wrapping up, you’ve got to assess your walls, figure out the job’s size, and grab the right tools. Make sure the area’s ready and know your drywall types. Calculating what you need and planning for waste are key. Don’t skip on reviewing how to install properly and always put safety first. By keeping these points in mind, you’re setting yourself up for a smooth drywall installation. Remember, a bit of preparation goes a long way in avoiding headaches later.