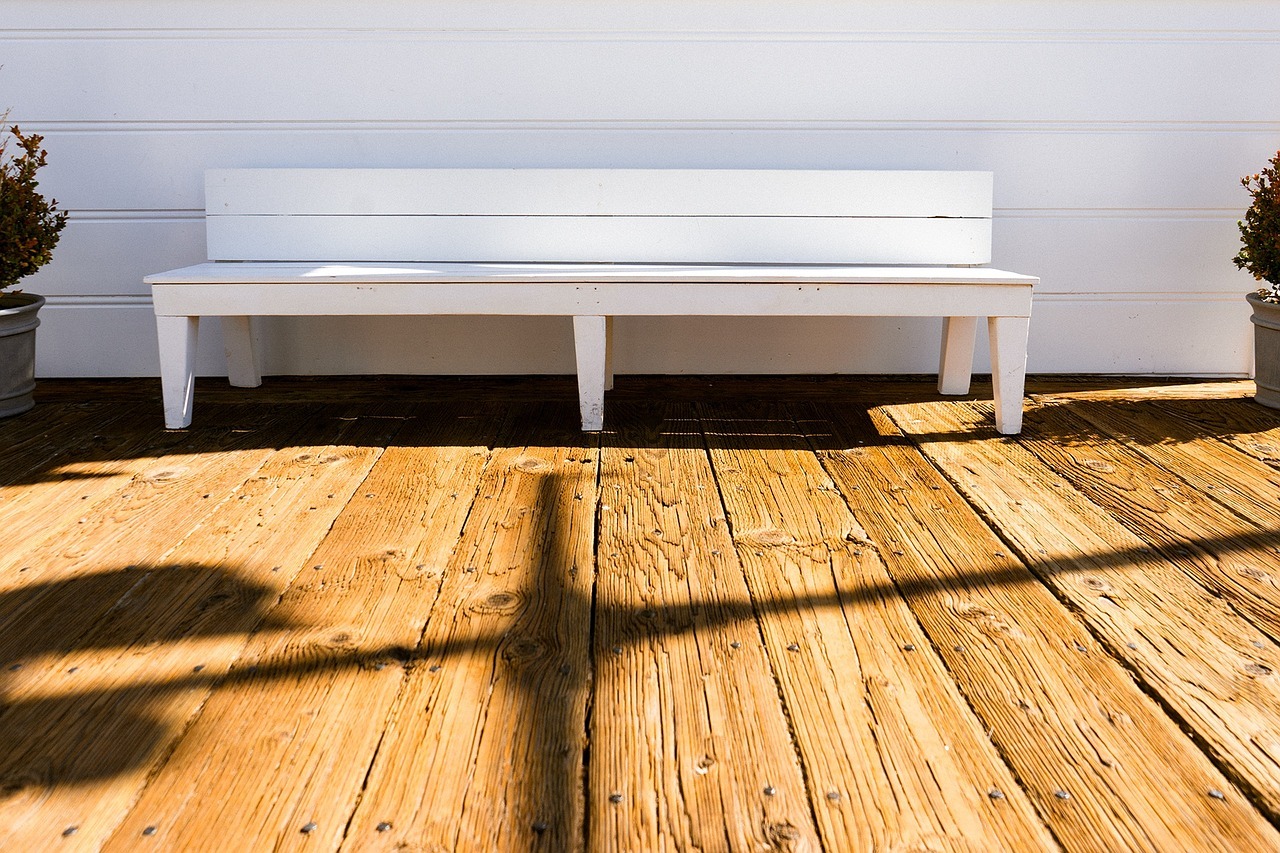
Among the factors determining how great or poor your deck will look in paint, prepping is the most important. How about we show you how to prep a deck for painting so your deck can have its new look for long?
1. Remove Vegetation
before picking your deck stain sprayer, look out for unwanted weed growing close to the stairs and at the edges of the floorboards. Uproot whatever you find with your hand as a mower or other weeding equipment may create a dent on the deck. When opting for a liquid weed killer, strive not to get it on your deck as the chemical may sink into the wood to react with your paint later on. Meanwhile, for molds and mildew, scrape carefully for complete extermination without leaving dents or gauges on the wood. Also, if you have a raised deck, there are the chances of grass clippings forming under it. In this case, a weed killer should be used carefully and should be cleaned off when spilled or sprayed on the deck.
2. Get rid of the existing coating
whether the entire deck is getting a repaint or you’re repainting in patches, endeavor to get rid of the existing paint on the surface to be repainted. This way, the new paint is easily absorbed by the wood and won’t flake or peel off on first foot traffic. So to achieve a clean surface, sand the area to be sprayed using a sanding machine as sandpaper used manually will wear you out in no time. Meanwhile, we recommend using an orbital sander starting with 12-grit sandpaper and switching to the less coarse sandpaper from pass to pass. Needless to say, the numbers of sanding passes to be made depends on how old the existing paint is and how hard the wooden deck is.
3. Make Repairs
walk around your deck for close inspection. If you spot mild faults anywhere, these can be self-repaired. Such a fault like loose nails can be corrected with a hammer. Meanwhile, rusty old nails should be removed, and the rust they leave behind should be scraped before driving in new nails. For lifting boards, however, you may need the help of a carpenter or fix them yourself before coating. If you notice a weak board or one that is breaking already, a replacement should be done. Mind you, ensure the replacement wood is of the same type as the existing one. You may need to take a wood sample to the sawmill to achieve this.
4. Treat Dents
there are many causes for dents in a plank of wood. In most parts, dents are traceable to foot traffic and the placement or the use of brazen footed heavy-duty machines on the deck. On the flip side, during the sanding stage, you may have created gauges unconsciously, especially for a sanding done manually or with a faulty sander machine. To treat dents, fill wood filler in cracks and lines. After that, sand the filled surface to make it smooth for better paint absorption. Complete this step by applying sealer and leave it to dry.
5. Wash and dry
you don’t want to wear your paint over all those specks of dirt, dust, and chips of wood. Right? Washing the deck is another way to protect your investment from mildew in the long run. To do this, make thick lather with a mixture of powdered deck washer and water. If your deck washing soap is such that doesn’t contain mildewcide, add liquid mildewcide to the water before introducing the soap. Then finally wash the deck with a soft sponge or brush and avoid scratches. The lather should be washed off with clean water using a pressure water hose. And the deck should be left to dry for 5-8 hours before painting.


