
Painting walls like a pro is easier conceived of than done. Online tutorials can get you started in the right direction and show you the correct order of operations – but one secret happens before you pick up a brush, before you pour the paint, and even before you visit the paint store. Think of it as step zero.
Interior design is the step some painters skip, either partially or entirely, and it informs the shades, textures, and techniques you choose when you ring your paint cans through. So first, consult with an interior design company or take a stab at it yourself for similar albeit less outstanding results. Then, once you’ve chosen your hue strategically, you’re off to the races. Here’s a handy step-by-step guide on painting walls like a pro according to your formal or informal interior design – from start to finish. Meanwhile, you may also want to check out the most effective paint remover if you’re planning to change the paint of your house anytime soon.
Remove the Old Wallpaper & Taping Up
You must remove any old wallpaper before you start painting to get the best quality results. The first step is removing all layers of paper from the walls, which may include pasting strips of newspaper coated in wallpaper removal solution on each layer until they are all removed.
It’s also highly advisable to tape your baseboards and the wall-ceiling conjunction. Put painter’s tape anywhere you need a sharp definition of where the paint ends as well, like the point where you shift shades or even colours.
Cleaning Walls & Primer Coat
There are two types of paints that need to be applied before wall painting begins; a primer coat and cleaning paints. These two go hand-in-hand, as the primer coat helps prepare the wall for the cleaning paint. The cleaning colour will clean the wall and remove any leftover paper residue.
Getting The Primer Coat On
There are a few steps you need to take before you can start painting. First, you’ll need to apply a primer coat to your walls. This is necessary to prepare the wall, dislodge residues or debris, and make it easy for the next step of cleaning paint application to work effectively.
Step 4: Applying Cleaning Paints
Once your walls have had enough time to dry, it’s time to clean your walls to be ready for painting again. This step will ensure that your walls are free of any residue that may overburden the coats of paint you want to put in. Think of it like levelling and compressing the ground before building a house on it.
Applying the First Coat of Paint
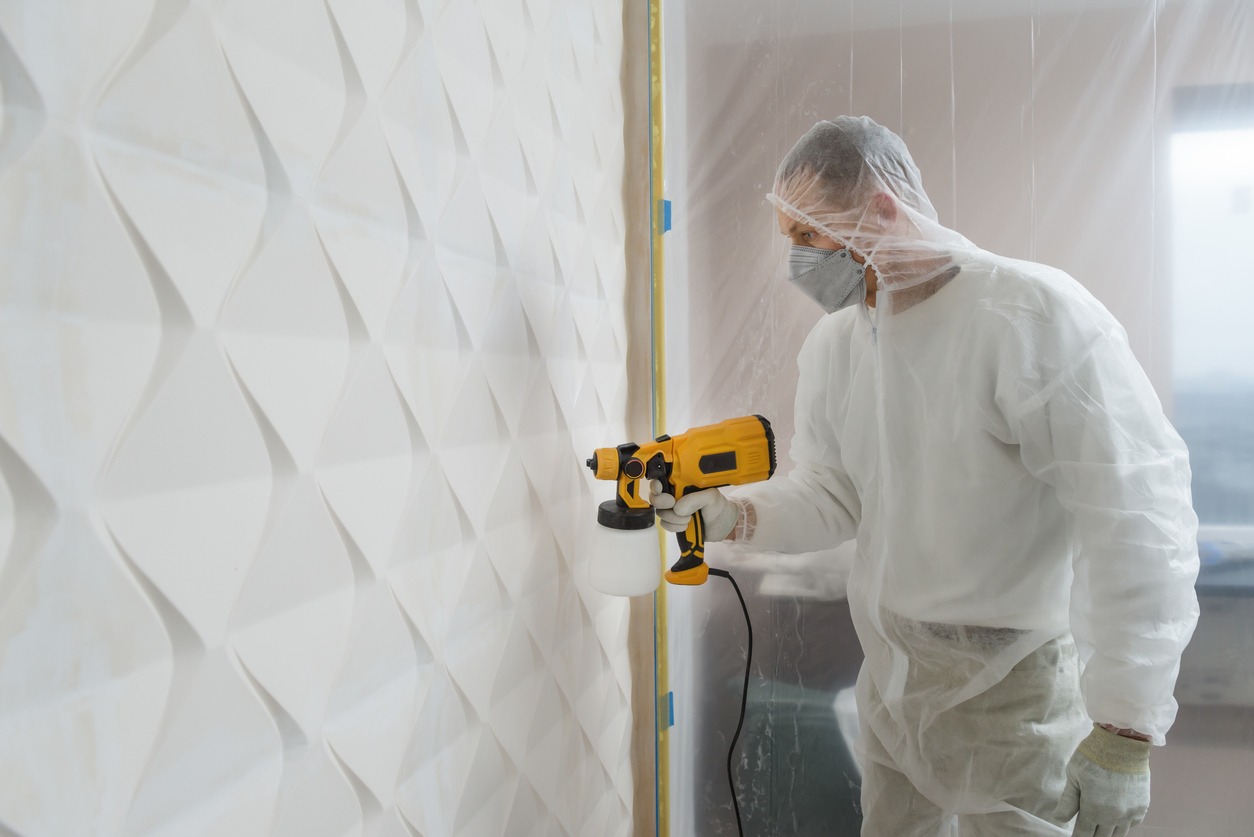
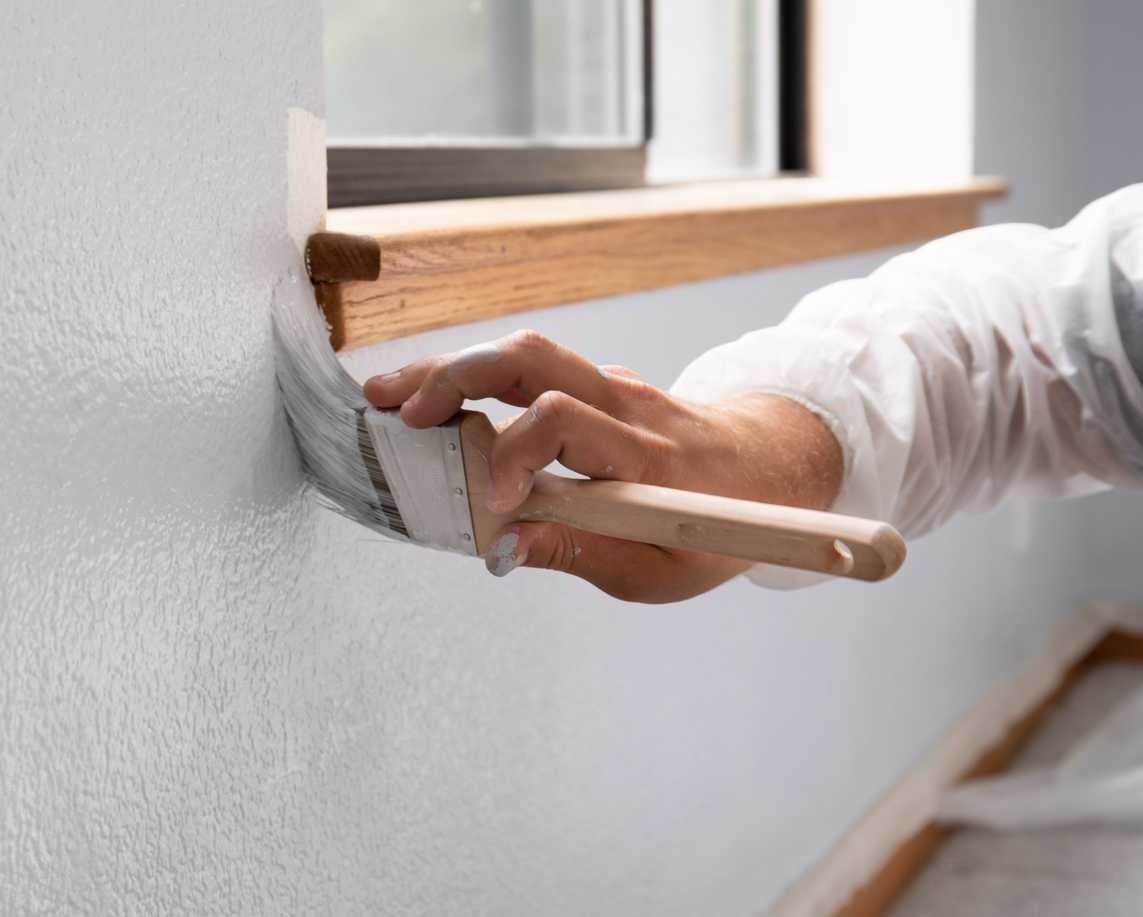
The first coat will usually be done with a roller, but you may want to use a paintbrush for large walls because it gives more detailed textures. You can use a paint sprayer or apply multiple coats, depending on how you’d like it to look; remember, design choices matter and can dictate what application techniques you use. Ensure the cover of all surfaces so that there is no unpainted space left on the wall.
Want a simple life hack? Take a fully immersed brush or roller straight across the middle of the wall. Then go down and up; it’ll make sure the paint spreads evenly and doesn’t thin out too much at the end of your brush stroke.
Applying the Second Coat of Paint
The second coat is optional, but for a more professional look, it is recommended that you apply at least one more coat. If you use a roller, roll from top to bottom and from left to right. If you are using a paintbrush, use the same technique as with the roller.
Finishing Touches
After painting the walls, you will want to spray them lightly with a clear coat to protect against staining and improve the overall appearance. It will take slightly longer to dry than regular paint, but it will be worth it.
Cleaning Up
You are now ready to clean up all extra paint from your baseboards and other surfaces that may have been affected or damaged. You can use a damp cloth for any small particles, but you may want to use a cleaning spray and hose down the floor to make cleaning easier in case the area is tiled. For carpets, sticking to damp cloths are critical, as you wouldn’t want water getting trapped in your flooring.
Drying the Wall
Painting is not finished until your surfaces are all dried out. To speed up the drying process, you will want to turn on the heat or a fan for faster results.
Adding Finishing Touches
Once all of your surfaces are dry, you can add any extra details to your painting project, such as paint finishes, if desired. This includes hard-to-reach corners and the areas around baseboards and outlets.
Cleaning the Paint Application Equipment
Cleaning your sprayer, brushes, or rollers (if they’re reusable) is essential as cleaning your walls. It should also be done as soon as possible after you are finished painting because the longer they sit, the more likely paint residue will dry on them and make reuse difficult. If you used a sprayer, take it apart to make it easier to clean.
Following the directions for safe spray painting is essential, and wearing the proper safety gear, such as goggles. You should also wear a long-sleeved shirt to protect your arms from getting paint on them and always use gloves to protect your hands.
Painting like a pro is really satisfying. But letting pros handle it as part of a broader renovation might be even more satisfying. That way, it’ll be efficient, guaranteed work without the burden of all the cleaning, priming, and maintenance stages. And you can get painting all planned out by interior designers to boot.