
DIY wall Painting might sound like a compelling idea that saves money. You can experiment with Airbrush and fill the walls of your home with colors of your choice. However, if things go south, you’ll just as easily end up with a broken back, a feather-light wallet, and a positively fried brain. Want to skip the hassle and hire a professional? Consider painters Mornington. Before you endure the debacle of paying a premium for an ugly paint job, here’s a checklist of ten things you must ensure before you begin your impressionistic masterpiece.
Safety First
When you decide to channel your creative juices by painting your walls, you often overlook the surprisingly high likelihood of falling off the ladder. Such injuries can make your painting project end quickly and painfully. Protect yourself when you paint higher sections and ensure that the ladder you use is sturdy. Put your paint in a safe compartment. This would also help you avoid unnecessary spillage. Spilled something anyway? Try office cleaners.
Throw (the right) shade
Picking colors for your favorite bedroom wall sounds like a cute idea for a date, but it is also a task that requires due focus- so eyes on the shade card, please. When you’re selecting a color, try to look beyond your favorites. It is normal to pine for your trusty shade of blue, but it is better to keep the horizons wide and choose a shade based on compatibility. What else do you need to think about before you make this choice? Consider these: the age of the property, the architectural style (no glossy yellows in a cottage home, for the love of God), and the vibe you want to end up with. Think about how you wish to feel walking into your room. Muted colors usually calm you down, while shades of red inspire a bit of fun. Unless you want to doze off at your work-from-home desk or stare wide-eyed at the bedroom ceiling, pick colors that match the mood you’re aiming for.
Purchase samples in advance
Purchasing samples is a great way to get a glimpse of your chosen shade in action. Apply the sample colors on a white poster board and place the board close to the wall you want to paint. See how the sample looks at multiple time intervals during the day. This will serve as a microcosm of how your room will look at different points of time under natural and artificial lighting conditions.
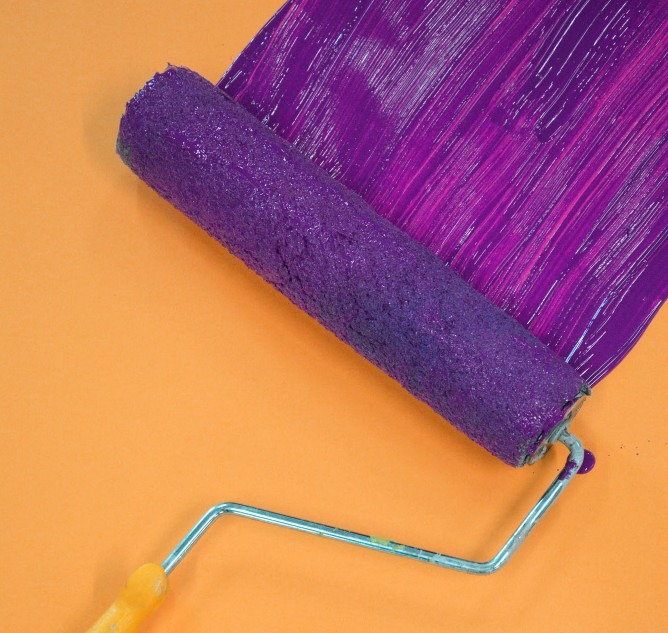
Find your shine
Getting the right texture on your wall is equally important, based on what you like to see, as well as how much you want to invest in maintaining your wall. A flat finish is often difficult to clean, while satin finishes are compatible with kitchens. You may go for a glossy texture if you want a posh feel to the room. One of the most popular choices in texture is a shine-free finish, which goes excellently with rich colors.
Keep the walls clean
We understand your excitement in wanting to start right away, but please hold on. You first need to muster a ton of patience and thoroughly clean the wall. This includes getting rid of all kinds of dust, dirt, and stains to ensure an even finish. Dirty walls may even lead to the paint coming off quicker than usual if the paint sticks to the dirt instead of the surface of the wall. Do not be that unfortunate person. If there is lead paint that is already on the wall that you are going to paint, you may first have to seek professional help to remove it since it can be a health hazard. Read our article, What Should You Do if You Have Lead Paint in Your Home?, for more information.
Primer is a must
You probably know that any project involving painting a wall first needs a coat of primer. What you may not know is that certain walls require two to interact best with the paint. Other preparatory activities like sanding the walls also only work in specific circumstances. It is crucial to research these conditions before going ahead with a primer. That said, a coat of primer in almost all cases gives you an even, well-defined result.
Buy enough paint
Planning would spare you the hassle of an unforeseen refill trip. Measure the surface area of your wall and check the paint container for instructions. It is generally better to err on the side of caution and purchase enough paint for two coats. This would leave you enough material for touch-ups and other spontaneous additions.
You do not always need tape
Tape is extremely annoying, and you do not need it if you wish to paint the entire room the same color. The smartest thing to do is start with the ceiling, move on to the trim and finally do the walls. While painting the ceiling and the trim, use an edger to clean the area above the trim and below the ceiling.
Caulk to the rescue
In case you use painter’s tape, here is a suggestion. Apply caulk to dot the seam of the tape, and after cleaning up any excess, set it to dry. When a flat caulk seal forms on top of the tape, start painting. Voila, there is no way for the paint to permeate through the seams.
Do not Hurry (please)
Do not rush the process. Painting a wall is an arduous and demanding task that needs complete concentration and formidable amounts of willpower. Take a deep breath, trust the journey, and you’ll be well on your way painting the next iteration of Starry Night. One way of increasing the worth of your ceiling is by fixing galaxy light bulbs that create a starry sky-like look without charging you a lot.