
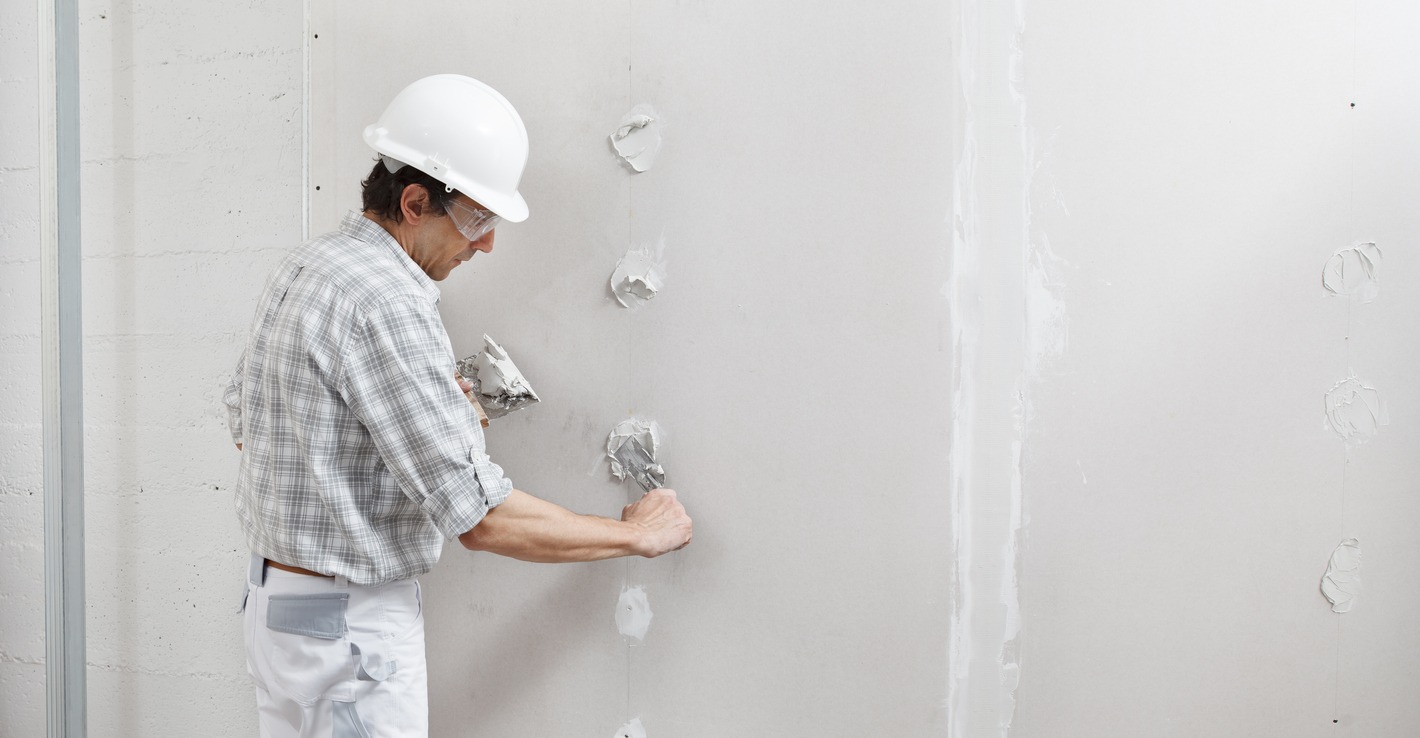
Drywall is resilient but not invincible. Over time, it can develop unsightly cracks and holes. The good news is that repairing drywall is a straightforward task, though it does require a bit of finesse.
Don’t be intimidated by the idea of patching up drywall. In fact, it can be quite enjoyable. Once you get the hang of it, you might find yourself inspecting your walls for tiny nail holes to fix. It’s a satisfying home improvement project that’s quick and doesn’t require much experience. Here are some tips on how to patch up drywall so well that even landlords, potential homebuyers, or guests won’t spot the difference.
1. Assess the Damage
Before you rush to the hardware store, take a moment to size up the drywall damage. Is it just a few tiny nail holes? In that case, you’ll all require some spackle or joint compound (often called “mud”), a small putty knife, and a sanding block. But if you’re dealing with a larger hole, you’ll need a bit more. Anything bigger than a nail hole usually demands mesh drywall tape to reinforce and secure the drywall mud. Mesh tape works wonders for lengthy cracks or coin-sized holes. When the damage surpasses this, you’ll need a drywall patch. Before proceeding, try to determine your existing drywall’s thickness. You might have to cut a clean piece to measure it accurately, but it’s likely to be 3/8, 1/2, or 5/8-inch drywall.
2. Gather your Gear
Repairing and patching drywall is a common DIY project for homeowners. Whether you have a small hole or a larger damaged area, here are some tools and materials you will need to help you successfully repair and patch drywall:
Materials Needed:
- Drywall: The primary material for patching and replacing damaged areas.
- Drywall Patch: Smaller pieces of drywall are used to cover holes or imperfections.
- Joint Compound: Also known as mud, used for filling gaps, seams, and covering screws or nails.
- Scrap Wood: Used as backing support behind the drywall when attaching patches.
- Drywall Tape: Reinforces seams and joints to prevent cracks.
- Furring Strips: Wooden strips are used to create a level surface for attaching drywall.
- Spackle: A filler used for smaller holes and imperfections.
- Drywall Patch Kit: A kit containing various tools and materials for repairing drywall.
- Paint and primer: To match the existing wall color and finish.
Tools Needed:
- Joint Knife: Used for applying joint compound and smoothing it out.
- Hacksaw: Used to cut drywall and other materials.
- Drill + Bit: For drilling pilot holes and driving drywall screws.
- Drywall Knife: A specialized knife for cutting and trimming drywall.
- Drywall Screws: Screws designed for attaching drywall to studs or furring strips.
- Utility Knife: Used for cutting drywall, tape, and other materials.
- 120-Grit Sandpaper: For smoothing and finishing the surface of the joint compound.
- Carpenter’s Knife: A general-purpose cutting tool.
- Drywall Saw: Specifically designed for cutting holes or openings in drywall.
- Broad Knife: Used for spreading joint compound and achieving a smooth finish.
- Trowel: Similar to a broad knife, used for applying and smoothing joint compound.
- Measuring Tape: For taking accurate measurements of drywall pieces.
- Level: Ensures that drywall is installed evenly and plumb.
- Square: Helps in marking and cutting drywall accurately.
- Pencil: Used for marking measurements and guidelines on the drywall.
- Stud Finder: Helps locate wall studs for secure drywall attachment.
- Safety gear: Wear safety goggles, a dust mask, and gloves when working with drywall.
You don’t need to have all these. Simply list the necessary tools and materials for your specific issue and buy those.
3. Prioritize Safety
Before diving into your repair project, it’s crucial to be aware of your home’s utility placement. Normally, electrical wires are affixed to wall studs. Locate these studs before you start cutting, drilling, or nailing into the drywall.
Always wear protective clothing, work gloves, goggles, and a dust mask whenever you’re working with drywall. Safety should always come first.
4. Prepare for Patching
Getting ready to patch your drywall involves a few key steps, and it might sound a bit counterintuitive, but it’s the way to ensure a strong, smooth finish in the end. Here’s what you need to do:
- Locate the Studs: Start by using a stud finder to find the wall studs on both sides of the damaged area. Then, place a level above the hole, spanning across the two studs. Make a mark above the hole, and repeat the process below the hole.
- Cut the Drywall: Use a drywall jab saw to cut the hole. Begin by poking through the drywall and carefully cut along the marked lines until you reach the studs.
- Mark the Studs: Measure over about 1/2 to 3/4 inch from the edge of the cut hole and mark the center of each stud. This helps you know exactly where the studs are located.
- Remove the Drywall: Use a utility knife to cut out the drywall from the stud, ensuring you’ve created a clean opening.
Pro Tip: Sometimes, older homes have unexpected layers of drywall. You might find a 3/8-inch layer beneath the 1/2-inch drywall in such cases. Rather than adding extra material to the studs, you can use this existing layer as a spacer and place the new 1/2-inch drywall over it for a seamless fit.
5. Perform the Repairs
What you need to do for repair depends on the kind of damage you’re dealing with. These are some techniques on how to perform different types of repairs on drywall:
Patching small dents and dings
Small dents and dings are very easy to repair.
- Remove loose debris from the hole.
- Cover the hole or dent with fast-drying spackle until it’s level with the drywall surface. Let it dry for about 24 hours or as per the manufacturer’s instructions.
- Sand it smooth.
Repairing popped nail heads
When a nail pops out of the drywall, it can create an unsightly nail head.
- Reattach the drywall to the stud by driving a drywall screw 1 1/2 inches above the popped nail head into the stud. Sink the screw head just below the drywall surface.
- Drive the popped nail back in.
- Cover both the sunken screw head and nail head with a spackle until it’s level with the wall surface. Wait for about 24 hours or as recommended by the manufacturer.
- Sand it smooth.
Fix small holes using a patch kit
For small holes like those from a doorknob, you can use a patch kit.
- Place the self-adhesive mesh patch over the hole.
- Cover the mesh patch with a spackling compound or lightweight joint compound in a crisscross pattern. Feather the edges so it blends with the wall. To feather the edge, apply more pressure and change the angle of the drywall knife as you reach the outer edges of the patch area to minimize the compound’s thickness.
- If necessary, apply a second coat of compound once the patch is dry.
- Sand it smooth.
Repairing small holes (smaller than a nickel) in drywall
Fixing small holes in drywall is straightforward. Any hole bigger than a nickel should follow the instructions for medium or large holes. You will need a joint compound and spackle.
- Start by cleaning the hole and removing any loose bits of drywall.
- If the hole is larger than a dime, use a carpenter’s knife to create a beveled edge around the hole’s perimeter.
- Wipe away any dust with a damp rag.
- Use a putty knife to fill the hole with spackle or joint compound, then smooth it out to make it flush with the wall.
- Let the filler air-dry.
- Lightly sand the area with sandpaper and apply a second coat. Sand it again once it’s dry.
- Finish by priming and painting over the patched hole.
Repairing a medium hole (smaller than six inches) in drywall
For a polished result, follow the instructions for large holes. This method demands a bit of finesse to seamlessly blend the joint compound with the rest of the wall. If not done correctly, you might notice a slight bulge. When applying the joint compound and during sanding, remember to feather the repair area, which means gradually tapering the thickness outward.
You’ll need a drywall patch slightly larger than the hole, which you can easily find in your local hardware store kit.
- Start by sanding and cleaning the area around the hole where the patch will adhere to the wall.
- Apply the adhesive side of the patch to the wall.
- Now, it’s time to cover the patch with a joint compound. Use a crisscross pattern with your putty knife to apply the compound. Apply enough compound to cover the patch and leave room for feathering. Once dry, lightly sand the area and apply another coat.
- Sand the dry second coat with sandpaper. Feather the edges to seamlessly blend the repair into the wall.
- Finish by priming and painting.
You can also use the California Patch method if you’re not going to use a drywall patch kit:
- Cut a piece of drywall into a square shape that’s 2 inches larger in width and height than the area to be repaired.
- Score the back of the drywall with a utility knife about an inch from each side.
- Snap off the gypsum, but leave the paper backing intact.
- Now, get ready to trace. Hold the patch over the hole and trace around the gypsum square, excluding the paper border. Cut out the traced square with a drywall saw. Before cutting, check for electrical wires in the hole, typically attached to studs.
- Apply joint compound to the back of the paper border. Fit the gypsum into the new hole and press the paper edges coated with the joint compound into place along the outside edge of the hole.
- Cover the entire patch with joint compound until the lines are hidden, feathering the edges.
- Reapply a second coat of compound if needed. Make sure there’s enough dry time in between coats. Sand it smooth.
Repairing a large hole (anything larger than six inches) in drywall
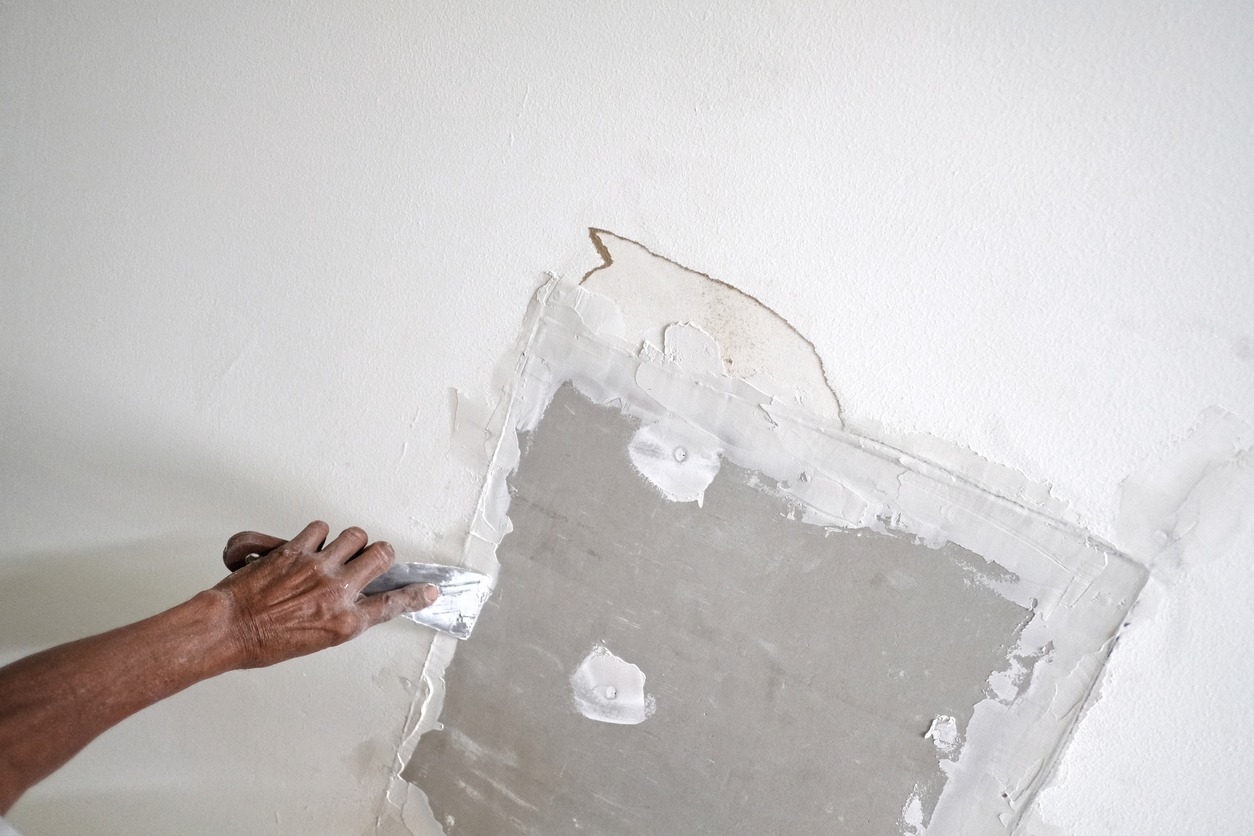
Take your time and proceed carefully to avoid damaging any wires or plumbing during the process. While this method does involve more tools, the end result will look much more professional.
You will need a scrap piece of drywall, furring strips, joint tape, drywall screws, and joint compound for the repair.
- Begin by cutting out a square piece of new drywall that’s slightly larger than the hole.
- Place this piece over the damaged area and trace around it with a pencil.
- Use a drywall saw to cut out the damaged drywall along the lines you traced.
- Insert the furring strips through the hole and pull them tight against the backside of the drywall. Secure them from the front with drywall screws. Ensure the screws firmly anchor the furring strips to the back of the drywall. The screw heads should be flush or slightly dimpled.
- Inside the hole, attach a furring strip, a thin piece of wood, to both sides of the hole using screws. Sink the screws below the drywall’s surface.
- Keep everything in place by embedding drywall tape with joint compound along the edges.
- Cover the patch and tape with joint compound, feathering the edges. Allow the compound to dry as per the manufacturer’s instructions. Apply a second coat if necessary. Sand it smooth.
- Sand the second coat once it dries.
- Finish by priming and painting.
Repairing a damaged corner bead
A corner bead is a material used where two sections of drywall meet at a corner. It comes in various types, including metal, paper, and vinyl.
You will need a hacksaw, a utility knife, a new piece of corner bead with nails or any fastener or adhesive, and a joint compound.
- Cut through the damaged corner bead by using a hacksaw. Make two horizontal cuts, both above and below the damaged area.
- Use a utility knife to make a vertical cut along the drywall, connecting the top and bottom cuts made with the hacksaw on the left and right sides. Remove the damaged portion.
- Cut a new piece of corner bead to fit the gap and attach it to the wall using nails or the recommended fastener or adhesive provided by the manufacturer.
- Apply joint compound to both sides of the corner, covering the patched bead to smooth any rough edges and conceal seams. Feather the edges for a seamless finish.
- Let it dry, and then sand it smooth.
5. Finish the Drywall Repair
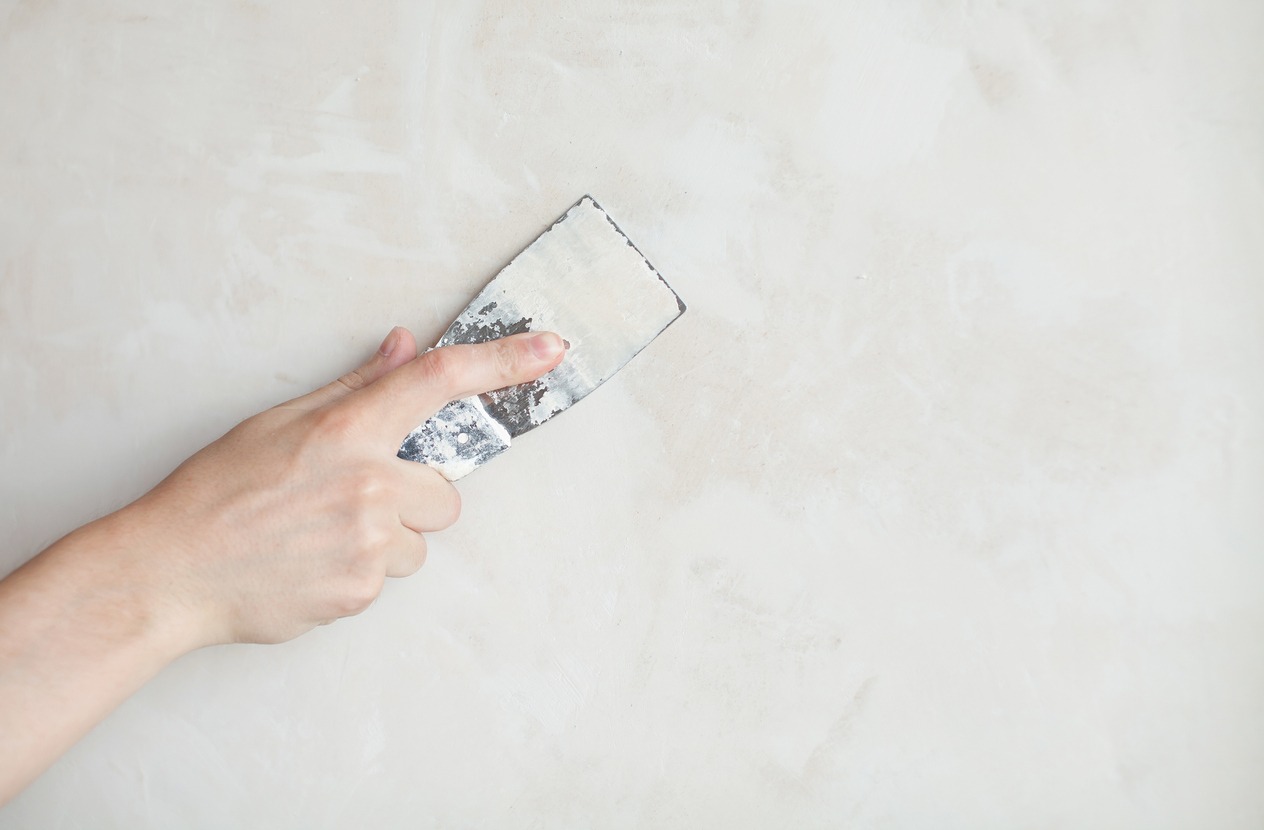
After every repair, finishing is necessary to complete the process. It is where you make it look as if nothing ever happened. Here’s how to do it properly:
- Finish all your repairs with gentle sanding to ensure a smooth, satin finish and seamless blending between the patch and the wall.
- Cover the repaired area with a coat of primer and let it dry completely.
- Finish it off with a fresh coat of paint. If you can’t find a paint color similar to the original paint, you may want to consider painting over the entire wall to hide the repaired area seamlessly.
The steps above are applicable for smooth walls. But if you have textured drywall, finishing might seem a bit more complex. Thankfully, it’s still quite straightforward – just follow these steps:
- Sand the patched area until it’s smooth.
- Mix four parts of the joint compound in a small bowl with 1 part water. Dip a stiff brush into the mixture, holding it close to the wall with bristles facing up.
- Flick the mixture onto the wall by running a gloved finger across the bristle surface. The speed of your flicking motion will determine the size of the particles on the wall. Tip: Practice the flicking motion on a scrap board before applying it to your wall.
- For a knock-down finish, where a trowel presses the joint compound down to create a mottled texture, gently flatten the particles with a knife as the compound mixture begins to dry. You can use textured spray with various finishes as an alternative to flicking compounds. Shake the can and spray the patched area in a circular motion from 6-18 inches away from the wall.
- Follow the manufacturer’s instructions to let the textured compound dry thoroughly. Then, prime and paint the surface.
Helpful Tips
Here are some useful tips to make your drywall repair project go smoothly:
Before the Repair:
- Turn off all circulating air in your home to prevent dust from entering your ducts.
- Cover anything you want to keep clean, especially items prone to collecting dust, like blinds and light fixtures. Protect your floors with sturdy cardboard or a canvas tarp.
- Always wear a dust mask when sanding joint compound to protect your lungs, or have someone use a vacuum to capture the dust.
During the Repair:
- After sanding the second layer, consider applying a third layer of joint compound for a smoother finish.
- When patching, spread the joint compound over an area wider than the patch itself. This allows you to feather the material for a seamless look.
- Don’t rush the drying process; allow each coat of joint compound to dry thoroughly before sanding or applying the next coat.
- Don’t skip the priming step, as joint compounds can’t be painted directly. Some spackles come with built-in primers, but they are best suited for small holes.
- Resist the urge to sand too early. If the patch surface feels cold, it’s likely still damp underneath. Rushing the sanding process can ruin your otherwise flawless patch.
- Use a wide, flat trowel for larger areas to achieve a smoother finish.
- For textured walls, try to match the texture using techniques like splatter or stippling.
- Use wall texture spray before painting to match the texture.
- You can use a heavy-duty paint stirring stick instead of a furring strip for support.
- If you’re uncertain about the wall’s texture or color, taking a small sample to a paint or home improvement store for matching is a good idea.
- Occasionally, wipe the surface with a slightly damp cloth while sanding to detect any hidden imperfections.
- If you have pets or children, make sure to keep an open bucket of premixed joint compound (“mud”) securely covered when not in use.
- Opt for a lightweight or all-purpose joint compound for repairs. “Low dust” types may not be the best choice as they can be harder to sand smoothly.
- Be prepared for more extensive damage if the wall suffered hard impacts. Cracked drywall around impact areas may be hidden. You might need to cut around the damaged area by a few inches on all sides to eliminate any hidden damage.
After the Repair:
- After finishing the repair, use a damp cloth to wipe away any remaining dust before applying texture, primer, and paint.
- When vacuuming, make sure to use a vacuum cleaner with a good HEPA filter to avoid dispersing fine dust particles. If you have a shop vac, use a filter bag designed to capture these small particles.
- Dispose of any leftover compound properly to avoid environmental harm. Wash your tools in a bucket of water, filter the water to catch solids, clean the bucket, and let it dry before discarding the dry mud in the trash. If you have a significant amount to dispose of, check with your local garbage company for disposal guidelines.