
Imagine you’re standing in a room that’s been transformed through the art of drywall texturing, where every surface comes alive with depth and character. This isn’t just about covering imperfections; it’s about creating a canvas that reflects your unique style. Whether you’re considering the subtle elegance of a skip trowel technique or the bold statement of a knockdown texture, mastering the application and blending methods is vital. But here’s the catch: achieving that seamless finish requires a bit more than just slapping on compound. You’ll need to understand the intricacies of preparation, tool selection, and the right blending techniques. As we peel back the layers of this craft, you’ll discover how these textured surfaces can elevate your space, but the true secret to a flawless finish lies in the details we’re about to explore.
Preparing the Surface
Before plunging into the art of drywall texturing, making sure the surface is clean and damage-free is key to achieving a flawless finish. You’ve got to start by giving your drywall a thorough clean-up to get rid of any dirt, dust, or debris. This step is essential for a smooth texture application. If there are holes or cracks, you’ll need to patch them up. Repairing any existing damage ensures a seamless texture finish that’ll look professional.
Next up, grab some sandpaper and give the surface a good sanding. This creates a uniform and even texture base, which is essential for better adhesion and blending of new textures. Don’t forget to apply a primer; it seals the drywall surface, improving the texture material’s grip for that pro look you’re aiming for.
And here’s a pro tip before you start applying texture with your trowel: make sure you’ve masked off adjacent surfaces and protected the work area with plastic sheeting. It’s a simple step that prevents the texture material from spreading where you don’t want it. With these preparations, you’re all set to delve into the techniques of applying and blending drywall textures seamlessly.
Selecting the Right Tools
Choosing the right tools is essential for achieving the desired texture and finish on your drywall project. Whether you’re tackling drywall repair or creating a new textured wall, having the appropriate tools and materials on hand will ensure a seamless finish that looks professional. Here’s how you can select the right tools for the job:
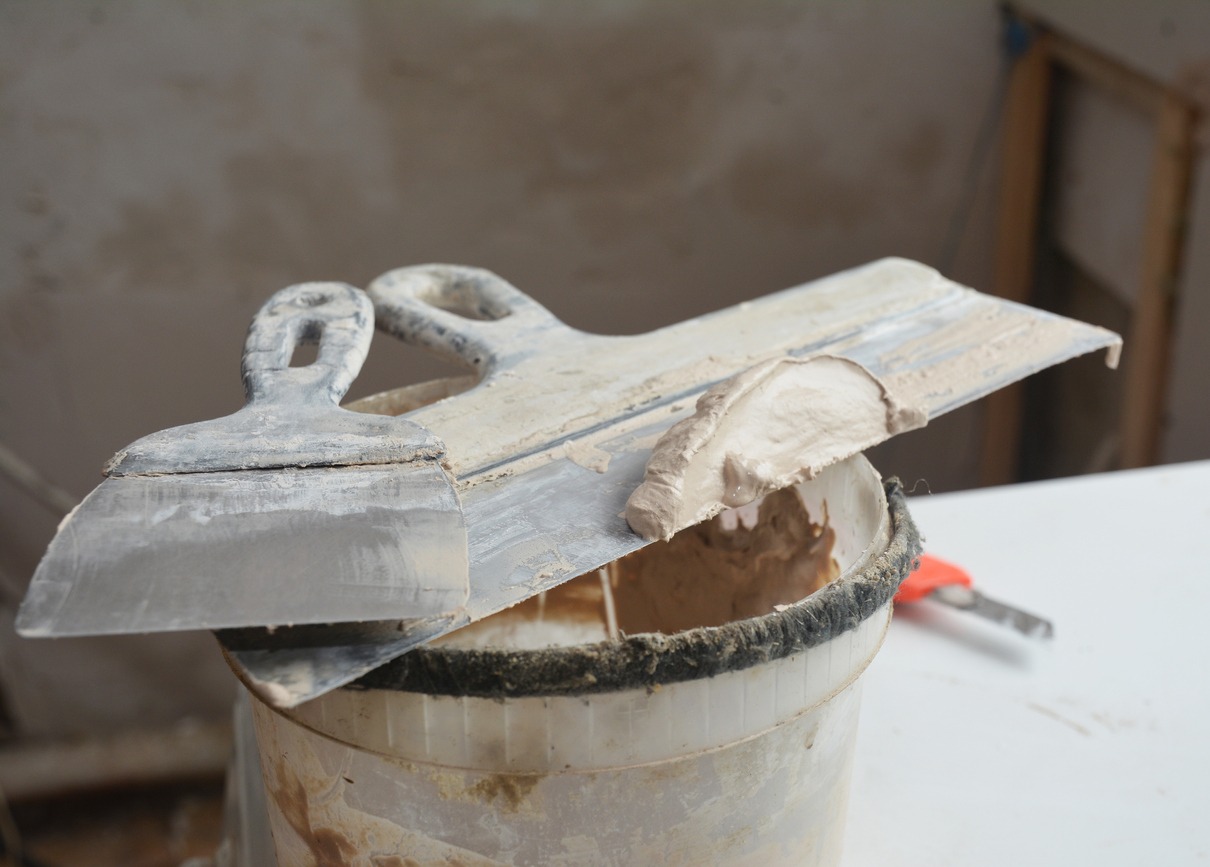
- Trowels and Hawks: For applying and spreading drywall compound, a hawk and trowel are indispensable. These tools help you evenly distribute the compound over the surface, setting the stage for a smooth application.
- Texture Brushes and Rollers: To add character and depth to your walls, texture brushes or rollers are your go-to. They come in various shapes and sizes, each designed to create different patterns and textures. Experimenting with these tools can reveal a range of visual effects, enhancing the overall aesthetics of your space.
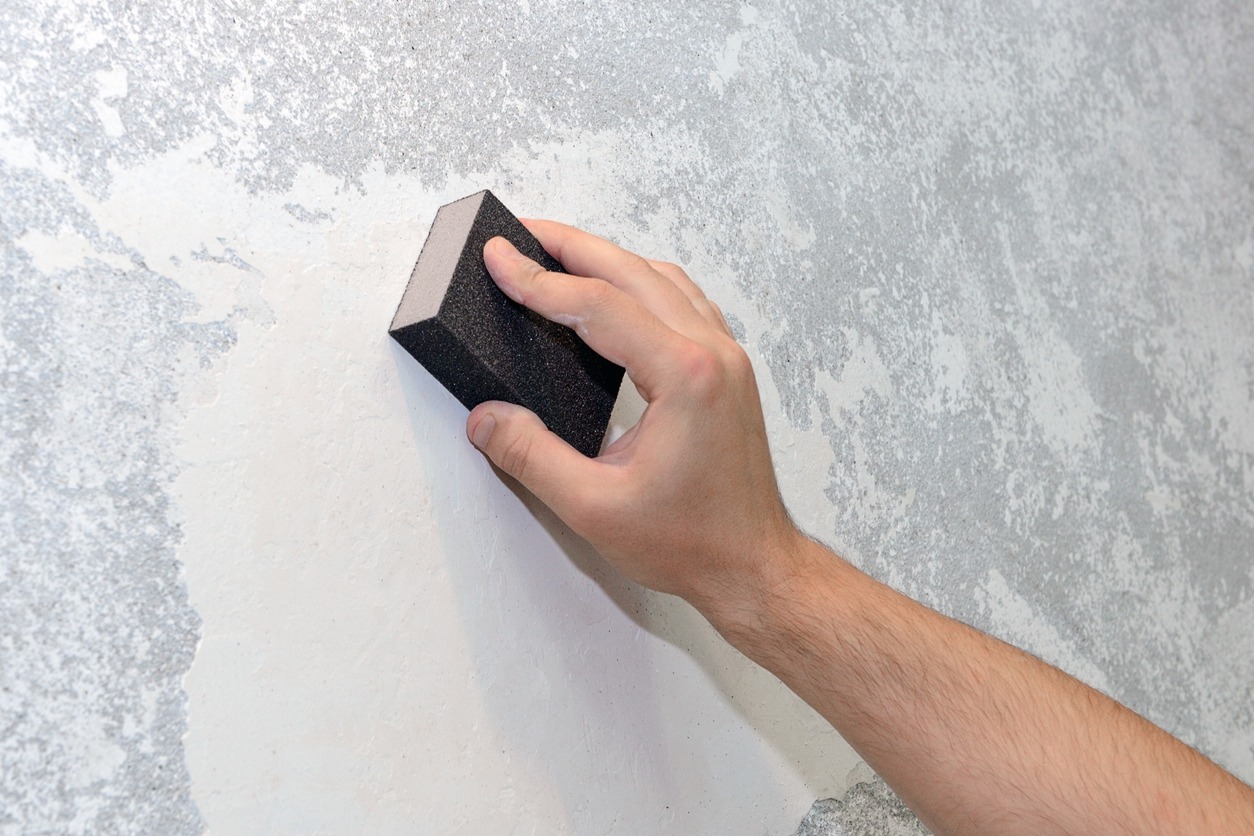
- Sanding Sponges: After applying texture, it’s critical to smooth out any rough spots. Sanding sponges are perfect for this task, offering flexibility and ease of use that sandpaper can’t match. They’re vital for achieving that flawless finish before painting.
Primer Application Techniques
To confirm your drywall texture adheres evenly and looks its best, applying a high-quality primer is a step you can’t skip. Proper primer application is essential for promoting adhesion and ensuring the uniformity of your drywall texture. When you use a high-quality primer, you’re not just preparing the surface; you’re enhancing the durability and finish of the textured surface. This is because a properly applied primer seals the drywall, preventing uneven absorption of paint or texture material.
Choosing the right primer requires considering the texture type and the desired final appearance of your wall. This step, often overlooked, is vital for achieving a flawless textured surface. After selecting the appropriate primer, make sure you allow it to fully dry before moving on to the texture application. This patience pays off by providing a uniform base that supports the texture material, leading to a more professional finish.
Mixing Drywall Compound
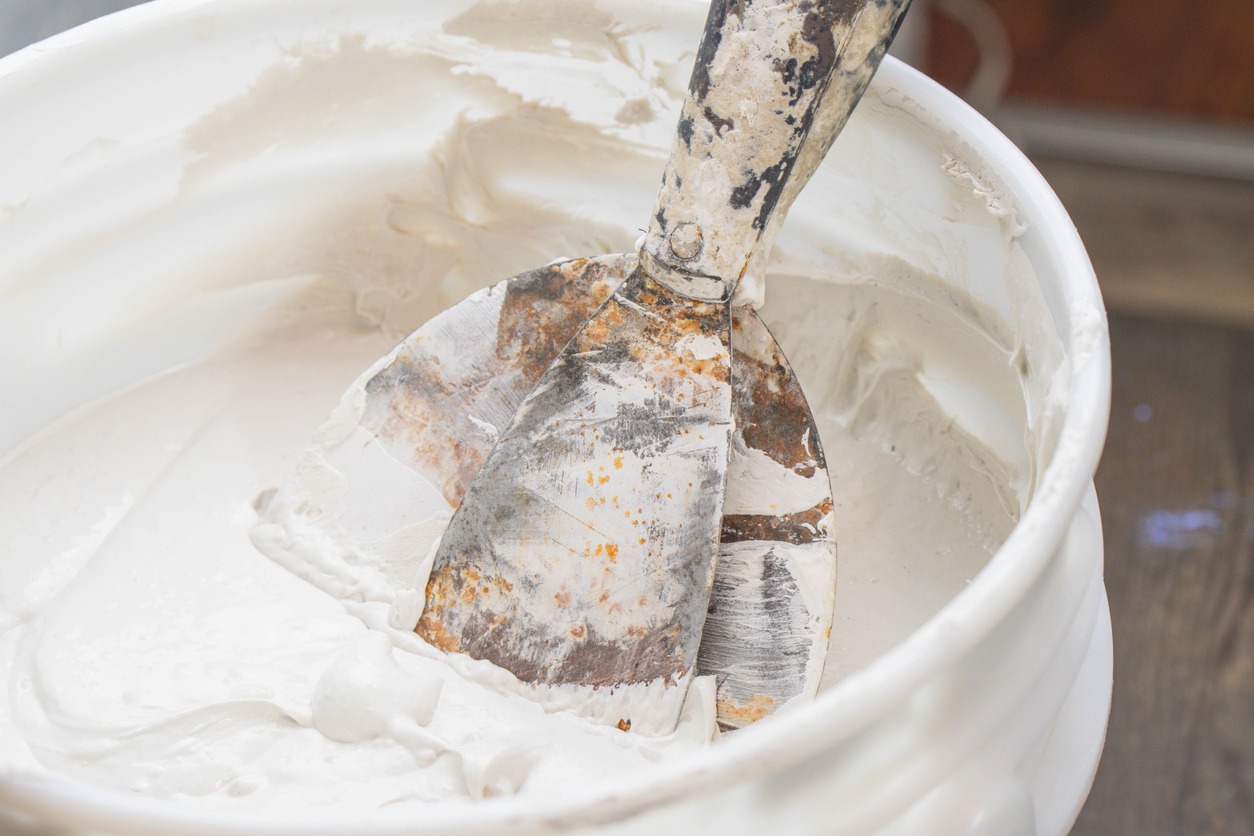
For best results, you’ll need to mix the drywall compound with water according to the manufacturer’s instructions, ensuring the right consistency is achieved. This step is important for a smooth, seamless texture on your surfaces. Achieving the perfect mix might seem challenging, but it’s all about balancing the components correctly.
Here are three key points to remember:
- Importance Matters: The right consistency ensures the compound spreads evenly and adheres properly. It’s the backbone of a successful drywall texturing job, setting the stage for a smooth finish.
- Avoid Over and Under Mixing: Over-mixing can introduce air bubbles, leading to an uneven texture, while under-mixing may result in clumps. Both scenarios can compromise the application and the final appearance.
- Use Clean Tools and Containers: To prevent contamination that could affect the compound’s smoothness, always use clean containers and mixing tools. This simple step can significantly impact the quality of your texture.
Mixing the drywall compound thoroughly before application is important for achieving a seamless and professional texture on your surfaces. Remember, the goal is a uniform application that adheres well and provides the backdrop for your desired texture.
Applying Textures
Applying drywall textures requires precision and a bit of creativity to bring your walls to life with unique patterns and designs. Using tools like hawks and trowels, you can achieve the desired texture and guarantee a texture match for seamless repairs or updates. Here’s a quick guide:
| Tool | Texture Type | Technique |
|---|---|---|
| Hawk & Trowel | Santa Fe Texture | Smooth finish with intricate details |
| Trowel | Skip Trowel Texture | Hand-applied for a unique pattern |
| Hawk & Trowel | Swirl | Creates a dynamic, swirling pattern |
| Professional Drywall Services | Custom Textures | Tailored to match existing designs |
When using texture material, it’s important to apply it evenly across the surface. Skip trowel texture, for instance, requires a gentle hand to create its signature look. For a seamless blend, the hawk and trowel method allows for easy texture matching, especially important in repairs. Professional drywall services can provide samples, ensuring you achieve the desired look and a perfect texture match. Remember, each technique has its nuances, so experiment or consult a professional to bring your vision to life.
Blending Techniques
Now that you’re familiar with applying textures, it’s time to focus on blending techniques. You’ll need to choose the right tools, mix your drywall compound correctly, and master smooth transitions to make your work look seamless. These steps are key to making repaired areas virtually undetectable.
Selecting Appropriate Tools
Choosing the right tools, such as a taping knife, mud pan, and corner trowel, is essential for seamless seam taping and mudding in drywall texture blending. You’ll find that with the right equipment, applying thin layers of drywall mud or joint compound becomes a streamlined process, important for achieving that smooth, professional finish.
Here are three key tools to guarantee seamless blending and texture application:
- Taping Knife: Ideal for spreading joint compound over seams and making sure a smooth application.
- Mud Pan: Keeps your drywall mud handy and makes it easier to load your taping knife with the right amount of compound.
- Corner Trowel: Perfect for achieving smooth inner corners, a must for professional-looking results.
Mixing Drywall Compound
Having selected the right tools for the job, it’s important to focus on how you mix your drywall compound, as this step will greatly affect the texture’s quality and application. Achieving a smooth consistency is key, ensuring ease of application and blending on the textured surface. You’ll need to follow the manufacturer’s instructions closely when determining mixing ratios, as this guarantees the compound adheres correctly and dries properly. Make sure the blended drywall compound is free of lumps or clumps to avoid an uneven texture application. Thoroughly mixing your drywall compound before applying it is essential for achieving a seamless and professional finish. Remember, the quality of your mixing directly impacts your application techniques and the overall look of the textured surface.
Achieving Smooth Transitions
To create a harmonious blend between new and existing drywall textures, mastering blending techniques is essential. Achieving seamless integration requires not just skill but also a keen attention to detail. Here are three crucial steps to guarantee your texturing is flawless:
- Feather edges where new meets old to avoid harsh lines, promoting a smooth merge.
- Use texture brushes or rollers to apply compound in thin layers, enhancing uniformity and allowing for more precise texture matching.
- Practice texture matching methods like sponge blending to assure the new texture aligns perfectly with the existing surface, securing a flawless finish.
Painting and Finishing Touches
Now that you’ve mastered blending techniques, it’s time to focus on painting and adding finishing touches to your drywall texture. You’ll need to select the right paint and apply it carefully to guarantee your textured walls look their best. We’ll guide you through choosing the perfect paint, applying it for a seamless finish, and adding those final touches that make all the difference.
Choosing the Right Paint
Selecting the right paint color is important for a seamless blend with your drywall’s existing texture. To make sure you’re making the best choice, consider these factors:
- Paint Finishes: Whether it’s matte, satin, or semi-gloss, the finish you choose will greatly affect the appearance of your textured surface. Each has its own way of reflecting light and adding depth.
- Compatibility: Make sure the paint is compatible with the texture material. This harmony is key to maintaining consistency and enhancing the overall look.
- Priming and Quality: Applying a primer before painting ensures better adhesion and a uniform finish. Using quality paint and proper application tools boosts durability and aesthetic appeal, making your efforts worthwhile in the long run.
Application Techniques Explained
Having covered the importance of choosing the right paint, let’s focus on how to apply it for the best finish on your textured drywall. Attention to detail is essential for a seamless blend and flawless texture pattern.
| Step | Tip |
|---|---|
| Selecting Paint | Make sure it complements existing textures. |
| Priming | Necessary for smooth adhesion. |
| Application Method | Use a roller for even coverage. |
| Drying | Wait for complete dryness before evaluation. |
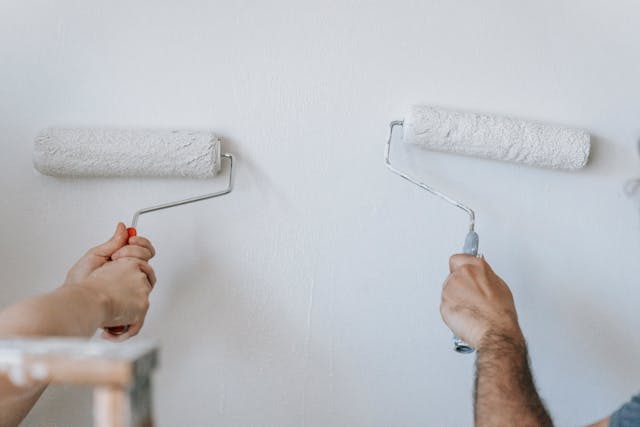
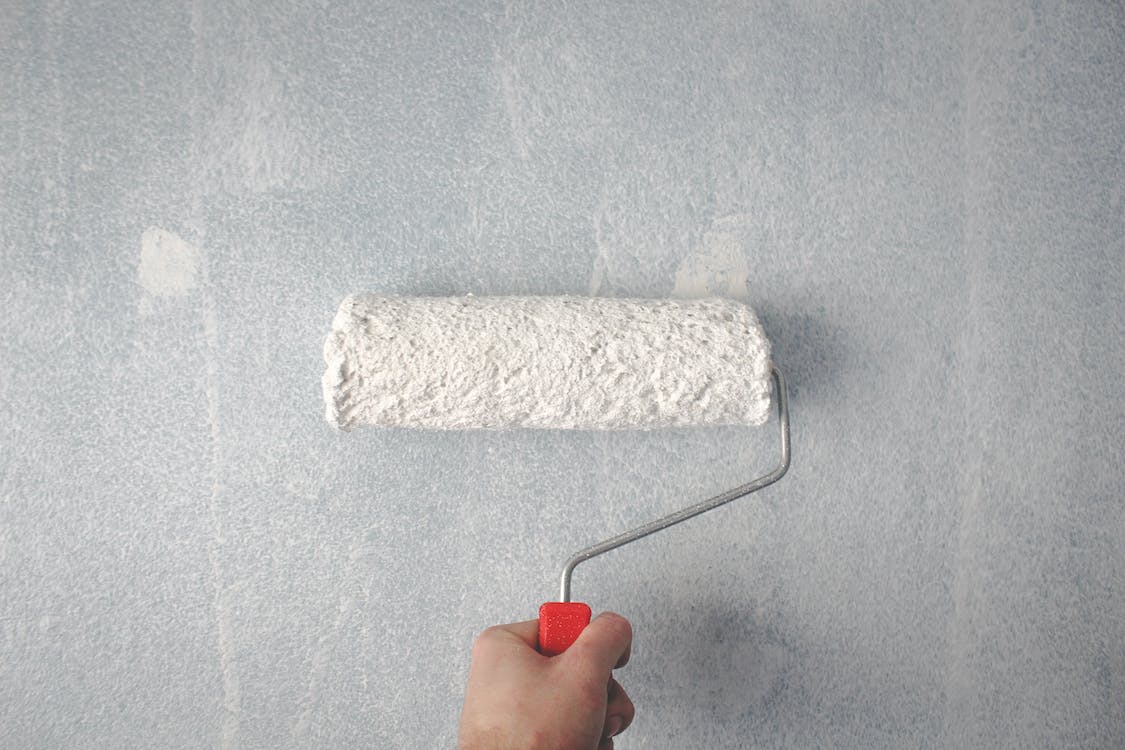
Properly prime your drywall surface to enhance paint adhesion. Apply paint evenly across the texture pattern using a roller to maintain the textured finish. Always feather the edges to merge the new layer of joint compound into the existing texture for a seamless blend. Let the paint dry thoroughly to appreciate the full effect of your application methods.
Final Touch-Up Tips
To achieve a cohesive finish, choose a high-quality paint color that complements your textured surface. Applying the final coat of paint evenly with a roller is important for a seamless blend. Here’s how you can guarantee a professional finish on your drywall texture:
- Even Application: Use a roller to apply the final coat evenly across the textured surface, making sure a uniform paint finish.
- Dry and Evaluate: Let the paint dry completely before evaluating the texture blend. Make any necessary touch-ups to address imperfections.
- Choose the Right Finish: Select a paint finish—matte, satin, or gloss—that enhances the appearance of your textured surface.
Conclusion
Now that you’ve mastered the essentials of seamless drywall texturing, you’re ready to transform any room. Remember, it’s all about preparation, choosing the right tools, and applying the perfect blend of techniques. Whether you’re tackling a popcorn ceiling removal or adding a subtle stipple texture, your skills will elevate the look and feel of your home. So, grab your trowel and drywall compound, and let your walls speak volumes. Here’s to creating spaces that blend artistry with functionality, seamlessly.