
Have you been contemplating giving your rooms a makeover by having your walls painted? Sure, you have. What homeowner doesn’t want a fresh layer of paint on their walls.
If you decide to change the color on some of your walls, it will basically feel like a breath of fresh air every time you enter those rooms.
You should also know that, now more than ever, folks are getting into textured walls for their lovely homes. Yes, you read that right!
Have we tickled your fancy, so far? If so, continue reading to discover more:
What Is A Textured Wall & How It Can Complement Your Décor?
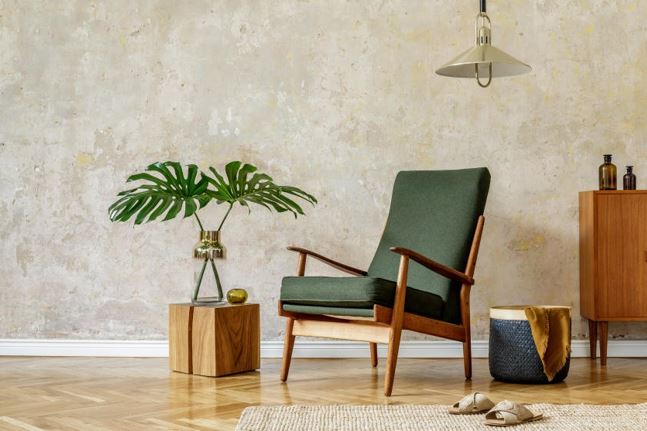
To add visual appeal to an otherwise flat wall, texture paint is applied in a rough, granular fashion using a variety of tools. The appropriate color combinations in wall texture painting can create an effect almost identical to 3D on your walls. It’s an amazing alternative to wallpaper that won’t peel or fade, and it can be used to hide wall flaws occasionally.
With today’s textured paints, the walls are pretty much your canvas. Walls with texture look more interesting, and you may customize the look to your liking. Oh, and do you know what else folks?
With amazing walls like that, you’ll have a lot of fun decorating things in your rooms. Almost everything goes with textured paint, so you’ll definitely be able to incorporate different styles and patterns to make your rooms look lively and cozy at the same time.
The smooth-style textured paint can be shaped using tools to achieve a variety of effects. You can make any design you choose on the wall by using tools like rollers, stencils, cloth, and sponges while the paint is still wet. You can take a peek at this link for more info on the topic https://www.homesandgardens.com/interior-design/paint/textured-paint-guide.
Painting Tips & Advice
Here are a couple of painting tips you need to follow if you want to achieve that amazing outcome:
Spray texture to fix flat areas
Spray texture can be used to repair damage to textured walls caused by filing or drywall patching that leaves an uneven area. Aerosol spray textures come in a wide variety of textures and bases, making it simple to match the look of an existing textured wall while applying a new texture. Before applying a new texture, make sure the old one has been removed.
Use drop cloths
Spilling paint in unexpected places is the universal symbol for a painting fiasco. Yikes!
So, if you want to protect your expensive hardwood floors or carpet from paint drips, lay a drop cloth down before you start painting. That way, you won’t have to take on the DIY effort of stripping paint from wood flooring. You can check out this website for more!
Remove outlet and switch covers
We know that covering your outlets with layers of painter’s tape seems like a quick fix, but please don’t do it. If you want your textured walls to look flawless, you can’t achieve that look by taping over the outlet and switch plate covers with painter’s tape. Instead, use a screwdriver to remove them before painting.
Don’t forget the painter’s tape
If you’re going to be painting textured walls, you need to invest in some high-quality painter’s tape. Never substitute masking tape for painter’s tape. If you don’t want ugly paint streaks on your walls, you need painter’s tape that sticks to every surface.
Use painter’s tape to seal off areas you don’t want to be painted. If you don’t have a tape applicator, try to apply the tape in a straight line across the surface. After using a putty knife to firmly press the tape together, you can trim off the excess using a precision knife.
Use a primer
To ensure that the paint covers the texture of the wall as seamlessly as possible, priming is essential, folks. However, not all paint primers are created equal, so it’s important to check the product label before making a final purchase. Primer for textured walls sometimes features terms like “tough-to-paint” and “high build” on the can.
Select a primer and then use a paint tray and roller to apply it to the walls. Use a “W” motion to roll around the walls, touching up any missing spots with a paintbrush. After the primer has dried, which can take up to three hours, apply a second layer.
Use only high-quality paint
Why is this so important, folks?
Well, this type of paint will stay put on your textured wall much longer than cheap paint will. Oh, and be sure to choose paint from a reputable manufacturer if you want your walls to retain their color for as long as possible.
You should also know that painting textured walls makes it more likely that you might miss a place. But, don’t sweat it because using time-tested painting methods can go a long way toward avoiding this sort of catastrophe. Use a “W” motion, much like you did with the primer, to paint textured walls. Oh, and you should also know that in areas where a roller won’t reach, you can go back in with a paintbrush.
The brilliance of an edging took
Painting the edges of textured walls with a paintbrush works, but a paint edger makes all the difference in the world.
In comparison to a regular paintbrush, these tools are more rigid and allow you to create crisper edges, which, while modest, can have a significant visual impact on the final look of your painted walls. Use a paintbrush to add paint to your edger so you can regulate the amount of paint used.
Hire pros
If you feel like you can’t handle a big project like that, you can count on professional painting services to take care of everything for you. They have the tools, skills, and experience to tackle any painting project, even textured one! So, be sure to find the right services and give them a call ASAP.