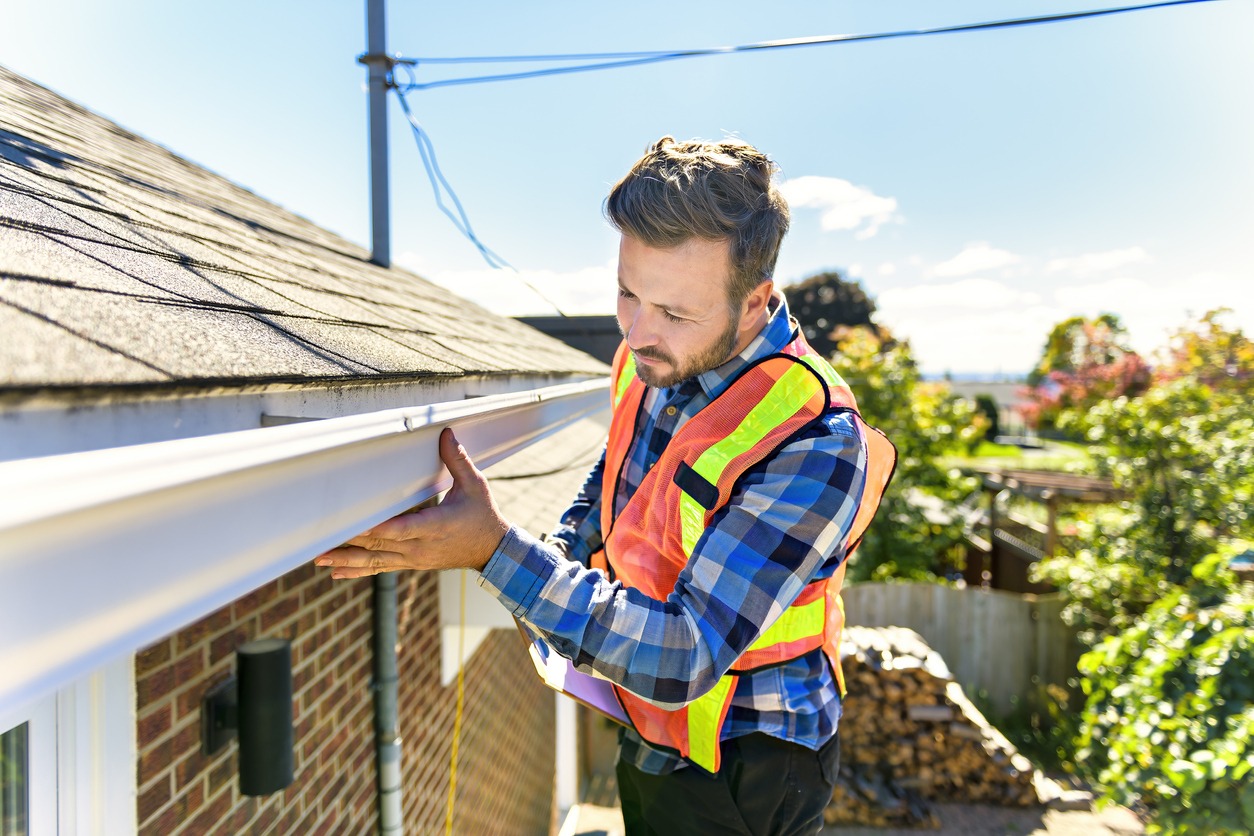
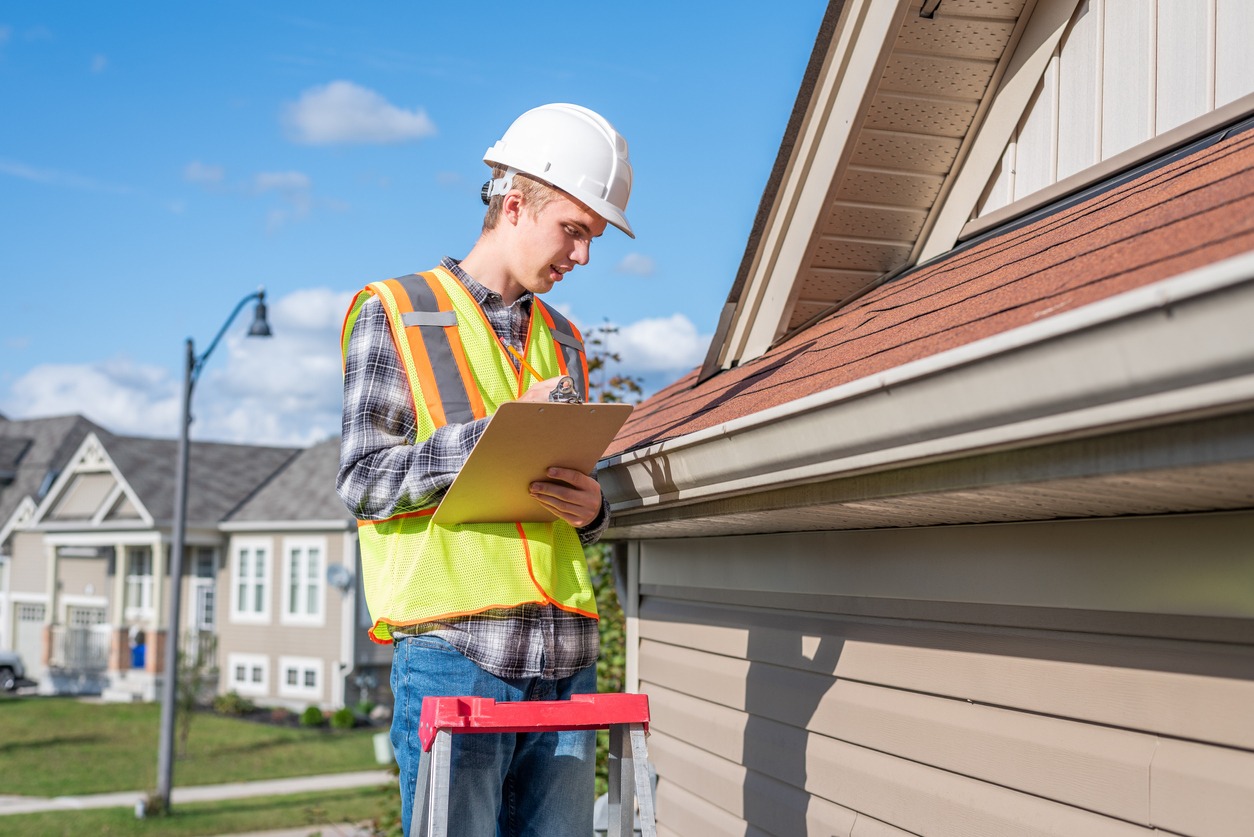
Prevention is always better than cure, and this principle also applies to your house and your roof. When it comes to these things, you should take no chances. Regular roof inspections are important, especially if your roof is aging, and if a big storm is coming your way. You can either get a professional to inspect or try the DIY approach using our handy roof checklist to cover the essentials.
What’s a Roof Inspection Checklist?
A roof inspection checklist guides project managers and workers to identify and address hazards before work begins. It ensures workers’ safety by systematically uncovering potential risks.
Why is it Important to Have Regular Roof Inspections?
Regular roof inspections are crucial for maintaining your home. They enable you to:
1. Stay Ahead in Roof Maintenance
Regular inspections help you catch issues early, before they escalate. Some problems might slip through and worsen if not noticed in time. Spotting an issue during an inspection lets you address it promptly.
2. Prevent Injuries
Roof work is inherently risky, even with safety protocols. However, consistent safety inspections can reduce accidents by identifying potential hazards. get answers to your questions by checking out KVN Construction.
3. Enhance Work Quality
Apart from preventing accidents, safety inspections improve work quality. Identifying hazards helps you address potential problems that might arise during roof work.
Conduct these inspections twice a year, especially after harsh weather. Look for signs like warped shingles, roof line buckling, or excess granules in gutters.
Before Inspection, Stay Safe
Before you begin, you always have to keep safety first. Roofing can be risky. Falls are the leading cause of fatalities in the roofing industry, accounting for over a third of all deaths. Workers need to follow a safety checklist to protect themselves and others.
As you go up your roof, ensure that someone is holding the ladder or it’s securely positioned. If your roof seems damaged, do not attempt to mount your ladder by it. Always inform someone that you are going up before inspecting the roof, and use a safety harness to prevent falls. Move carefully to avoid any slips or damage.
Often, staying on the ground and performing a visual inspection from the ground or binoculars can help identify issues. If you need anything more detailed than that, it’s best to ask the help of a professional. If your roof is very steep, don’t inspect without the help of a professional.
Tips for Roof Safety Inspections
Performing roof safety inspections significantly lowers the risk of accidents or injuries. Keep these tips in mind when conducting inspections:
- Establish regular inspection routines. This helps catch potential issues early and prevent them from becoming serious.
- When inspecting, be thorough. Check all roof areas, including gutters, downspouts, flashing, shingles, and chimneys.
- Pay close attention to details during the inspection. Spot any damage, no matter how small. It’s better to catch problems early than wait.
- Take your time during the inspection. Rushing increases the chance of missing something. Be patient and thorough. Examine all roof areas, even if they seem fine.
- If you’re uncomfortable inspecting alone, enlist a professional’s assistance. They can identify potential hazards and ensure your roof’s safety.
Key Roof Inspection Areas
When inspecting your roof, focus on these critical areas:
- Shingles: Watch for curling, loose, buckling, blistering, or missing shingles. These may indicate underlying issues that need immediate attention.
- Flashing: Check for cracked caulk or rust spots that can lead to leaks.
- Gutters: Ensure they’re clear of debris and securely attached to the roof.
- Skylights: Inspect for leaks or cracks, as these may need to be replaced.
- Chimney: Inspect its condition and look for any signs of damages, especially on the flashing around it that connects it to the roof.
Thorough examination helps spot problems and take corrective steps. Taking photos of damaged areas can be useful for future reference.
Your Roof Inspection Checklist: What Parts of the Roof To Inspect
1. Roofing Material
Check the roofing material. For asphalt shingles or tiles, ensure they’re in place without warping, cracks, or chips. Also, check the ground around the house and the gutters and downspouts if there are asphalt granules missing from the surface. For metal roofs, watch for rust, corrosion, and hail or dents caused by debris.
Skilled professionals can spot and address these issues without causing further damage. Such nail problems signal potential slate/tile looseness, which can be hazardous if debris falls.
2. Nails and Screws
Roofing materials are secured with nails or screws. Over time, these can loosen, affecting their effectiveness. If you see loose nails or screws, gently reattach them. But if they repeatedly come loose, there might be a bigger problem.
3. Water Damage
Inspect for water damage, especially near the eaves. Stains or rotted wood could result from water seeping under shingles, damaging the roof’s sheathing. Discolored patches on the roof might also signal water-related issues and should be looked into further.
4. Flashing
Flashing is typically thin metal used at edges, joints, and connections (like skylights, chimneys, or vents) to guide water and prevent it from getting under roofing. Even properly installed flashing can loosen over time due to dry adhesive or brittleness. It can also be damaged by debris or hail. Look carefully at the flashing on your roof to make sure it’s complete with no missing pieces or gaps.
5. Roof Valleys
Roof valleys are formed where two roof surfaces meet. Because of its lower position, it tends to collect water, so regular inspections are crucial. Check for water damage, leaks, and rusting on the metal flashing. Clear any debris present, and ensure they are properly sealed to prevent water from seeping beneath shingles into your attic.
6. Roof Protrusions
Inspect vents, exhaust pipe collars, boots, and exhaust fan covers for proper installation and damage due to age or weather.
7. Ridge Cap
The ridge cap is the section of the roof that runs along the peak, providing stability and weather protection. Make sure it’s intact by looking for missing or warped shingles, cracked flashing, or loose nails.
8. Chimney
Look out if the chimney is still of good quality by checking if there are deteriorating mortar joints, loose masonry, flaking or deteriorating bricks, and wet marks appearing on the sides of the stack. Also check if there are unusual holes appearing in your chimney.
9. Gutters
Overflowing or leaking gutters indicate blockage with leaves or other debris or deterioration, affecting water flow around your home’s exterior. Leaking gutters can cause rot and decay in timber fascia, soffits, window frames, and main walls if not repaired professionally as soon as possible.
Your Roof Inspection Checklist: What to Look Out For
1. Interior Leaks or Unwanted Dampness
Don’t forget to check inside your home – signs of roof issues might be visible in your attic. Look for sagging or wet stains on roof timbers, valley boards, insulation, walls, trusses, rafters, and chimney areas. If the roofline is sagging, it may indicate potential structural issues.
2. Pooling Water
Especially noticeable on flat roofs, pooling water could indicate a sagging roof structure. The weight of trapped water can lead to further damage.
3. Bumpy Tile Lines
If you spot these, it could signal structural issues due to weak roof frames or wall plate beams or brickwork at the top of parapet walls. In these cases, look at your interior ceilings and tops of the walls below roof level to see if there are cracks in the brickwork or plastered surface.
4. Condensation
Ensure proper roof ventilation; don’t block eaves with insulation or other stored items. Condensation can cause fungus growth, dampness on ceilings, and wet rot decay in hidden parts of the roof timber.
5. Moss or Algae
Moss or algae may not always be detrimental to the structure of your roof, but it doesn’t look good. If the roof isn’t cleaned in a while, moss or algae can grow.
6. Debris and Vegetation
When leaves, branches, and other debris gather up your roof, it can block the gutters and valleys and help block up rain pipes and outlets. But these organic matter can also hold moisture and cause growth of vegetation and encourage wildlife to thrive. The extra weight can also impact the integrity of your roof.
7. Stains on Ceilings and Walls
Stains on ceilings or walls might come from plumbing, but they could also signal a roof leak. Moldy smells from walls could be plumbing or roof-related. Identify the source and address it promptly.
Regular inspections offer peace of mind, ensuring your roof continues protecting your home. They can save money by preventing expensive repairs and extending the roof’s lifespan.
Professional Roof Inspections
Many roofers recommend having professional inspections regularly. This is because professionals are skilled at identifying potential problems early, which can save you money on future repairs or even a roof replacement.
Professional inspections offer these key benefits:
- Experienced roofers can estimate a roof’s remaining life based on its current condition, helping you plan and budget for a future replacement.
- They can advise on warranty coverage for repairs, potentially saving costs.
- Expert roofers can help assess if your homeowner’s insurance covers roof damage.
- Building a relationship with a trusted roofer can prove invaluable for future repairs or emergencies.
Professional roofers have a trained eye and the right tools to do a thorough job. They might provide findings verbally and in a written report. Inspection reports typically cover:
- Basic info about your home, location, and insurance.
- Roof details like style, material, and age.
- Condition findings, damage explanations, and repair recommendations.
- Estimates for damage repair or roof replacement if needed.
After major storms, it’s smart to have a professional assessment, as they might spot issues you didn’t notice.
Many roofing contractors offer free inspections, taking out the cost barriers to assessing your roof’s condition. Even if there’s a fee, it’s worthwhile to catch and fix problems early before it becomes expensive.
Conclusion
Regular DIY roof inspections are a proactive way to maintain your home. Catching potential problems early saves you money and stress. Focus on safety and crucial roof areas. Seek professional help for complex issues. Your safety and home’s condition matter most.


