
Begin by filling holes and cleaning your walls to guarantee a smooth base. Choose the appropriate primer to cover unique crevices, enhancing adhesion and appearance. Select high-quality paints, choosing a roller with a nap length that matches your wall texture. Explore various painting techniques like the comb, knockdown, or orange peel to add character to your space. Make sure each coat dries fully before applying the next, aiming for even coverage and depth. Finalize with careful touch-ups and cleanup for a flawless finish. With the right approach, you’re on your way to beautifully transforming your room, revealing secrets to perfection.
Key Takeaways
- Select high-quality paint and tools designed for textured surfaces to ensure even coverage.
- Use a roller with the correct nap length to penetrate textured wall crevices effectively.
- Apply primer before painting to enhance paint adhesion and appearance on textured walls.
- Master various painting techniques like comb, knockdown, or orange peel for unique textures.
- Allow sufficient drying time between coats for a flawless finish and to prevent uneven coverage.
Preparing Your Walls
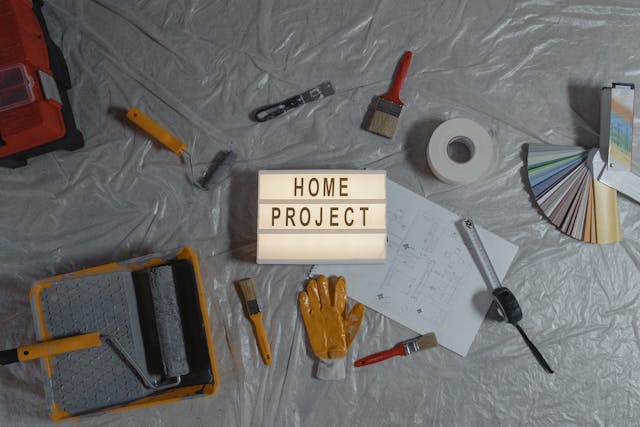
Before diving into the painting project, it’s crucial you prepare your walls, guaranteeing a flawless finish by filling any holes with spackle, cleaning thoroughly, and using the right tools for textured surfaces. Prepping your walls is the foundation of a successful painting job. Start by addressing any imperfections. Textured walls, with their unique challenges, require a bit more attention. Fill any scratches or holes with spackle to guarantee a smooth canvas for your paint.
Next up, cleanliness is key. Dust and grime can hinder paint adhesion, so grab a vacuum or wipe down your walls to remove any debris. This step can’t be skipped, especially with textured walls where dust settles in crevices.
Don’t forget to remove outlet and switch covers to keep them paint-free. Use painter’s tape to protect baseboards and create sharp paint lines, ensuring a professional-looking finish.
Choosing the right tools can make or break your project. For textured walls, a thick nap roller is your best bet. It’s designed to get into those nooks and crannies, providing even coverage and reducing the need for touch-ups. Armed with these prep steps, you’re on your way to transforming your space with paint.
Selecting the Right Primer
Selecting the correct primer can greatly enhance the adhesion and appearance of paint on your textured walls. Using the right primer is crucial in guaranteeing your paint job not only looks fantastic but also lasts longer. High-quality primers are specifically designed to create a smooth surface on textured walls, allowing the paint to adhere better and maintain a vibrant appearance over time.
When you choose a primer tailored for textured walls, you’re setting yourself up for success. It assures better paint adhesion and longevity, making your painting project more durable and resistant to wear and tear. These primers are formulated to penetrate the unique crevices and textures of your walls, providing an even and consistent base for the paint to cling to.
Moreover, applying primer with a ¾ to 1-inch roller is a pro tip that can make a significant difference. This technique helps reach into the crevices of textured walls, ensuring complete coverage and a uniform finish. Remember, proper priming is vital for a successful painting project on textured walls. It lays the foundation for a stunning and lasting result, elevating the overall quality of your work.
Choosing Paint and Tools
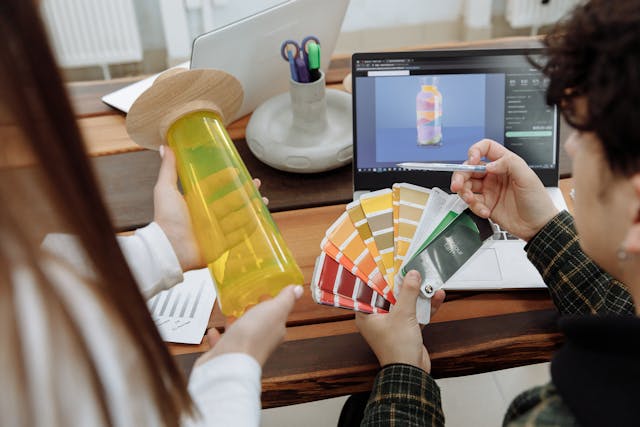
Now that you’ve primed your textured walls, it’s time to gear up with the right paint and tools. Choosing a top-notch, thick paint guarantees your walls not only look stunning but are also easy to maintain. Pair that with brushes designed for textured surfaces, and you’re set to master the art of painting textured walls.
Selecting Appropriate Paint
Selecting the appropriate paint for your textured walls is essential for improving their resilience and appearance. Opt for high-quality latex or oil-based paints that feature satin or semi-gloss finishes. These choices not only enhance the durability of your walls but also make them easier to clean. A thicker consistency paint is ideal for textured surfaces as it provides better coverage and masks imperfections effectively. Here’s a quick guide:
| Feature | Recommendation | Benefit |
|---|---|---|
| Paint Type | Latex or Oil-based | Durability, Easy Cleaning |
| Finish | Satin or Semi-gloss | Aesthetic Appeal, Washable |
| Consistency | Thicker | Better Coverage |
| Roller Type | High Nap, Thick Nap | Smooth Application |
| Maintenance | Washable Paint | Longevity, Easy Care |
Essential Painting Tools
Having chosen the right paint for your textured walls, it’s time to focus on the tools you’ll need for a flawless application. Your success hinges not just on high-quality paint but also on selecting the appropriate tools that cater to the unique texture of your walls. Here’s what you’ll need:
- A roller with a nap length suitable for your wall’s texture, ensuring excellent paint application and coverage.
- High-quality paint products with a thicker consistency designed for textured surfaces, which help in achieving better coverage and hiding imperfections.
- An angled brush for those hard-to-reach areas, ensuring even coverage and a professional finish.
With these tools in hand, you’re set to transform your textured walls into a work of art.
Brushes for Texture Mastery
Choosing the ideal brush is crucial for excelling in the art of painting textured walls, ensuring that every detail shines. Different textured surfaces require specific brush types. For example, angled brushes navigate intricate patterns effortlessly, guaranteeing a flawless execution. A high-quality brush, designed for textured walls, is your best ally. It explores every nook and cranny, allowing paint to thoroughly cover even the most complex textures. Remember, the depth of the texture guides your brush selection. The appropriate brush guarantees even application and complete coverage. Investing in a premium brush not only makes your task easier; it’s the key to achieving a professional finish. Elevate your painting skills by selecting the perfect paint brushes for your textured walls.
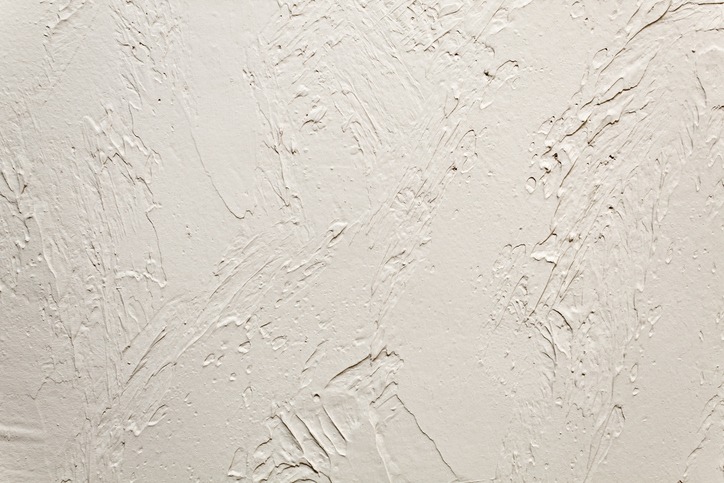
Painting Techniques Explained
When painting textured walls, various techniques can profoundly transform your space, each offering its own unique aesthetic and functional benefits. Whether you’re aiming for a subtle touch or a standout feature, mastering these methods can greatly enhance your room’s character.
Here are a few standout techniques:
- Comb Technique: Utilize a combing tool to create enchanting rainbow patterns. By dragging the tool across wet paint, you’ll introduce lines of various widths that add depth and intrigue to your walls.
- Orange Peel Texture: Achieve this look with a specialized roller, mimicking the skin of an orange. It’s a favored choice for its balance of texture and simplicity, adding interest without overwhelming the space.
- Knockdown Technique: Starting with an orange peel base, this method adds an extra step. Once the initial texture is applied, it’s lightly smoothed down, or ‘knocked down,’ resulting in a stucco-like finish with a bit more dimension.
Each of these techniques offers a unique way to elevate the look of your home. With the right tools and a bit of practice, you’ll find that painting textured walls not only enhances the visual appeal but also allows for personalized expression throughout your living space.
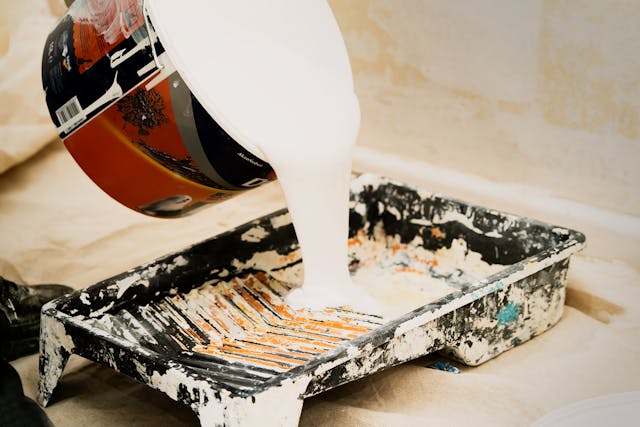
Applying Additional Coats
Once you’ve applied your initial coat, you’re prepared to tackle additional layers to guarantee your textured walls stand out with color and durability. Before you add another layer, make sure the previous one is fully dry to prevent any complications. We’ll lead you through preparing for the second coat, understanding drying times, and applying the final touches to achieve a flawless finish.
Preparing for Second Coat
Make sure your first coat is completely dry before you start applying the second to avoid any mixing or streaking. Before you begin your second coat, take a moment to inspect the first. Look for any missed spots or areas where coverage might not be as even as you’d like. It’s your opportunity to perfect the canvas. Applying the second coat is just as important as the first, so here are a few tips to keep in mind:
- Check for any missed spots or uneven coverage from the first coat.
- Use consistent strokes for a smooth, even finish.
- Remember, multiple coats may be necessary for that perfect depth and uniformity.
With patience and careful application, those touch-ups will lead to a beautifully finished wall.
Drying Time Considerations
Understanding the importance of drying time between coats is essential to a flawless finish on your textured walls. When painting a textured surface, the unevenness means some areas absorb paint differently, requiring a bit more patience. Adhering to the paint manufacturer’s guidelines for drying time isn’t just important—it’s a necessity for a professional finish. Remember, the drying process can be influenced by humidity levels and temperature, so adjusting expectations based on your environment is vital. Rushing this step can lead to disappointing results, like uneven coverage or a less durable paint job. By allowing each coat to dry thoroughly, you’re not just waiting; you’re ensuring your textured walls will boast a stunning, long-lasting finish.
Final Coat Application Tips
Why not enhance your textured walls’ appeal by applying additional layers of paint for a consistent and vibrant finish? Adding more coats boosts the paint texture, guaranteeing each wall shines with color depth and vibrancy. Here’s how you can achieve that perfect look:
- Make sure each layer is completely dry before adding another, to build up consistent coverage without compromising the smooth finish.
- Apply the final coat application in a uniform manner, using even strokes to avoid streaks.
- Keep in mind, additional layers not only conceal imperfections but also enhance durability, making your walls withstand the test of time.
Final Touches and Cleanup
After finishing the primary painting task, it’s important to concentrate on the final touches and cleanup to guarantee a polished finish. Carefully removing the painter’s tape is your first step to a neat edge. Any spills? Grab a damp cloth and wipe them away promptly. And don’t rush off yet—inspect your walls closely. Might need a few touch-ups to achieve perfection.
Now, let’s keep those painting tools in tip-top shape for next time. Clean and dry them well. To conclude, remember to dispose of any leftovers responsibly, in line with local guidelines.
Here’s a quick guide to make sure you’ve got everything covered:
| Task | Do’s | Don’ts |
|---|---|---|
| Painter’s Tape Removal | Remove slowly and gently | Pull quickly, risking paint peel |
| Clean Up | Use a damp cloth for spills | Let spills dry and harden |
| Touch-Ups | Inspect thoroughly for imperfections | Overlook minor mistakes |
| Painting Tools | Clean and dry for future use | Store dirty or wet |
| Dispose | Follow local paint disposal guidelines | Improperly dispose of hazardous waste |
Achieving a polished finish isn’t just about the paint; it’s how you wrap up. So, take these final steps seriously, and you’ll admire your work for years to come.
Frequently Asked Questions
Are Textured Walls Hard to Paint?
Yes, textured walls can be tough to paint. But with proper surface preparation, wise color choice, adjusting paint consistency, and careful masking of edges, you’ll master it. Remember, drying times and cleanup are key for great results!
Can I Paint Directly Over Texture?
Yes, you can paint directly over texture, but it’s essential to prepare the surface, choose the right paint, and prime as necessary. Consider texture types and color impact, and allow proper drying times for best results.
What Paint Brush to Use on Textured Walls?
You’ll need a thick-nap roller and a 1-inch angled brush for those texture challenges. They enhance paint absorption, minimize brush strokes, and guarantee durability. These coverage techniques beat any worries about selecting the right brush.
What Is the Best Way to Paint Texture?
To paint texture effectively, you’ll need to follow key preparation steps, understand texture types, and make smart color choices. Consider drying times, add finishing touches, and remember maintenance tips for lasting results.
Conclusion
Now you’ve mastered painting textured walls, transforming them beautifully. You’ve prepped diligently, chosen the perfect primer and paint, and wielded your tools like a pro. With each coat applied meticulously and final touches added, your space now radiates with a fresh, vibrant look. Remember, cleanup is a breeze when you’re organized. So, pat yourself on the back for a job well done. Revel in your stunning, textured walls that now speak volumes of your effort and creativity.