
When tackling your home’s drywall, you’re measuring, cutting, and finishing, but are you optimizing each step for the best outcome? You’ve likely gathered the essential tools and donned your safety gear, yet there’s a world of techniques and tricks that could elevate your project from good to exceptional. Beyond the immediate satisfaction of a job well done, improving your drywall can greatly enhance your home’s value and energy efficiency. But how do you move from basic repairs to professional-quality work? Let’s explore some strategies that can transform your approach, ensuring your efforts pay off in both aesthetics and functionality.
Essential Drywall Tools
To tackle a drywall project effectively, you’ll need essential tools like a hammer, screwdriver, and utility knife. These aren’t just your run-of-the-mill tools; they’re the backbone of any drywall job, allowing you to make precise cuts and make installations snug and secure. But it doesn’t stop there. You’ll also need a drywall saw for those tougher cuts that require a bit more finesse and a measuring tape to make sure every piece fits perfectly into place.
However, having the right drywall tools is only half the battle. You must also prioritize your safety by donning gloves, goggles, and a dust mask. This safety gear is non-negotiable, as it protects you from injuries and keeps you from inhaling harmful dust particles.
For a truly professional finish, additional tools come into play. A T-square helps in keeping your cuts straight, while sandpaper, joint compound, and drywall tape assist in smoothing out the edges and seams. Corner beads are also crucial for those perfect corners. And let’s not forget a sturdy ladder to reach those high spots. With the proper tools and safety gear, you’re set for a successful drywall project that’s both accurate and efficient.
Accurate Measurements
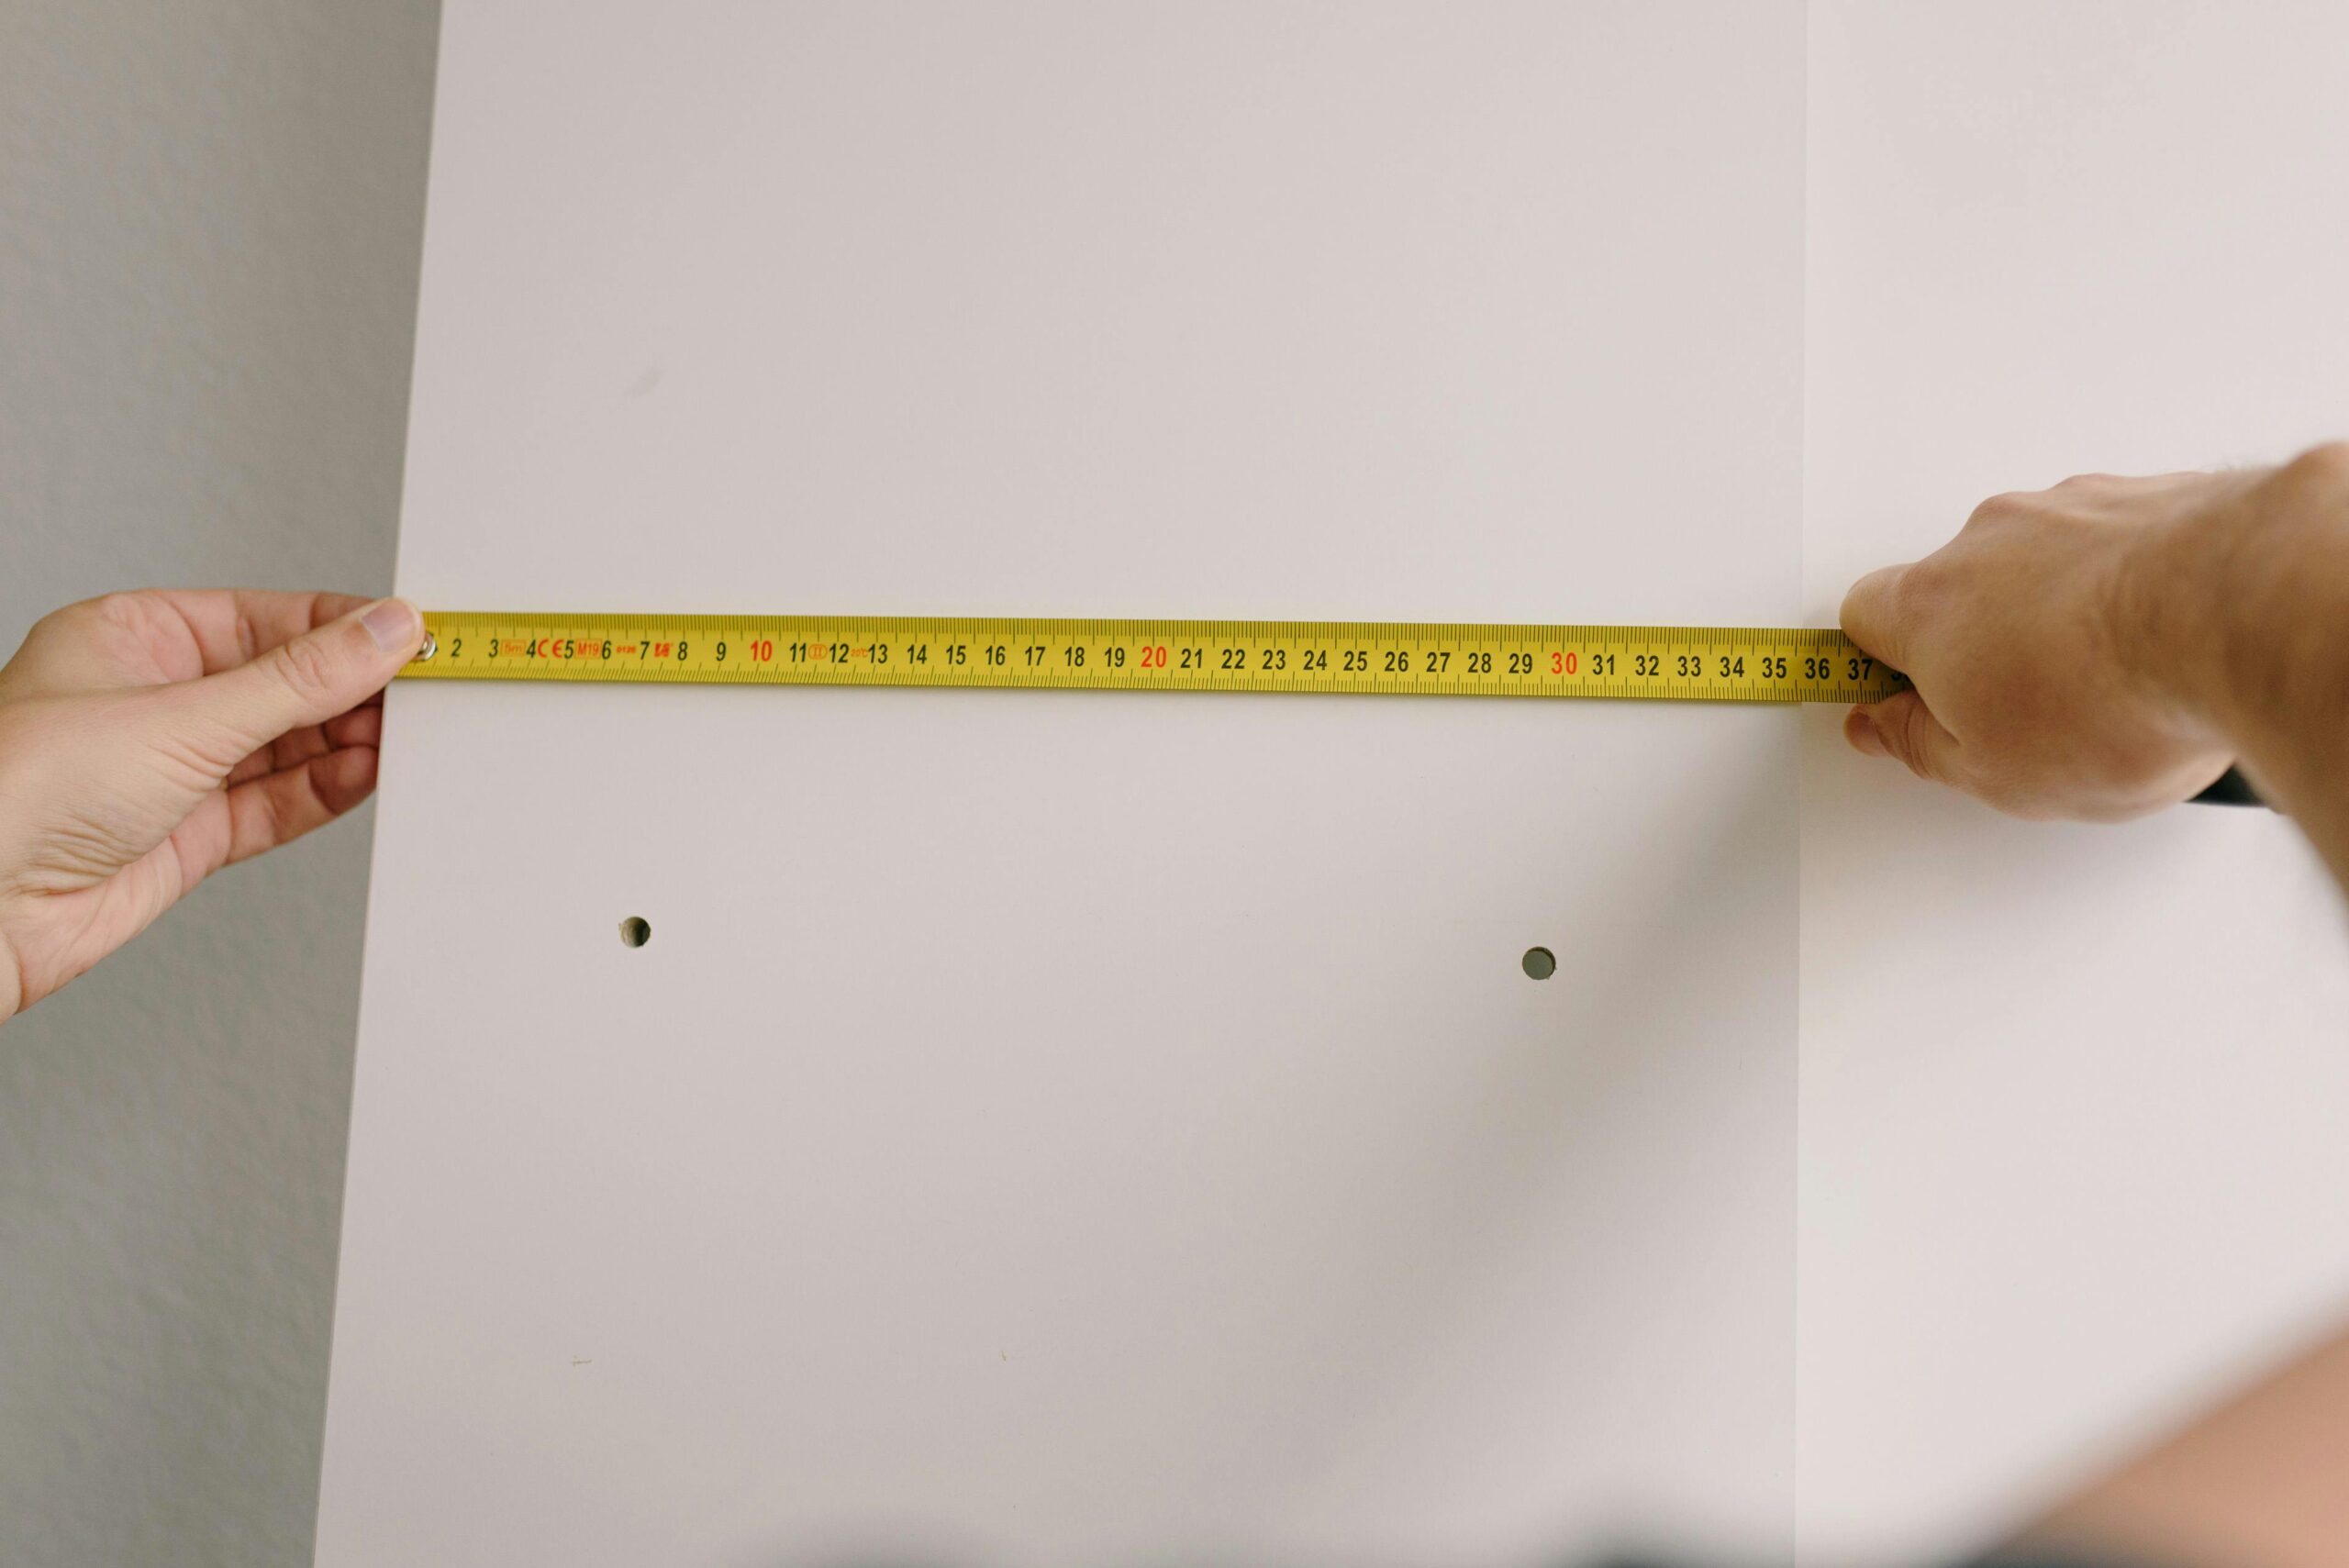
Measuring your space accurately is the foundation of a flawless drywall project, guaranteeing each piece fits perfectly without waste. When tackling drywall, accurate measurements aren’t just a suggestion; they’re a must to secure precise fitting. It’s not just about the walls, either. You’ve got to carefully measure doorways, windows, and any obstacles that could lead to unnecessary gaps or overlaps. These meticulous steps help prevent the frustration of material wastage, saving you both time and money.
Before you even think about cutting into your drywall sheets, proper measurements are your blueprint for a seamless and professional finish. This attention to detail is what separates a DIY job from a polished, professional look. Remember, precision in measurements is key. It’s not just about making cuts; it’s about envisioning the end result where every piece of drywall aligns perfectly, leaving no room for error.
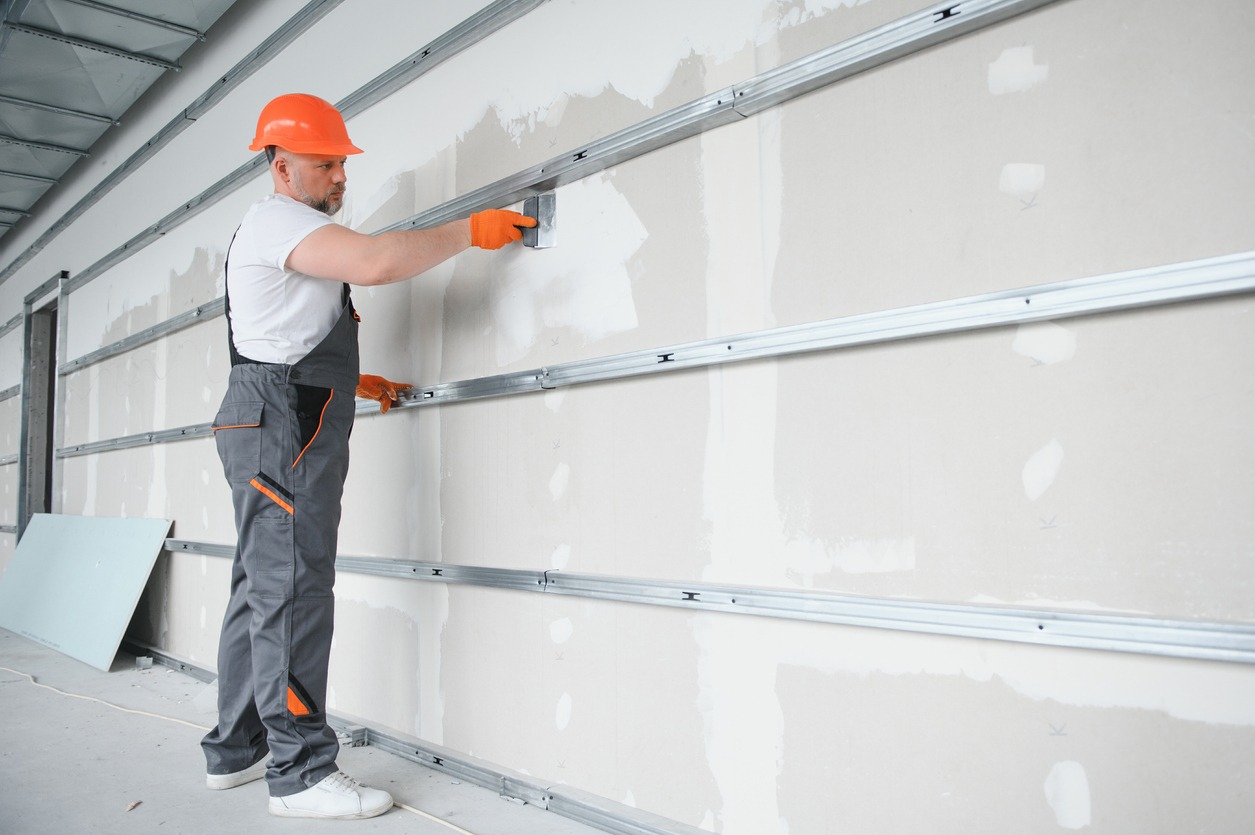
Area Preparation
Before you start your drywall project, it’s important to clear the space and protect your furniture and floors. Covering the area with drop cloths and plastic sheeting will save you a lot of cleanup time later. Don’t forget to gather all the necessary tools to streamline the process and guarantee a smooth operation.
Clearing the Space
When preparing to improve your home’s drywall, the first step is to clear the space, making sure it’s free of furniture and other items that could obstruct the process. This is important for a smooth drywall installation or repair. You’ll need to remove furniture from the area to protect it and create an unobstructed workspace. Although covering floors with drop cloths and sealing off the space with plastic sheeting to contain dust are important steps, they’re part of the next phase focused on protecting furniture and floors. For now, focus on clearing the work area of any obstacles. Make sure the walls are clean and free of any obstructions. Proper area preparation is key to creating a safe and organized environment, essential for efficient drywall work.
Protecting Furniture/Floors
Having cleared the space for your drywall project, it’s now important to focus on protecting your furniture and floors from dust and potential damage. Here are four essential steps to make sure your home stays clean and undamaged during the work:
- Cover furniture with drop cloths to safeguard from dust and debris, making sure your belongings remain clean and intact.
- Use plastic sheeting to seal off the work area and prevent contamination of other parts of your home.
- Lay down protective coverings on floors to avoid scratches or dents from tools and materials.
- Remove obstacles from the work area to make easy access for drywall installation and safeguard surfaces from accidental damage.
Gathering Necessary Tools
To start your drywall project on the right foot, you’ll need to gather essential tools such as a hammer, screwdriver, and utility knife. For ceiling drywall projects, a sturdy ladder is indispensable to reach high areas safely. Don’t forget the necessary tools for a smooth finish: sandpaper, joint compound, drywall tape, and corner beads.
| Tool Type | Specific Tool | Use Case |
|---|---|---|
| Basic Tools | Hammer, Screwdriver | Installing and removing nails/screws |
| Measurement Tools | Measuring Tape, T-square | Ensuring proper alignment |
| Finishing Tools | Joint Compound, Sandpaper | Smoothing out surfaces |
Cutting Techniques
Why not enhance your home’s aesthetics and functionality by mastering the art of cutting drywall with precision? When it comes to installing drywall sheets, precision cutting is not just a skill; it’s an art that guarantees your walls look seamless and professional. Using a utility knife and a T-square, you can score the drywall to make precise cuts that fit perfectly into the designated spaces in your home.
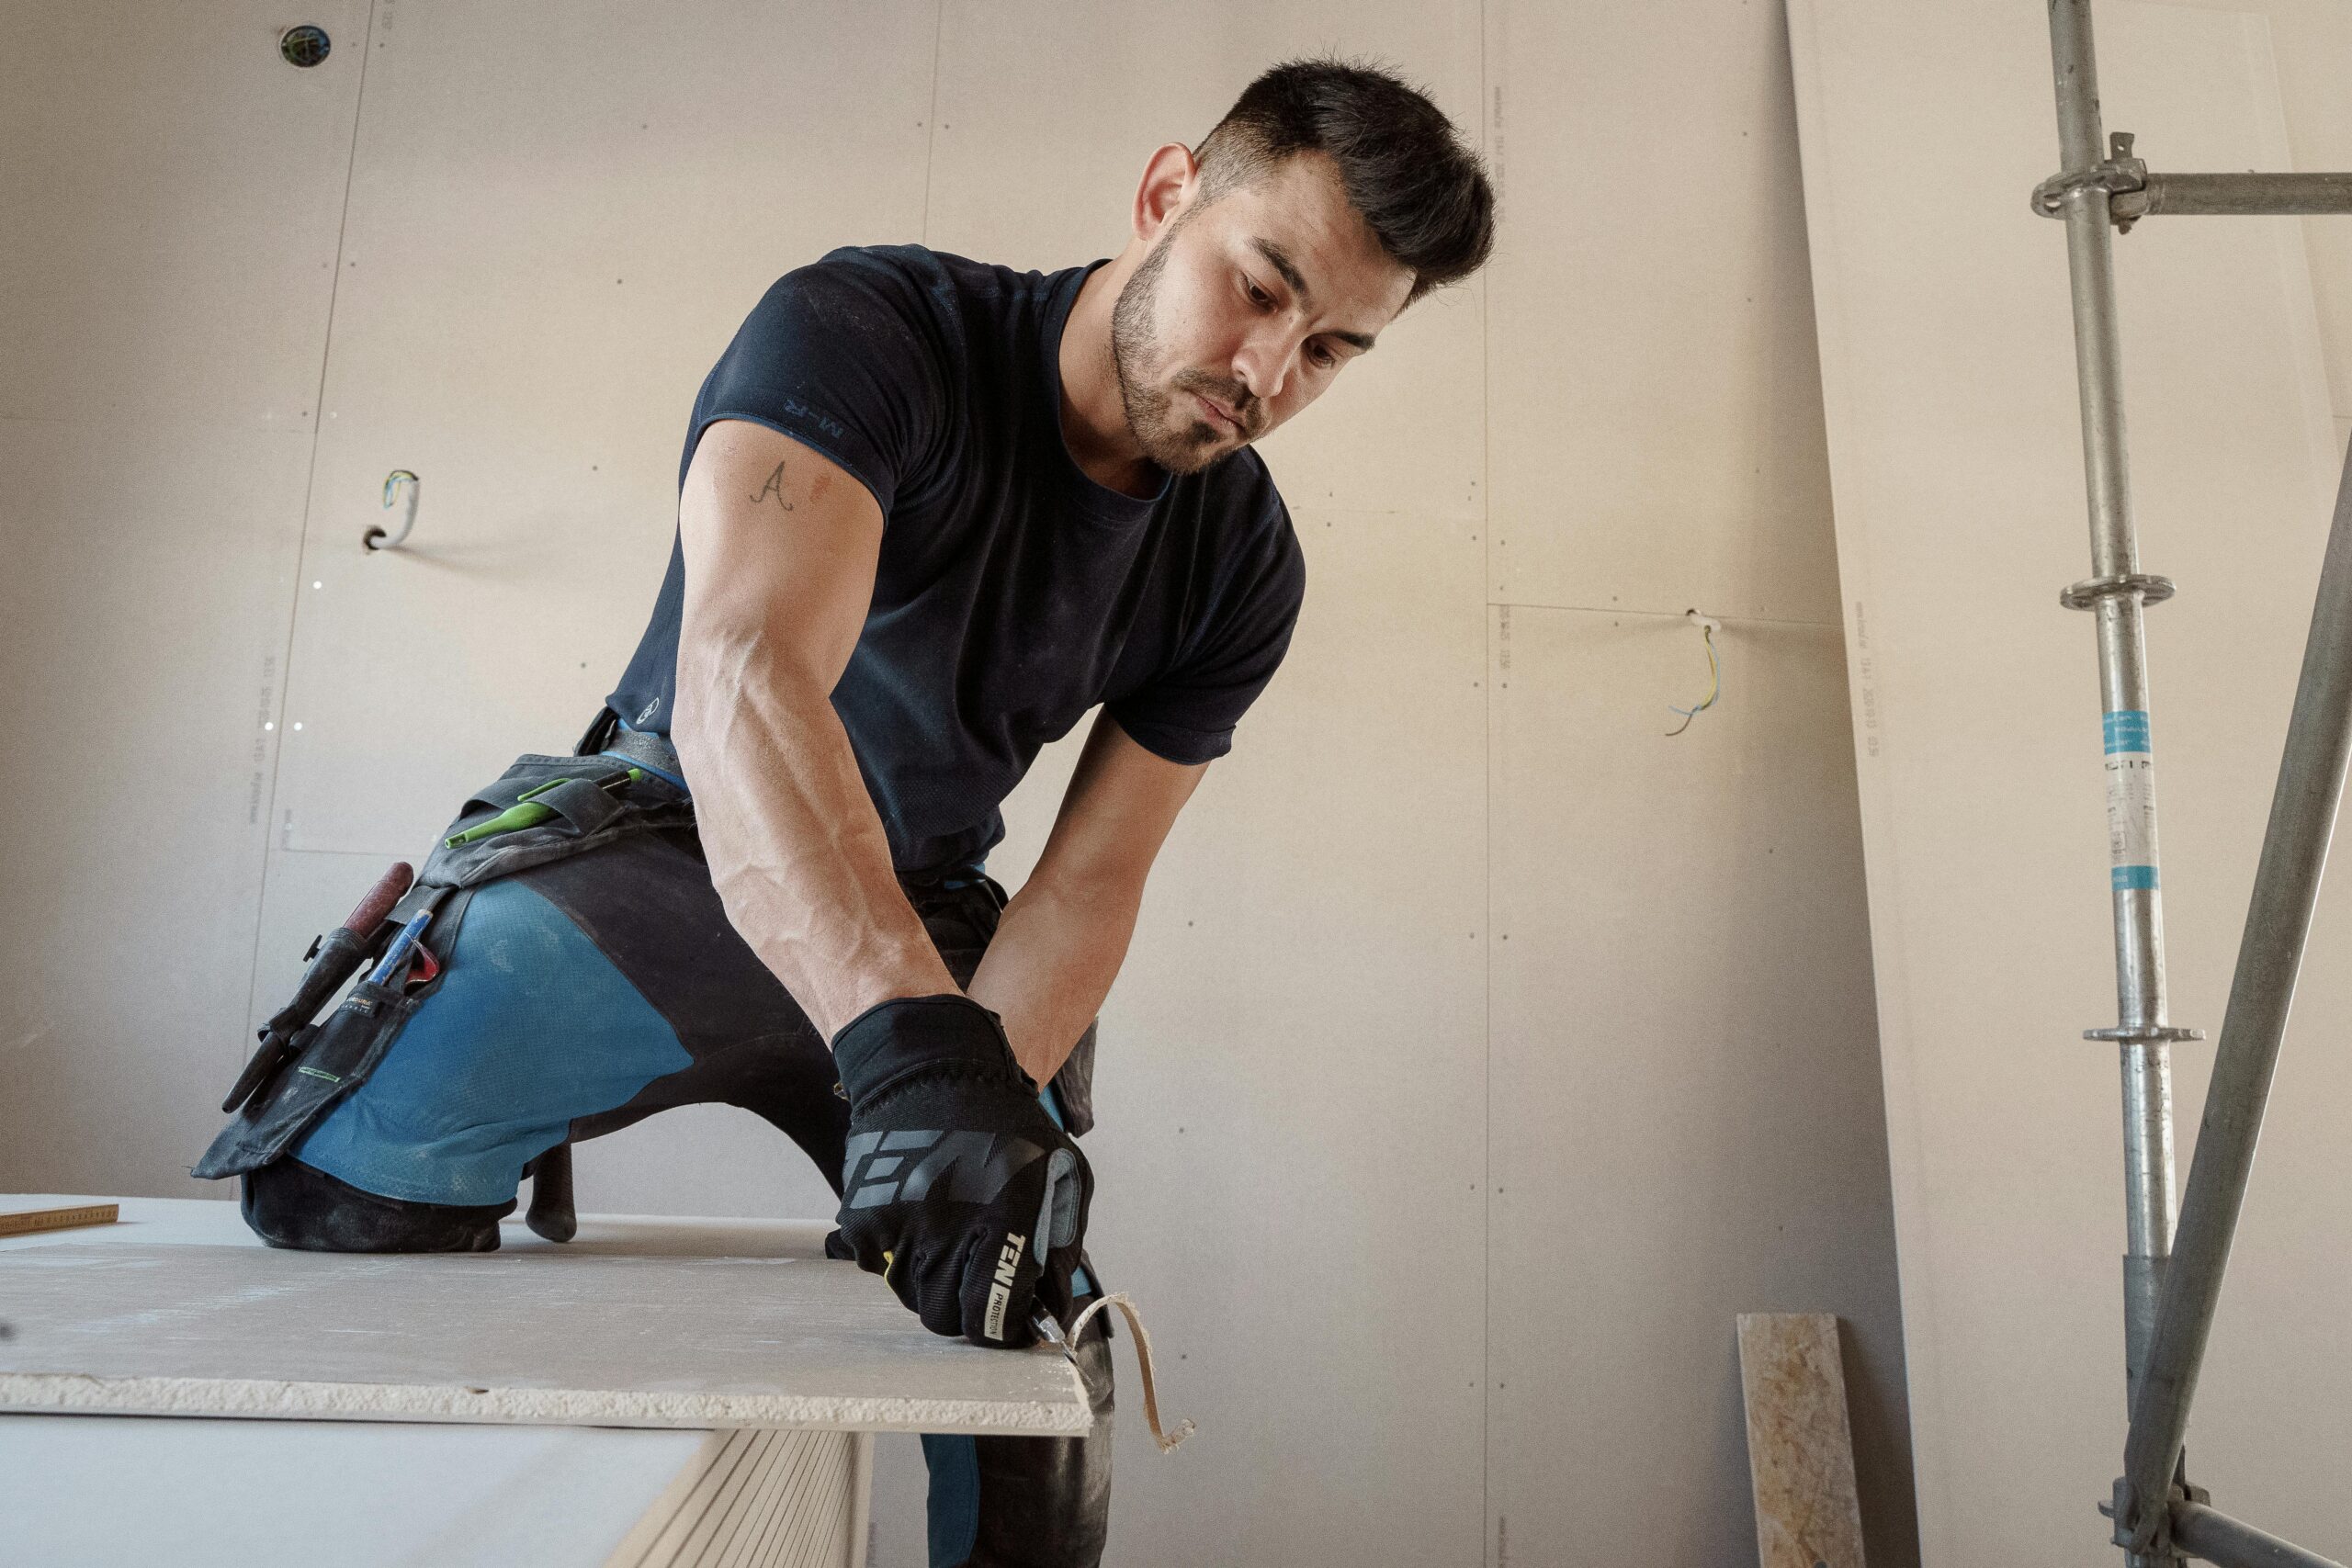
Here’s how you can achieve those clean, sharp edges on your drywall:
- Use a utility knife and T-square: This duo guarantees you score your drywall sheets accurately. A firm, steady hand along the straight edge of a T-square guarantees a clean line to follow.
- Score the paper: Apply enough pressure with your utility knife to cut through the paper. You’ll need to pass the knife along the same line a few times for a deeper score.
- Snap the drywall: Apply gentle pressure to snap the drywall along the scored line. This method is effective for straight cuts.
- Smooth rough edges: After making your cuts, use sandpaper to smooth any rough edges, guaranteeing a clean, professional finish.
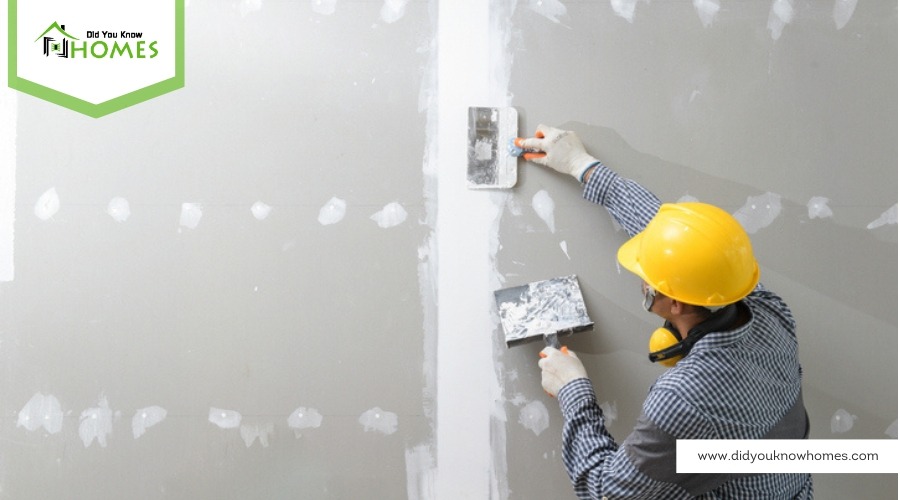
Repair Strategies
After mastering cutting techniques for installing drywall, it’s important to know how to efficiently repair any damage that may occur over time. Repair strategies are essential to maintaining the longevity and appearance of your walls. Whether you’re tackling a home improvement project on your own or considering hiring a drywall contractor, understanding how to patch holes, dents, and cracks is important. You’ll want to use spackle or joint compound for these repairs, ensuring that you’re not just covering up the problem, but actually fixing it.
Before you think about painting over the repaired area, make sure to sand and prime it. This step is vital for achieving a seamless finish that blends perfectly with the rest of your wall. Furthermore, don’t wait too long to address wear and tear. Prompt action can prevent costly repairs down the line.
For a more durable repair, cover the damaged area with wallboard tape before applying spackle. This reinforces the patch and ensures it holds up over time. Remember, utilizing affordable home repair materials can make these fixes straightforward, helping you maintain the integrity of your drywall without breaking the bank.
Texture Application
Now that your drywall is repaired, it’s time to ponder texture application to elevate your walls’ appearance. Choosing the right texture is vital, as it not only adds visual depth but can also conceal any imperfections. We’ll explore various techniques and finishing touches to achieve a look that perfectly aligns with your design preferences.
Choosing the Right Texture
Choosing the perfect texture for your home’s walls, like splatter, Santa Fe, skip trowel, or a smooth finish, greatly enhances its aesthetic appeal. When it comes to selecting the right drywall texture, there are several factors you should consider to achieve a customized look that complements your home’s style and architecture.
- Consult with experts to find the texture that best suits your space.
- Explore a variety of texture options, including the popular orange peel in Phoenix, to add depth and character to your walls.
- Consider the overall design goals of your home to make sure the texture aligns with your vision.
- Remember that texture application can transform the look and feel of your space, making it important to choose wisely.
Texture Application Techniques
When it comes to applying your chosen drywall texture, there are several techniques that can help you achieve the desired look efficiently. Various drywall textures like splatter, Santa Fe, skip trowel, and smooth finish each require specific methods for application, offering unique visual effects. Consulting with experts for texture guarantees that your preferences align with the room’s style, enhancing the overall aesthetics of your space. In Phoenix, the orange peel texture is a popular choice due to its versatile look and easy application. By exploring different texture options, you can add character and depth to your walls, transforming the look of your home. Remember, the right technique is key to achieving the perfect finish.
Finishing Touches Overview
How do you enhance the appearance of your drywall from simply smooth to visually stunning? By adding texture, you introduce visual interest and depth that transforms your space. Consulting with skilled drywall contractors can guide you through the myriad options available, making sure the result matches your vision with impeccable attention to detail.
- *Exploring various texture options* like splatter, Santa Fe, skip trowel, and smooth finishes can help pinpoint your aesthetic preference.
- *Orange peel texture* remains a popular choice in Phoenix, offering a unique, textured look.
- *Textured ceilings* can add an unexpected dimension to your rooms.
- *Attention to detail* by professionals makes certain that textures not only look great but also hide imperfections, creating a flawless finish.
Professional Assistance
Seeking professional assistance from a trusted drywall service like Todd Whittaker Drywall, Inc. guarantees your project meets the highest standards of quality and efficiency. While you might think tackling drywall repairs or installations yourself can save money, the truth often points in the opposite direction. Without the proper skills and tools, you’re at a higher risk of causing more damage, which, in turn, can lead to higher expenses.
Opting for professional assistance means you’re investing in expertise and experience. The team at Todd Whittaker Drywall, Inc., known for their honest and quality work in the Phoenix area, not only provides free in-home consultations to assess your project but also ensures that the job is done right the first time. This approach not only saves you money in the long run by avoiding unnecessary repairs but also saves you time and effort.
Understanding when to call a professional Phoenix drywall repair contractor is important. If you’re unsure about your ability to tackle a project or if you notice signs of significant wear or damage, it’s time to reach out. Trusting professionals like Todd Whittaker Drywall, Inc. ensures your home’s drywall is in the best hands.
Conclusion
In wrapping up, enhancing your home’s drywall isn’t just about aesthetics; it’s a smart investment. You’ve seen how the right tools, precise measurements, and proper preparation pave the way. Mastering cutting techniques and repair strategies guarantees longevity, while texture application adds that final touch of style. And remember, there’s no shame in seeking professional help for perfect results. By taking these steps, you’ll not only boost your home’s value but also its comfort and efficiency. Plunge in and make a difference today.