
Air conditioning systems are essential for maintaining a comfortable indoor environment, but when the AC drain pan overflows, it can lead to water damage and costly repairs. Homeowners and property managers often face this issue, especially during peak usage periods. Understanding the common causes of an overflowing AC drain pan is crucial to prevent potential damage and ensure the system operates efficiently. This article will explore the various factors that can lead to this problem, from clogged drain lines to refrigerant level issues, and provide practical solutions to address each one. Whether you’re a DIY enthusiast or someone considering professional services, this guide will help you identify and tackle the root causes of AC drain pan overflow, safeguarding your property and your peace of mind.
Clogged Drain Line
A frequent culprit behind the overflow of an AC drain pan is a clogged drain line. Accumulations of dirt, debris, and algae can impede the flow of water over time. This blockage prevents the condensate—the moisture extracted from the air—from exiting via the drain line, leading to a backup and possible overflow in the drain pan.
To spot a blockage, start with a visual inspection. Signs such as water gathering around the furnace or indoor unit, or a noticeable uptick in indoor humidity levels, can signal a problem. Presence of algae or mold at the drain line’s exit point is a strong indicator of a clog.
Addressing a clogged AC drain line requires a methodical approach. Safety first: power down your air conditioning system at both the thermostat and circuit breaker. Next, locate the drain line, which is typically a PVC pipe near the indoor unit, and inspect it for visible blockages. Should the clog be hidden or if the inspection doesn’t reveal any issues, consider flushing the line with distilled vinegar to dissolve organic blockages like algae or mold. For more stubborn clogs, employing a specialized drain line brush or a wet/dry vacuum may be necessary.
Regular maintenance, including routine inspections and cleanings of the drain line, is key to preventing clogs and ensuring your AC system remains in top condition. If you’re hesitant to tackle these tasks on your own, or if the clog remains after your clearing attempts, seeking the expertise of a professional HVAC technician is recommended.
Identifying and Clearing Clogs
Detecting clogs in your AC’s drain line involves being vigilant for certain telltale signs. Water leaks near the air handler or a musty odor can indicate the presence of stagnant water, while a drain pan nearing its capacity suggests an impending blockage. An inactive drip in the drain line is another red flag.
Before you address a suspected clog, make sure the AC system is completely shut off. Begin your investigation at the drain line entrance by the evaporator coil, removing any visible debris by hand.
In instances where the clog is not immediately apparent or within reach, a wet/dry vacuum can be employed to extract it from the drain line’s exterior end. Improving the vacuum’s suction with tape to seal the connection may be helpful. Alternatively, specialized brushes or a plumber’s snake can be used to dislodge the obstruction from within.
For clogs caused by biological growth, such as algae, a gentle solution like distilled vinegar can be effective in breaking down the blockage. It’s crucial to use non-corrosive solutions to avoid damaging the AC system or pipes.
Once the line is cleared, test it by pouring water into the drain pan and observing its exit from the line, confirming the removal of the clog. Regular maintenance can help prevent future blockages, and installing an inline drain line algae inhibitor can also mitigate the risk of biological growth.
After completing these steps, make sure to reattach all caps and covers securely and power the system back on to check for proper drainage. If the issue continues, it may point to a more complex problem, warranting the intervention of a professional.
Improper AC Installation and Leveling
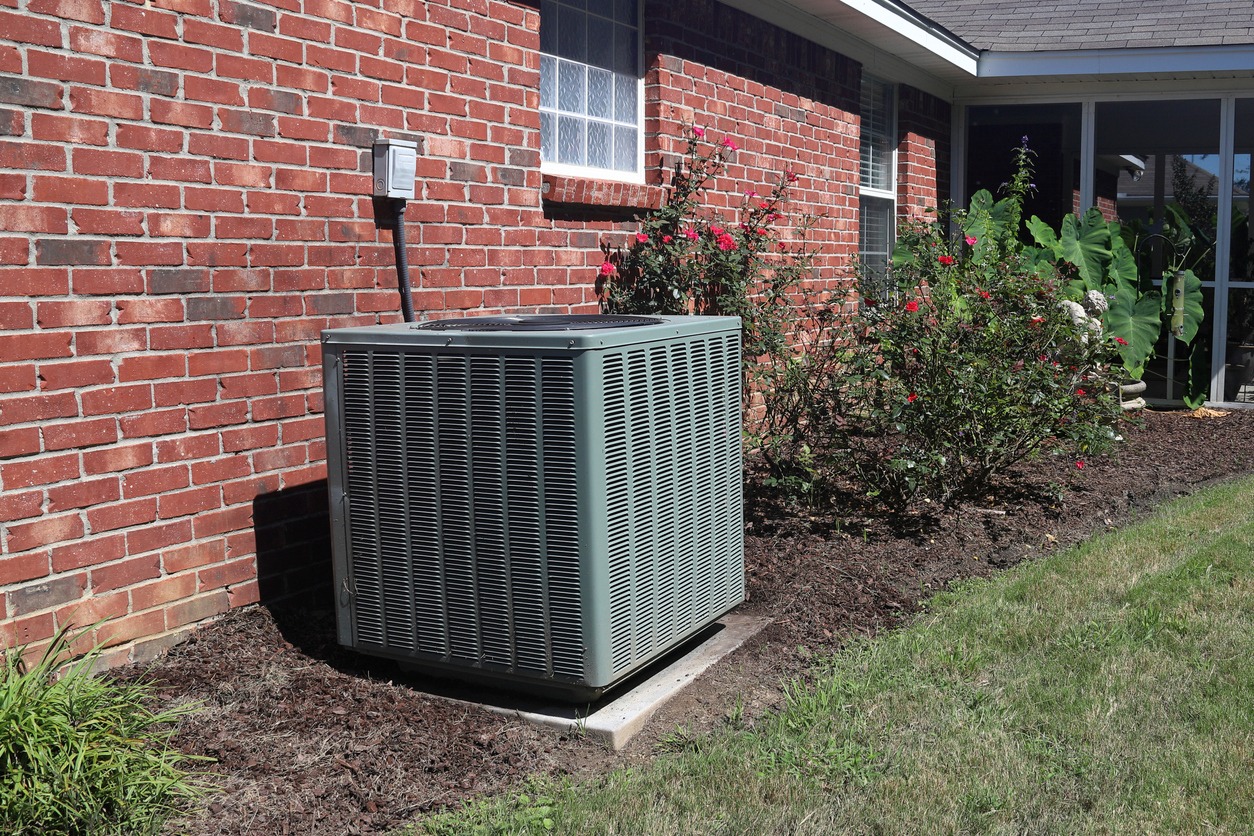
A frequently overlooked factor contributing to AC drain pan overflow is the incorrect installation and leveling of the unit. Ensuring that an air conditioner is properly inclined towards the drain line is crucial for the seamless flow of condensate. A lack of appropriate angling can result in water stagnating in the pan, escalating to overflow issues and subsequent water damage.
To determine if leveling discrepancies are to blame, place a level tool atop the air handler. It’s important to verify both the side-to-side and front-to-back alignment. Discovering any significant tilt requires prompt action. This may entail adjusting the unit’s position or modifying the base supports to achieve the necessary gradient.
Occasionally, the root of the problem lies in the condensate trap’s installation. This component is vital for maintaining unobstructed drainage and must be installed with precision to avoid water being siphoned back into the pan due to the drain line’s airflow.
Addressing these issues often demands a certain level of HVAC proficiency, particularly if it involves manipulating refrigerant lines or electrical components. To ensure a safe and correct resolution, enlisting the expertise of a certified HVAC technician is advisable. This professional can also pinpoint other installation missteps that may be affecting drainage, such as suboptimal pipe dimensions, incorrect angling, or trap design.
After rectifying any installation or leveling errors, ongoing vigilance is key to confirming the issue has been fully addressed and to stave off future complications. Proper installation is not only pivotal for preventing drainage problems but also maximizes the unit’s efficiency and extends its service life.
Correcting Installation Errors
When addressing installation errors beyond leveling, it’s essential to adopt a meticulous approach. For instance, if the condensate line is improperly sized or sloped, it can lead to backups and overflows. A thorough inspection can reveal such flaws, and corrective measures may include resizing the pipes or adjusting their trajectory to ensure a consistent downward flow.
Another common installation oversight is the absence or malfunction of a vent in the condensate line. This vent is necessary to prevent a vacuum that could hinder drainage. Installing or repairing the vent can be a straightforward yet effective solution to enhance the system’s functionality.
In addition, securing all connections and ensuring that each component of the drainage system is tightly sealed will prevent leaks that could contribute to overflow. This includes checking the seals around the drain pan itself and any associated fittings.
When correcting these errors, it’s crucial to adhere to all local building codes and regulations. Professional HVAC technicians are well-versed in these requirements and can make the necessary adjustments while ensuring compliance.
Ultimately, the goal is to establish a drainage path that is unimpeded and efficient. By meticulously correcting any installation errors, homeowners can enjoy peace of mind knowing their AC system is optimized for performance and safeguarded against the risks of water damage.
Excessive Condensation and Humidity
Operating in environments laden with moisture, air conditioning systems can face the challenge of excessive condensation, which may lead to the dreaded overflow of the AC drain pan. As the unit extracts humidity from the air, an elevated moisture level can amplify the condensation process, potentially surpassing the system’s drainage capabilities.
To avert such overflow incidents, it’s essential to strike a balance between the humidity indoors and the air conditioner’s workload. Employing dehumidifiers in particularly damp areas can significantly aid in moisture regulation. During spells of high humidity, it’s advisable to tweak the thermostat settings to a more moderate level, thereby easing the burden on your AC unit and curtailing the production of condensation.
The correct sizing of your AC system is also crucial; an oversized unit may cool the space rapidly but fall short in removing sufficient moisture from the air, resulting in additional condensation. On the flip side, an undersized unit might operate incessantly, generating more condensation than the drain pan can manage.
Enhancing ventilation, especially in moisture-prone areas such as bathrooms and kitchens, is key. Functional exhaust fans can expel excess moisture generated by daily activities like showering and cooking. Promoting good air circulation throughout the dwelling can deter the formation of humidity pockets that add stress to your AC system.
Monitoring indoor humidity with a hygrometer is a proactive step, aiming for a range of 30-50% to ensure comfort and diminish the likelihood of excessive condensation. By attentively managing these elements, you can safeguard your drain pan from overflowing, thus prolonging the lifespan of your air conditioning system and preserving the quality of your indoor air.
Managing AC Workload and Humidity
To mitigate the risk of drain pan overflow, it’s imperative to judiciously manage the air conditioning system’s workload alongside the indoor humidity levels. Harmonizing the operation of your AC unit with the environmental demands and inherent moisture levels is key.
Utilizing a programmable thermostat can optimize temperature settings based on occupancy, reducing the AC’s workload and preventing unwarranted condensation when the space is empty. Augmenting this approach with ceiling fans can enhance air circulation, contributing to a cooler feel without overburdening the AC system.
Routine upkeep is vital, encompassing measures such as replacing air filters to sustain airflow and cleaning evaporator coils for optimal efficiency. These steps help manage the workload by averting the need for the system to overcompensate for any obstructions or performance lags, which could lead to increased condensation.
Ensuring that your home is well-insulated and sealed is another crucial aspect. This prevents the intrusion of moist external air and the escape of cooled air, thereby maintaining a stable temperature and humidity level and reducing sudden demands on the AC unit.
In areas with persistent humidity, integrating a whole-house dehumidifier with your HVAC system can be a game-changer. This device works alongside your air conditioning, effectively extracting moisture from the air before it circulates through the AC unit, thus significantly lightening the unit’s load and reducing the chance of drain pan overflow.
Implementing HVAC zoning can also aid in evenly distributing the air conditioning workload throughout different areas of your home. This approach prevents overexertion of the system in specific zones and allows for more precise control of humidity, which is especially beneficial in expansive or multi-level residences.
Proactive management of both workload and humidity within your living space not only circumvents drainage complications but also enhances overall comfort and energy efficiency.
Drain Pan Damage and Wear
Nestled beneath the evaporator coil, the drain pan is an unsung hero, quietly collecting the drips of condensation that form during the cooling process. Yet, over time, this vital piece of your AC system can succumb to the ravages of rust, cracks, and corrosion. These maladies often stem from the relentless exposure to moisture and the subtle chemical reactions that unfold over the years.
To catch these issues early, a routine inspection of the drain pan is advisable. Keep an eye out for any rust formations, perforations, or fissures that suggest the pan’s integrity may be compromised. In the case of plastic pans, look for any signs of warping or unusual color changes that could indicate weakness or damage.
For temporary relief from minor issues like small rust patches or tiny leaks, a waterproof sealant can be applied. Bear in mind, however, that this is a stopgap measure; a full replacement of the drain pan is the recommended course of action to avert any long-term water damage risks.
When it’s time for a new drain pan, selecting one that matches your AC unit’s specifications is crucial. The right fit ensures that all moisture is effectively captured and funneled away through the drain line. An ill-fitting pan could lead to water escaping its confines, potentially causing overflow and damage to your property.
Consider the installation of a secondary drain pan as an extra safeguard. Sitting just below the primary pan, it acts as a second line of defense, ready to catch any overflow should the main pan fail.
For those with AC units in the attic, the stakes are even higher, as any leakage can swiftly result in expensive damage to ceilings. In these cases, heightened vigilance in maintaining the drain pan is paramount.
Ultimately, replacing a compromised drain pan is a proactive measure that not only prevents overflow but also protects your home from the perils of water damage. For accurate diagnosis and replacement, enlisting professional help is often the wisest decision.
Replacing a Damaged Drain Pan
When the time comes to replace an irreparable drain pan, it’s essential to approach the task with precision to maintain the integrity of your AC system. Begin by disconnecting the power to the unit, ensuring a secure environment for the work ahead. Accessing the evaporator coil and the pan typically involves removing the unit’s front panel.
Take a moment to observe how the current pan is configured. Whether it’s fastened with screws or simply resting in place, documenting the setup with notes or photos can be invaluable for reassembly.
Proceed to remove the old pan with care, especially if maneuvering around the coil is necessary. Be mindful to avoid any harm to the coil or the refrigerant lines. Should you encounter corrosion or debris, it’s imperative to ensure the drain line itself is not obstructed, as discussed in previous sections.
Prior to fitting the new pan, a thorough cleaning of the area is recommended to eliminate any residual rust or debris. Confirm that the replacement pan is the correct fit for your specific AC model to avoid future complications. Utilizing an approved part is key to preventing mismatches and subsequent leaks.
Install the new pan in alignment with the manufacturer’s guidelines, making sure it is level and secure beneath the coil. The outlet should seamlessly connect with the drain line. Secure the pan using screws or clips, replicating the original setup.
After reassembling the unit and reconnecting the power, keep a watchful eye on the new pan during operation to ensure it’s functioning as intended, with no signs of leakage.
Regular check-ups are essential for early detection of potential issues. For those less familiar with HVAC systems, seeking out a professional technician for the replacement can help avoid inadvertent damage and guarantee a safe and precise installation.
Float Switch Malfunctions
The float switch serves as a critical safeguard within your air conditioning unit, tasked with halting operations when the water level in the drain pan surges to avert potential overflows. Despite its significance, the switch can sometimes falter, leaving your system vulnerable to water damage.
Common culprits behind a faulty float switch include obstructions from debris or sludge, which can impede its movement, or a mechanical glitch that may prevent it from activating the shutoff protocol. Additionally, if the switch is not aligned correctly or is out of position, it may not accurately detect rising water levels, leading to a failure in the system’s defenses.
To ensure your float switch remains vigilant, incorporate regular evaluations into your maintenance routine. A thorough cleaning is essential to remove any obstructions and to keep the switch’s path unencumbered. You can verify the switch’s responsiveness by manually elevating it to confirm it prompts the system to power down. Should the system persist in running, this is a telltale sign of a switch in distress.
Beyond physical blockages, the float switch’s performance can be compromised by corrosion or electrical mishaps. Address any visible corrosion promptly and scrutinize the electrical connections for integrity and firmness. Loose connections or a short circuit could disrupt the switch’s communication with the AC unit’s control mechanisms.
When a float switch appears unresponsive or defective, replacing it is typically the most prudent measure. While the replacement process is generally straightforward, it demands precision to preserve the electrical connections and the AC unit’s components.
Selecting the appropriate switch and adhering to the manufacturer’s installation instructions is paramount. Proper installation ensures the switch is correctly oriented and positioned to monitor the water level with precision.
For those less experienced with such tasks, enlisting professional assistance is advisable to ensure the float switch is replaced accurately and safely. Adhering to the maintenance strategies discussed earlier will help maintain your AC unit’s safety features, including the float switch, and safeguard against drain pan overflows.
Testing and Maintenance of Float Switches
Ensuring the reliability of your float switch is an integral part of AC maintenance, ideally aligned with your HVAC system’s seasonal check-ups. Testing the switch is a straightforward procedure that can be done as follows:
Firstly, pinpoint the float switch’s location, which you’ll typically find adjacent to the drain pan. If its position is unclear, the HVAC system’s manual can offer guidance. By simulating a rise in water level—gently pressing or lifting the floater—the switch should activate, leading to an immediate shutdown of the air conditioning unit. A failure to power down signals a need for further investigation.
When maintaining the float switch, safety comes first; ensure the power to the unit is disconnected. Proceed to cleanse the area surrounding the switch, dislodging any debris or biological buildup that could hinder its function. Inspect the float mechanism and its electrical connections for signs of wear or corrosion. While minor corrosion can be cleaned, significant damage may necessitate a replacement.
After ensuring the switch is securely mounted and properly positioned, restore power and conduct a second test to confirm successful operation post-maintenance.
While homeowners can often perform testing and basic upkeep, repairs or replacements should be approached with caution. If you’re uncertain about handling electrical components, consider consulting a professional.
Regular attention to your float switch not only prolongs its service life but also reinforces the dependability of your entire air conditioning system. Always consult your HVAC model’s specific guidelines for tailored testing and maintenance instructions.
Dirty Air Filters and Evaporator Coils
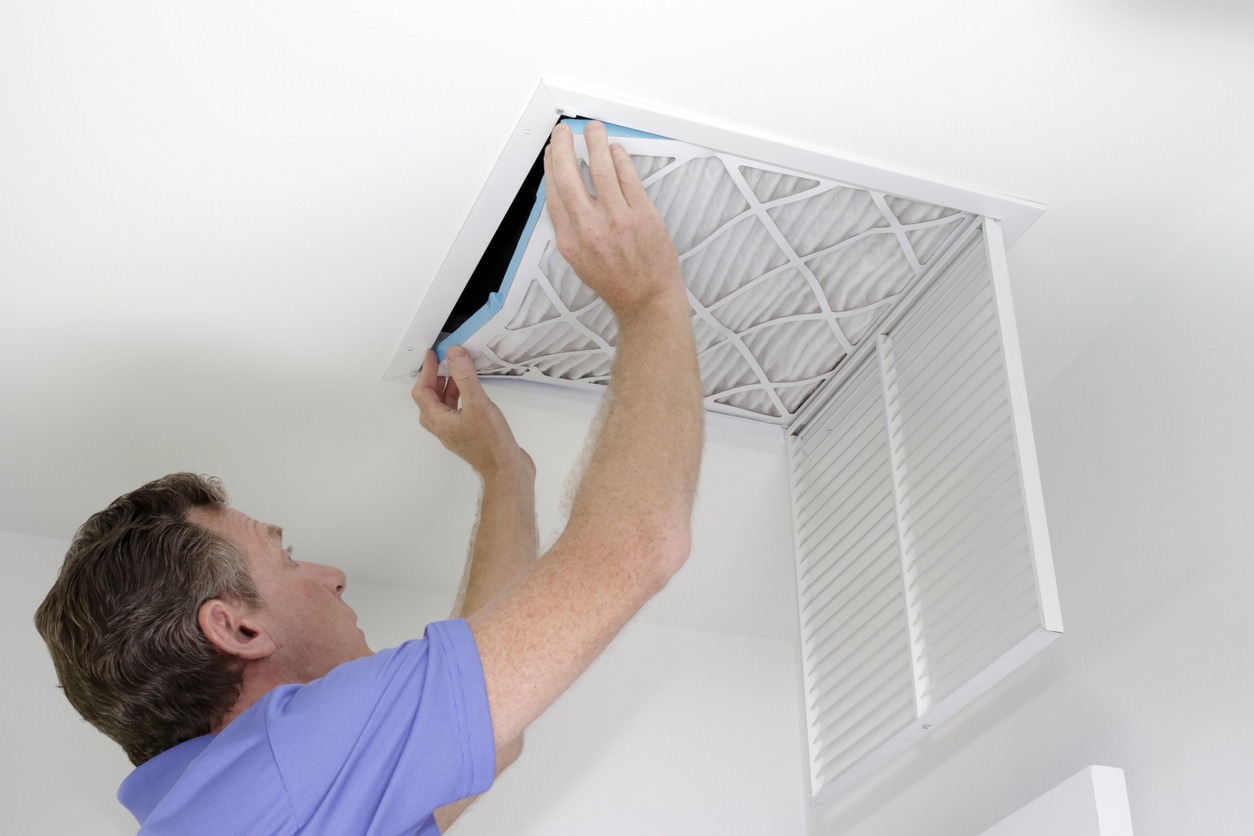
A well-maintained air conditioning system hinges on the cleanliness of its air filters and evaporator coils. Overlooking these components can lead to a cascade of issues, including the dreaded AC drain pan overflow. When air filters accumulate dust and debris, they impede the flow of air, compelling the system to exert more effort. This extra strain can cause an uptick in condensation around the coils, overwhelming the drain pan’s capacity.
Regular inspection of air filters is a must, particularly during periods of peak usage. Upon discovery of any accumulation of grime, promptly replacing the filters with new ones that match your system’s requirements is crucial. This simple step is instrumental in preserving airflow efficiency and enhancing the quality of air within your living space.
Turning our attention to evaporator coils, these components are prone to gathering an assortment of contaminants, including mold and dust. Such accumulation acts as an insulator, diminishing the coils’ heat absorption capabilities. Consequently, the coils may reach lower temperatures, leading to an abnormal amount of condensation that the drain pan simply cannot manage.
To address this, power down the unit before commencing any cleaning. Employ a gentle touch with a soft brush or cloth to dislodge loose debris. For a more comprehensive clean, consider using a coil cleaner specifically designed for this purpose, which can effectively dislodge stubborn buildup without causing harm to the coils. Follow up by rinsing according to the cleaner’s guidelines, ensuring that the drain pan is ready to collect the runoff.
It’s worth noting that while filter replacement is a task within the average homeowner’s wheelhouse, coil cleaning can present more of a challenge and might necessitate a professional’s touch, especially when disassembly is involved. Engaging a qualified HVAC technician for preventative maintenance, including coil cleaning, can be a prudent investment, typically included in their service offerings.
By staying vigilant with the maintenance of air filters and evaporator coils, you not only sidestep drainage issues but also secure the optimal functioning of your AC system, contributing to its longevity and consistent performance.
Maintenance of Air Filters and Coils
The upkeep of air filters and coils is a cornerstone in the health of your air conditioning system, as it directly influences the likelihood of AC drain pan overflow. To ensure these components serve their purpose effectively, let’s delve into the maintenance protocols.
Commence with the air filters, inspecting them monthly and replacing or cleaning as needed. For those opting for reusable filters, adhere strictly to the manufacturer’s cleaning instructions and allow them to dry completely before reinstallation to deter mold proliferation. It’s important to remember that filters with a higher MERV rating or HEPA filters may demand more frequent attention due to their denser filtration material.
Evaporator coils typically require a thorough cleaning once per season, although this frequency might increase in dust-prone environments or homes with furry residents. The cleaning process should be approached methodically:
- Ensure the unit is powered off to guarantee safety.
- If a panel conceals the coils, remove it to gain access.
- A soft brush should be used to gently clear away any superficial debris.
- Employ a no-rinse coil cleaner, adhering to the instructions for its application. Allow the foam to work its magic, lifting grime from the coils.
- In instances of significant soiling, gently rinsing the coils with a hose might be necessary, taking care to avoid electrical components and ensuring the drain pan is prepared for the water.
It’s imperative to avoid using a pressure washer on the coils, as it can damage them. If fins are bent, carefully straighten them with a fin comb. Once cleaning is complete, reassemble all parts and ensure they are dry before restoring power to the unit.
Adhering to these maintenance practices not only prevents performance decline, which can lead to coil freezing and overflow issues, but also promotes a more efficient system operation, extends the lifespan of your unit, and sustains a healthier indoor air environment.
Should you encounter more complex issues during routine maintenance, or if you’re in need of advanced servicing, enlisting the expertise of a certified HVAC professional is advisable. Their specialized skills are essential for diagnosing and rectifying deeper system concerns.
Refrigerant Levels and System Pressure
The delicate balance of refrigerant levels and system pressure is pivotal for the seamless operation of your air conditioning unit. Deviations from the ideal range can lead to a host of complications, including operational strain, diminished cooling capabilities, and the potential for freeze-ups. These freeze-ups can subsequently cause an overflow in the AC’s drain pan as the ice melts.
Refrigerant, the lifeblood of the AC system, is responsible for heat absorption. It circulates through a meticulously sealed loop. Should a breach occur or if the system is improperly charged, the refrigerant levels may plummet, causing the system’s pressure to drop. Conversely, an overzealous charge can result in dangerously high pressures.
When refrigerant levels fall too low, the evaporator coils may become excessively cold, leading to ice formation. This ice, once thawed, can overwhelm the drain pan. High pressures, on the other hand, can overburden the compressor, leading to a cascade of issues affecting condensation and drainage.
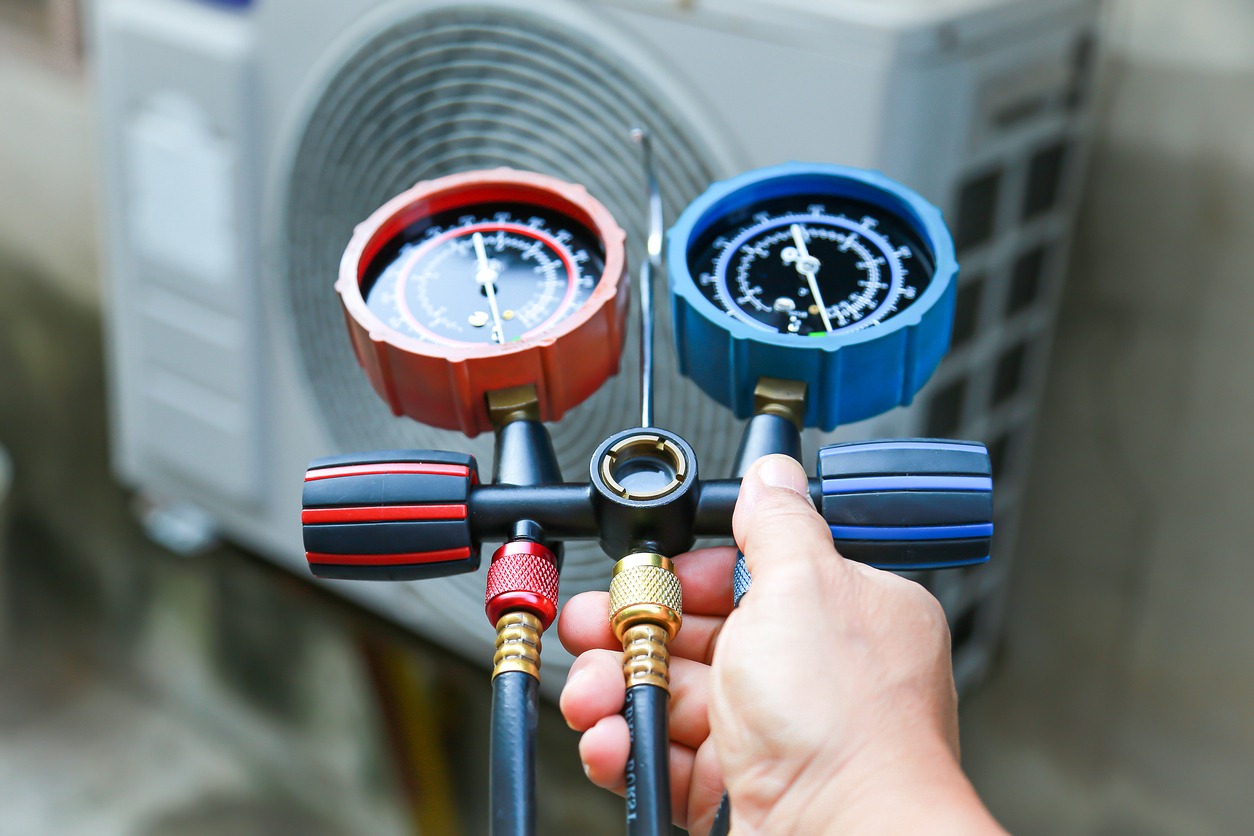
Monitoring system pressure with precision gauges and regularly checking refrigerant levels are critical steps in maintaining equilibrium. However, given the complexities and potential risks associated with refrigerant handling, these tasks are best left to certified HVAC professionals. These experts come equipped with the necessary tools and expertise to manage refrigerants responsibly and in accordance with environmental standards.
During scheduled maintenance, a technician will look for indicators of refrigerant leaks, such as oil spots on components, audible hissing, or frost on the lines. They will also assess system pressures and, if needed, replenish the refrigerant supply.
In the event of a leak, it’s imperative to address the root cause, sealing the breach to prevent further refrigerant loss and environmental damage. Regular professional evaluations are not only a matter of compliance but also a preventative strategy to avert failures and the resulting drain pan overflows that can occur due to refrigerant imbalances.
Addressing Refrigerant Issues
Tackling refrigerant problems within an AC system demands a methodical approach to maintain safety and efficiency. As noted, improper refrigerant levels can lead to excessive condensation and subsequent drain pan overflow.
Should you notice your AC system underperforming, or if you spot signs of a refrigerant leak like frost on the coils or lines, take the following steps:
- Enlist a Professional: Handling refrigerant is a task for certified HVAC technicians, who possess the necessary expertise and specialized tools.
- Diagnose the Issue: The technician will measure the system’s pressure with gauges to ascertain whether the refrigerant is low or high. They will employ various techniques, including detectors and dye tests, to locate any leaks.
- Seal Leaks: Upon discovering a leak, the technician will replace the affected parts, such as valves or pipes, and ensure a hermetic seal is achieved.
- Replenish Refrigerant: Post-repair, the technician will refill the system with an appropriate amount of refrigerant and confirm that the pressure levels are optimal.
- System Evaluation: After repairs and recharging, the system will undergo testing to verify its proper function and to rule out additional issues.
- Preventative Strategies: The technician may recommend preventative actions, such as routine maintenance and prompt responses to any operational irregularities that could indicate refrigerant problems.
Promptly addressing refrigerant issues not only prevents drain pan overflow but also conserves energy, minimizes environmental impact, and prolongs the lifespan of your AC unit. It’s crucial to remember that maintaining refrigerant and system pressure is a task for professionals, requiring strict adherence to regulations concerning refrigerant handling.
Professional AC Maintenance
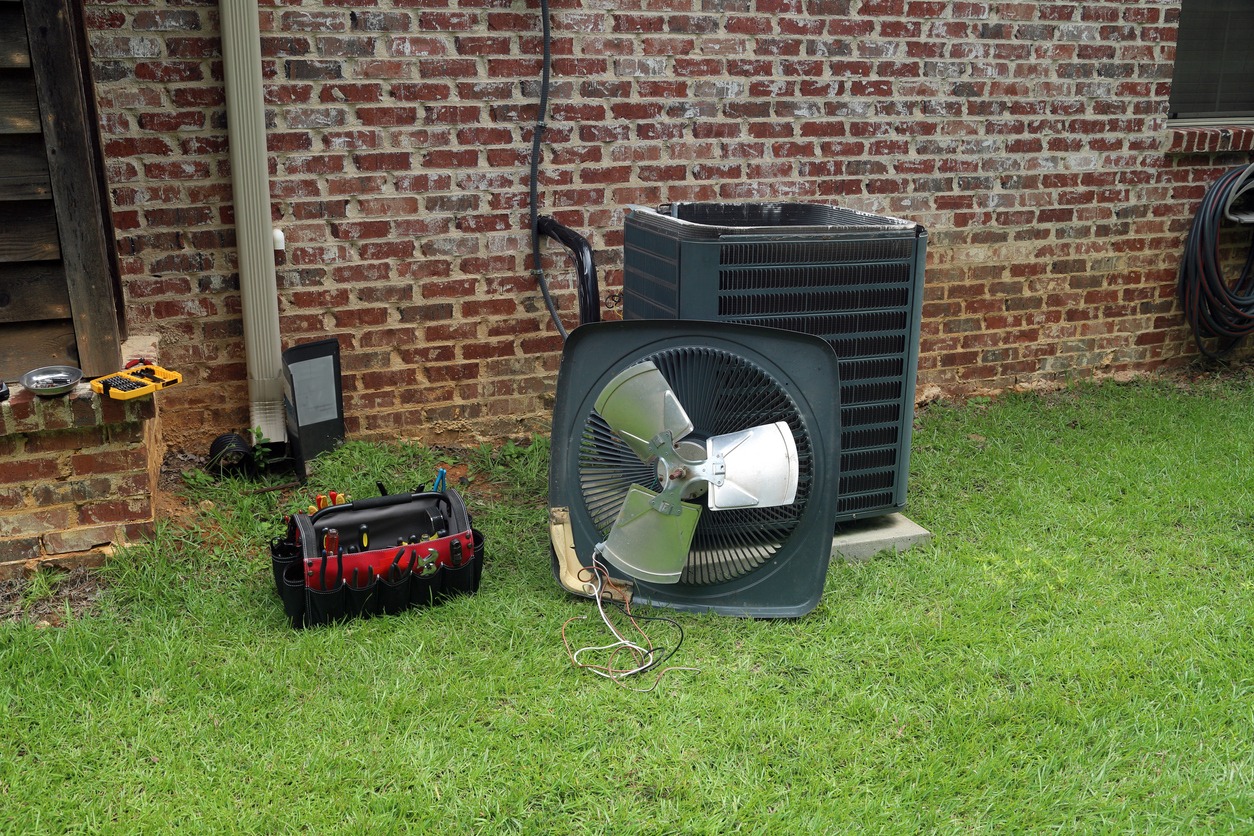
Entrusting your home’s air conditioning system to certified HVAC professionals for regular maintenance is a pivotal step in safeguarding its efficiency and longevity. While routine tasks like swapping out air filters and basic cleaning fall within the DIY realm, the intricate nature of certain maintenance procedures necessitates a professional touch.
Expert technicians delve into the heart of your AC system during a comprehensive service visit, scrutinizing every component from electrical connections to moving parts. Their meticulous approach includes:
- Systematic Inspection: A deep dive into the unit’s inner workings to pinpoint any signs of wear or impending issues.
- Thorough Cleaning: Targeted removal of debris and buildup from critical areas such as the evaporator coils, ensuring unobstructed drainage and averting potential pan overflows.
- Lubrication: Application of the appropriate lubricants to moving parts, reducing friction and enhancing overall performance.
- Securing Electrical Connections: Verification and tightening of connections to promote safe and reliable operation.
- Refrigerant Regulation: Monitoring and adjusting refrigerant levels to maintain peak cooling efficiency and prevent coil freeze-ups.
- Controls and Safeties Audit: A check-up of the system’s controls and safety mechanisms, including the float switch, to prevent overflow complications.
- Operational Testing: A full-cycle run to ensure the system operates seamlessly post-maintenance.
By proactively addressing issues, a seasoned technician can forestall complications that might lead to an overflowing AC drain pan. They also offer invaluable insights into the system’s condition, advising on necessary repairs or potential upgrades.
Regular professional servicing not only ensures compliance with warranty stipulations and regulatory standards but also optimizes your unit’s efficiency, translating to energy savings and an extended lifespan. It is advisable to schedule such maintenance annually, preferably in the spring to prepare for the higher demands of the cooling season.
Recognizing the Need for Expert Assistance
Understanding when to call upon the expertise of a trained HVAC professional is essential for maintaining the health and efficiency of your AC system. Certain indicators signal the need for a specialist’s intervention:
- Complex Technical Issues: When faced with intricate challenges such as refrigerant discrepancies or electrical faults, it’s imperative to have a trained technician address these concerns.
- Routine Check-ups: To ensure optimal performance and preemptively identify potential issues, it’s wise to adhere to a schedule of professional maintenance, even when your system seems to be running smoothly.
- Inefficiency and Inconsistency: Should you notice a dip in cooling effectiveness or uneven temperatures in your living space, these are telltale signs that a professional evaluation is in order.
- Strange Noises or Smells: Unusual sounds or odors emanating from your AC unit often point to underlying problems that require immediate expert attention.
- Water Leakage: Recurring water accumulation or leakage near your unit, especially if coupled with drain pan overflow, suggests blockages or other malfunctions that a professional should examine.
- System Installation or Upgrades: For new installations or updates to your AC system, professional handling is crucial to ensure correct setup, warranty preservation, and adherence to safety protocols.
Certified technicians bring a wealth of knowledge, specialized tools, and adherence to industry standards to the table. They can thoroughly resolve issues, provide guidance for maintaining your system, and help avert future complications.
Promptly recognizing when to seek professional help can save you both time and resources by preventing additional damage that might result from insufficient maintenance or flawed DIY endeavors. Keep the contact information of trusted HVAC service providers close at hand, and don’t hesitate to reach out when their expertise is required.
Useful FAQs for Troubleshooting AC Drain Pan Overflow
1. What are some common causes of AC drain pan overflow?
Several reasons can lead to AC drain pan overflow. These include a clogged condensate drain line or drain pan, dirty air filters, low refrigerant, damaged drain pan, or improper installation of the AC unit.
2. How does a clogged condensate drain lead to AC drain pan overflow?
A clogged condensate drain line prevents the condensate water from draining out of the unit. As the water has nowhere to go, this can cause the drain pan to overflow, leading to potential water damage.
3. How do dirty air filters contribute to AC drain pan problems?
Dirty air filters can also contribute to AC drain pan overflows by reducing the airflow through the AC unit. This reduced airflow makes the evaporator coil colder, causing more condensation to form that may overflow the drain pan.
4. Can low levels of refrigerant cause an AC drain pan to overflow?
Yes, low refrigerant levels can cause the evaporator coil to freeze over. When the AC unit is turned off or the current cycle concludes, the ice melts and can flood the drain pan beyond its capacity, causing an overflow.
5. How might a damaged or cracked drain pan cause an overflow?
While not direct overflow, a damaged or cracked drain pan may leak water. This can give the appearance of an overflow. This issue often necessitates replacing the drain pan.
6. Can improper installation of the AC unit result in an overflow of the drain pan?
Yes, an improperly installed AC unit may tilt in a way that prevents condensation from correctly draining, leading to pan overflow. Correct installation ensures that water drains effectively and reduces the likelihood of overflow.