
To stain and seal your wood fence perfectly, make sure the weather’s between 50-80°F with low humidity. Start by cleaning the surface, stripping away old coatings, and sanding it smooth. Opt for either oil or water-based stains, considering UV protection and mildew resistance. Apply your stain evenly with a brush, roller, or sprayer, ensuring each coat dries fully. Don’t forget to apply a clear sealer for extra protection. Remember, proper preparation and choosing the right products are key. With the right techniques, you’ll not only protect but also greatly enhance your fence’s look. Find out how to maintain this beauty for years.
Key Takeaways
- Ensure the wood fence is clean, dry, and repaired before applying stain or sealer.
- Choose a stain and sealer suitable for outdoor wood fences, considering weather exposure.
- Apply stain evenly using a brush, roller, or sprayer, and back-brush for consistent coverage.
- After staining, allow the surface to dry completely before applying a weatherproof sealer.
- Regular maintenance, including reapplication of sealer, is crucial for long-lasting protection and appearance.
Selecting the Ideal Weather

Selecting the right weather is essential to guaranteeing your wood fence stain adheres well and looks great. When you’re prepared to transform your fence, keep in mind that the optimal conditions play a vital role. Staining your wood fences isn’t just about choosing a color; it’s also about timing. The perfect range for weather lies between 50-80°F. This range ensures the stain not only goes on smoothly but also dries properly, giving you that flawless finish you’re aiming for.
Low humidity levels are your best ally during this process. They facilitate proper absorption of the stain into the wood, ensuring it sets just right. High humidity can result in a sticky mess, and that’s the last thing you want. So, always make a point of checking the forecast before you start. Avoid the extremes—too hot, too cold, or too wet conditions can spoil your efforts.
Preparing the Wood Surface
Before you get to the exciting part of staining and sealing your wood fence, you’ve got to prep the surface right. Start by giving it a thorough clean to get rid of any grime or old coatings, then smooth it down with some sanding. Finally, make sure any cracks or splinters are repaired to guarantee the best possible finish.
Clean Surface Thoroughly
To guarantee your wood fence stands the test of time, begin by thoroughly cleaning the surface with a bristle brush or pressure washer. This essential step guarantees the removal of dirt, sap, mold, and mildew, paving the way for proper adhesion of the sealant. Additionally, stripping off any previous stain, sealant, or paint is vital before applying a new coat. By diligently cleaning the wood surface, you not only maintain the fence’s appearance but also secure its durability. A well-prepped surface leads to a longer-lasting seal, protecting your investment for years to come. Remember, the key to a resilient, stunning fence lies in the foundation of a clean, ready-to-treat wood surface.
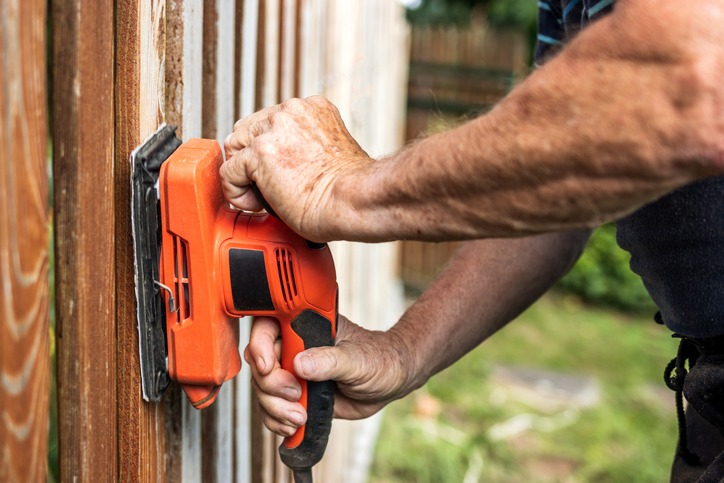
Sand for Smoothness
After thoroughly cleaning your wood fence, it’s time to sand the surface smooth, guaranteeing the stain adheres evenly and penetrates deeply for a stunning finish. Grab your fine-grit sandpaper; it’s your best friend in removing roughness and imperfections. Sanding not only smooths but also opens up the wood pores, enhancing stain penetration for that flawless look you’re aiming for. Proper sanding prepares your wood surface to showcase its natural beauty under the stain.
| Step | Effect |
|---|---|
| Clean Surface | Prepares for Sanding |
| Sand Smooth | Removes Imperfections |
| Open Pores | Improves Stain Penetration |
| Prepare Wood | Ensures Flawless Finish |
With these steps, you’re on your way to a beautifully stained and sealed wood fence.
Repair Any Damage
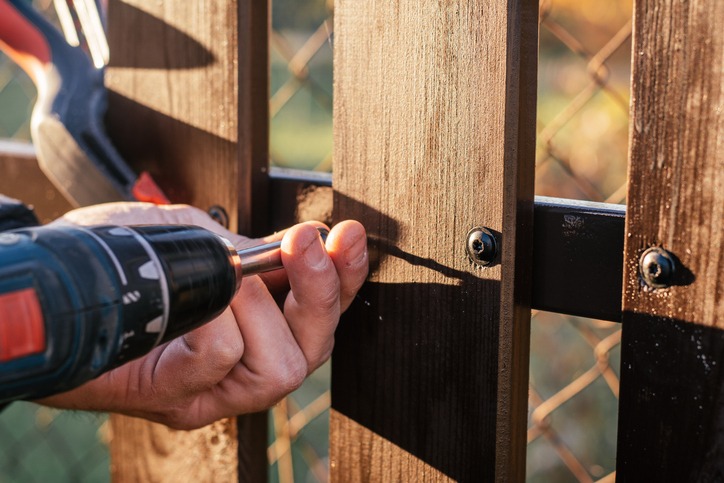
Inspect your wood fence for any cracks, chips, or loose boards that need addressing to guarantee a smooth staining process. Repair is vital to a professional-looking finish. Use wood filler to patch up imperfections, ensuring a smooth finish that’ll make your fence look as good as new. Don’t overlook damaged slats or boards; replacing them is essential for both the structural integrity and appearance of your fence. Also, check for any protruding nails or screws. These can not only affect the staining process but can also pose a safety risk. By taking the time to repair any damage before you start staining, you’re setting the stage for a fence that not only looks great but will also last longer.
Cleaning and Repairs
Start your wood fence makeover by pressure washing the surface to remove dirt and old varnish. A high-pressure spray works wonders, eliminating years of grime and preparing the wood for a fresh start. But don’t just plunge in there. You’re aiming for a fence that’s not only clean but also in perfect condition.
After clearing the surface, address any mold or mildew spots with a diluted bleach solution. This step guarantees that your fence is free of contaminants, laying the foundation for a flawless application of stain and sealer later on.
Next, examine your fence closely. Notice any imperfections? Fill them in with wood filler for a seamless finish. And if you encounter damaged slats, don’t hesitate to replace them. It’s all about getting your fence in good shape.
Before you jump into applying any products, remember to protect surrounding plants and areas. Use painter’s tape and drop cloths to shield them from accidental splashes. It’s a small step that makes a significant difference in maintaining your backyard’s appearance.
With your fence clean, repaired, and prepared, you’re ready to move on to selecting the perfect stain and sealer to finish your project.
Choosing Stain and Sealer
Now that your fence is clean and repaired, it’s time to choose the right stain and sealer. You’ll need to pick between oil-based and water-based options, considering your fence’s exposure to sun and moisture. Applying the ideal stain and sealer will safeguard your fence for years to come, making it an essential step in fence maintenance.
Selecting Right Stain Type
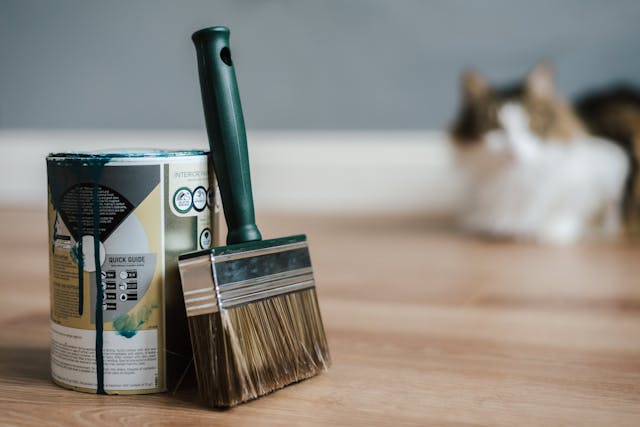
Selecting the right stain type for your wood fence is crucial for both its appearance and durability. You’ve got two main choices: oil-based stain and water-based stain. Oil-based stains are known for their deep penetration and longevity, while water-based stains offer easy cleanup and a shorter drying time. Consider stains packed with UV inhibitors if your fence is exposed to sunlight, or opt for ones with mildewcides to combat dampness. Don’t overlook temperature flexibility—this guarantees your stain applies smoothly regardless of weather conditions. Matching the stain to your wood type and the desired outcome is essential. Lastly, choose the right staining tools—brushes for precision, rollers for coverage, or sprayers for efficiency—to make your project a success.
Sealer Application Techniques
After selecting the appropriate stain for your wood fence, it’s crucial to choose a high-quality transparent sealant to guarantee its longevity and protection. Applying the sealer correctly will not only enhance the durability of your fence but also shield the wood from various elements. Here’s how to ensure a successful sealer application:
- Choose the Right Type: Opt for a premium clear sealant that provides UV protection to prevent sun damage and color fading.
- Sprayer for Efficiency: Use a sprayer for larger fence areas to apply the sealant more efficiently.
- Brush for Detail: For intricate areas, a brush ensures uniform coverage.
- UV Protection: Select a sealant with UV protection to safeguard your fence against intense sunlight.
This approach will guarantee that your wood fences remain beautiful and resilient for years to come.
Application Techniques
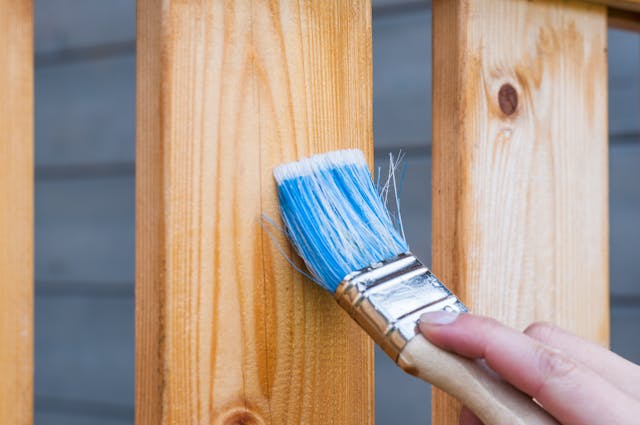
To achieve a professional-looking finish on your wood fence, start by evenly applying the stain using a brush, roller, or sprayer. This initial step is vital for ensuring that your wood fence not only looks great but is also protected against the elements. When you apply the stain, aim for an even coat across all areas of the fence. This consistency is key to achieving a uniform appearance.
Once you’ve covered the fence with stain, don’t rush to pack up your tools. Take a moment to back-brush the entire area. This technique involves going over the freshly stained surfaces with a brush to guarantee complete and even coverage, especially between the slats where a roller or sprayer might miss. It’s these detailed touches that make all the difference in the final look of your wood fence.
After applying the stain, it’s important to allow each coat to dry thoroughly before considering additional layers. Rushing this process can lead to a tacky finish that doesn’t last. To cap off your hard work, apply a clear, weatherproof sealant. This extra step locks in the stain and provides your fence with an additional layer of protection. Remember, proper application techniques are the backbone of a long-lasting finish. Following these steps will ensure your wood fence is both beautiful and durable.
Post-Application Care
Having applied and sealed your wood fence properly, it’s now time to focus on maintaining its beauty and durability through post-application care. This pivotal step guarantees your fence remains a standout feature in your yard, providing long-lasting protection and maintaining that freshly stained look. Here’s a simple guide to keep your fence in top condition:
- Allow Proper Drying: Always let the stain dry for at least 24 hours before applying a sealer. Check the manufacturer’s recommendations for specific drying times to guarantee ideal results.
- Avoid Moisture: Keep your newly sealed fence safe from heavy rain or moisture for 24-48 hours after sealing. This precaution helps the sealer set correctly, providing a stronger barrier against the elements.
- Regular Inspections: Make it a habit to regularly inspect your fence for signs of wear or damage. Catching issues early can prevent more significant problems down the line.
- Reapply Sealer as Needed: Over time, the elements will wear down the sealer. Reapply it as necessary to maintain the fence’s integrity and appearance.
Following these simple, proactive steps will help your wood fence stand the test of time, looking great and serving its purpose for years to come.
Frequently Asked Questions
Do I Need to Seal Wood Fence After Staining?
Yes, you should seal your wood fence after staining. It offers protection benefits, enhances weather resistance, reduces maintenance, brightens color, extends lifespan, and prevents moisture. Choose the right sealant type and time application for best results.
What Is the Best Way to Stain a Wooden Fence?
To stain your wooden fence best, choose the right stain, use brush technique for even coverage, and pick ideal weather. Test color, apply in layers, and use the right tools. Don’t forget cleanup and regular maintenance!
How Long Should a Wood Fence Cure Before Staining?
You should let your fence cure for 4-8 weeks before staining. This cure period takes into consideration weather, moisture content, and wood type. It guarantees better paint compatibility and adherence, considering temperature and sunlight exposure.
How Do You Prepare a Wood Fence for Sealing?
To prepare your wood fence for sealing, start with surface cleaning and pressure washing. Repair damages, sand surfaces, and remove mold. Don’t forget dust removal, patching holes, and wood conditioning. Finally, trim any close vegetation.
Conclusion
Now you’ve got all you need to give your wood fence a stunning makeover. Choose a perfect day, prep the surface thoroughly, and select the right stain and sealer. With the right techniques, applying them is a breeze. Don’t forget, after you’re finished, taking care of your fence will guarantee it remains beautiful for years. So, get out there and transform your fence into a work of art that’ll be the envy of the neighborhood. You’ve got this!