
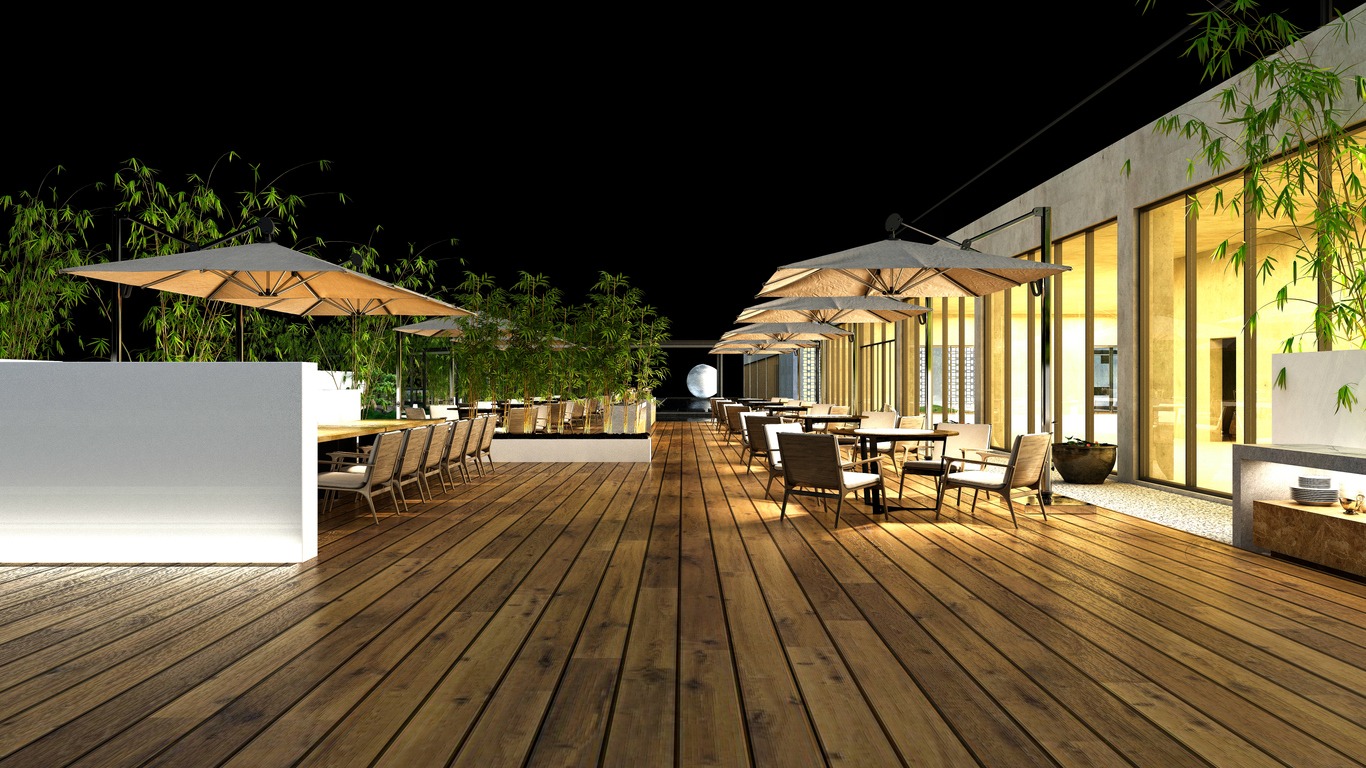
Decks and outdoor spaces connect your home to nature. They offer fresh air, sunlight, and the scent of the garden. They can serve as outdoor living rooms, dining areas, exercise spots, sunbathing spots, spaces for gatherings with friends and family, or quiet moments with a good book.
Who doesn’t want a perfect outdoor relaxation spot when the weather’s nice, right? But it involves a lot of work, from planning to the final touches. Precision is key, ensuring correct joist placement and evenly spaced railings, among other things.
Here are our top tips for building outdoor decks:
Assess your sun and bug situation.
Before starting your deck project, spend time in your backyard to understand the conditions. Is your yard sun-soaked all day? Are mosquitoes a constant issue? If you’re dealing with relentless sunlight and pesky insects, consider a screened-in room instead of a deck. Truthfully, you might not enjoy your deck much if you’re dealing with these conditions.
Get a building permit.
Before building anything, you should always start with safety and compliance. Raised decks must support the weight of everything on them, from patio furniture to barbecues and, of course, your friends and family. Building codes and permits exist to establish a minimum safety standard.
Depending on your local regulations, you may need a permit and potentially need to provide drawings. Start by understanding your area’s permit requirements to avoid wasting time on plans that might be rejected. Also, determine your property line to ensure you meet the necessary setbacks. When building a new deck, especially a raised one, your first step should be contacting your local authority or town hall to learn about limitations, building specifications, and permit requirements, if necessary.
Decide on the right size for beams and joints.
Joists are those hidden support elements that form the frame of your deck; they’re what keep your deck boards up and sturdy. The size of the joists you need depends on how far they stretch between support points and the type of treated lumber you’re using. Building codes have strict rules about how much weight a deck must hold to ensure it doesn’t collapse during normal use. You can figure out the right joist size using a span table, often provided in your local building guidelines.
On the other hand, beams are the backbone of your deck’s structure. They bear the weight of all the joists and deck boards, as well as everything and everyone enjoying your deck.
Typically, joists rest on top of beams or should be securely fastened to them using sturdy galvanized exterior joist hangers. In raised decks, beams away from the house are almost always supported by vertical posts or columns. When it comes to raised decks, the size and construction of beams are crucial, and it’s best to consult an architect, a residential structural engineer, or your local building department for specifications.
Know how far you should space deck joists.

Determining the right joist spacing is a key part of building a deck that will stand the test of time, and it’s a bit more involved than it may seem.
As a general rule, standard joist spacing is 16 inches in the center. However, before you dive into the building, check with your local building department and read the decking material’s installation instructions. Some decking planks, especially when installed at a 45-degree angle to the joists, may require a 12-inch on-center spacing.
The size of your joist span will depend on various factors, including the size of the joists themselves (2×8, 2×10, 2×12) and the local building codes and guidelines in your area. The larger the span, the beefier the joists need to be.
In typical deck construction, where you have a ledger on one end of the joists and a supporting beam on the other, your joist size is determined by the deck’s size and the maximum spans allowed to achieve your desired deck design.
For the best results, consult both building codes and the manufacturer’s specifications for your chosen decking material, especially if you’re using composite decking, as some materials may recommend closer joist spacing to ensure long-lasting support and prevent warping over time.
Use screw piles for deck foundations.
Screw piles are sturdy metal posts screwed into the ground to support your deck. They’re a fantastic choice, but precision in placement and leveling is crucial, especially if they directly hold up your deck. Keep in mind that their tops aren’t as roomy as Sonotubes, so you need to be precise during installation. You can typically find screw piles for decks at building supply stores, and they often have a hole for a 2×4, which makes turning them easier. However, if you’re dealing with rocky terrain, hiring a screw-pile contractor with the right machinery is wise to get the job done.
Invest in high-quality screws.
Building a deck that can brave the elements is essential. To achieve this, don’t skimp on the screws. A common mistake during deck construction is opting for low-quality screws for the deck frame.
Cheap screws wear out fast and can significantly shorten your deck’s lifespan. You definitely don’t want your deck to wobble after just a few months of hard work. So, it’s best to use premium-quality coated or stainless steel fasteners. Avoid electroplated galvanized screws for a more durable and long-lasting deck.
Make sure the foundation is right for the kind of deck you want.
For a basic deck, often called an on-grade deck, you’ll typically need concrete piers as your foundation. These piers provide the base for attaching beams and joists, with the rim joists on the perimeter being doubled up and covered with trim boards.
In certain climates, these piers may need to be set quite deep in the ground to prevent issues caused by freezing. Check with your local building department to understand the specific codes in your area.
Solid footings are crucial to prevent your deck from shifting or “heaving” due to ground movements. You’ll use framing hardware like post bases and joist hangers to connect all the framing elements. The decking itself, the surface you walk on, can be attached with screws or nails from the top or with concealed fasteners from below.
An on-grade deck is usually less than a foot above the ground, so you typically won’t need railings or stairs, which can make construction more complex. If your deck is just a step above the ground, you’re in luck. But if it’s a few steps away from the door, consider adding a landing for safer access.
The higher your deck goes, the more planning and work it involves. You’ll need to decide how to access the deck and may need to use skirting or landscaping to hide the framing that supports the joists. Additionally, you’ll have to build stair railings and balustrades, which can increase both cost and complexity.
Consider floating concrete deck blocks.
Concrete deck blocks are a practical choice for building a deck, but they do come with some considerations. These blocks rest directly on the ground, which means they might need occasional adjustments to keep your deck perfectly level if there’s any ground movement. However, if your building site has stable and consistent ground, this movement should be minimal. One major advantage is that using concrete deck blocks can save you money upfront, and a bit of movement isn’t problematic because the deck isn’t attached to your house.
Here’s a tip: In cold climate zones, where we dig deep foundations to guard against frost heave, the ground acts as insulation. You can achieve a similar effect by placing high-density rigid foam insulation boards (like foam or stone wool) beneath and around the deck blocks. This can help reduce the chances of movement caused by frost heave. Another option is to use a layer of 3/4″ clean crushed stone, but it must be free of fines to ensure proper water drainage. Retained water that freezes can lead to deck movement.
It’s crucial to consider basement flooding in cold climates, especially if your home has a basement. Proper grading of surfaces under decks and the deck itself is essential to direct snowmelt away from your home and basement, preventing potential spring-thaw basement flooding.
Choose the most appropriate decking material.
Building a deck is a significant investment, so it’s essential to make sure it’s strong enough to stand up to the elements. Your first big decision is the material you want for your deck surface. While many go for traditional wooden timber, others opt for composite materials. The choice of deck board materials is subjective and depends on your budget.
Wood decking is budget-friendly, making it an excellent option if you want a durable deck without breaking the bank. However, it requires regular maintenance.
On the other hand, composite decking is slightly pricier but exceptionally durable and low-maintenance. Some composites even come with a 24-year warranty, making them a smart long-term choice.
Each decking material has its pros and cons:
- Pressure-treated wood has become less toxic over the years but still requires maintenance to last longer.
- Red cedar is naturally rot-resistant but can be pricey. Local white cedar or other strong woods like hemlock or Douglas fir are more affordable.
- Cedar deck planks are commonly used, lasting long with staining to preserve their color.
- Recycled plastic composite decking mimics wood but offers a non-slip surface, making it great for damp areas or shaded decks.
- Composite decking is a durable and low-maintenance choice, but it’s pricier than most woods.
To extend the life of your deck, regardless of the material chosen, consider durability measures. These include a galvanized sub-structure and stainless steel screws to prevent rusting. Periodic power washing every few years can keep your deck looking fresh.
If you’re concerned about environmental impact, opt for wood from Canadian or American sources to avoid contributing to deforestation. Alternatively, seek out exotic woods certified by the Forest Stewardship Council (FSC), indicating sustainable forest management.
Your choice between wood and composite materials will depend on your budget, maintenance preferences, and environmental considerations. Building a deck that suits your needs and values is the key to enjoying it for years to come.
Trim your deck boards straight.
Attention to detail can make all the difference. To get crisp, straight edges on your decking, use a guiding board with your saw, which can yield cleaner results than even the steadiest hand.
Secure a straight board onto the decking to act as a guide for your circular saw. Measure the distance from the saw blade’s edge to the base plate, and position the board to allow for approximately a 1-inch overhang beyond the decking. While running your saw along the edge, ensure the saw plate remains parallel to the decking and stays snug against the guide.
Protect your deck joists from moisture.
While wood can handle occasional moisture, it’s crucial to prevent standing water. To achieve this, consider adding a drip edge on top of your joists before installing the decking. You can use a thin sheet of metal or an elastomeric membrane to ensure that water that slips through the gaps in the decking doesn’t accumulate on top of the joists. Keep in mind that the chosen material and color may be slightly visible between the gaps in the boards.
Streamline deck joist installation.
Making the process of installing deck joists easier, especially if you’re working solo, involves attaching joist hangers to the ledger board beforehand. The key is getting the height just right. Here’s a simple trick: create a jig using a piece of plywood (5 x 12 inches) and a scrap 2×4 cut to match the joist width. Align the 2×4 with your layout line and secure the plywood tightly to the ledger. Place the joist hanger around the 2×4 and nail it using 16D galvanized nails through all the holes into the ledger board.
Trim the 2×4 to match the average width of your joists (sometimes they vary by about 1/4 inch). Nail both sides of the hanger flanges to the ledger, leaving a slight 1/16-inch gap on one side to allow for easy placement of a wet joist. As you set your joists, adjust them by notching the bottom if they sit too high or shim them if they’re too low.
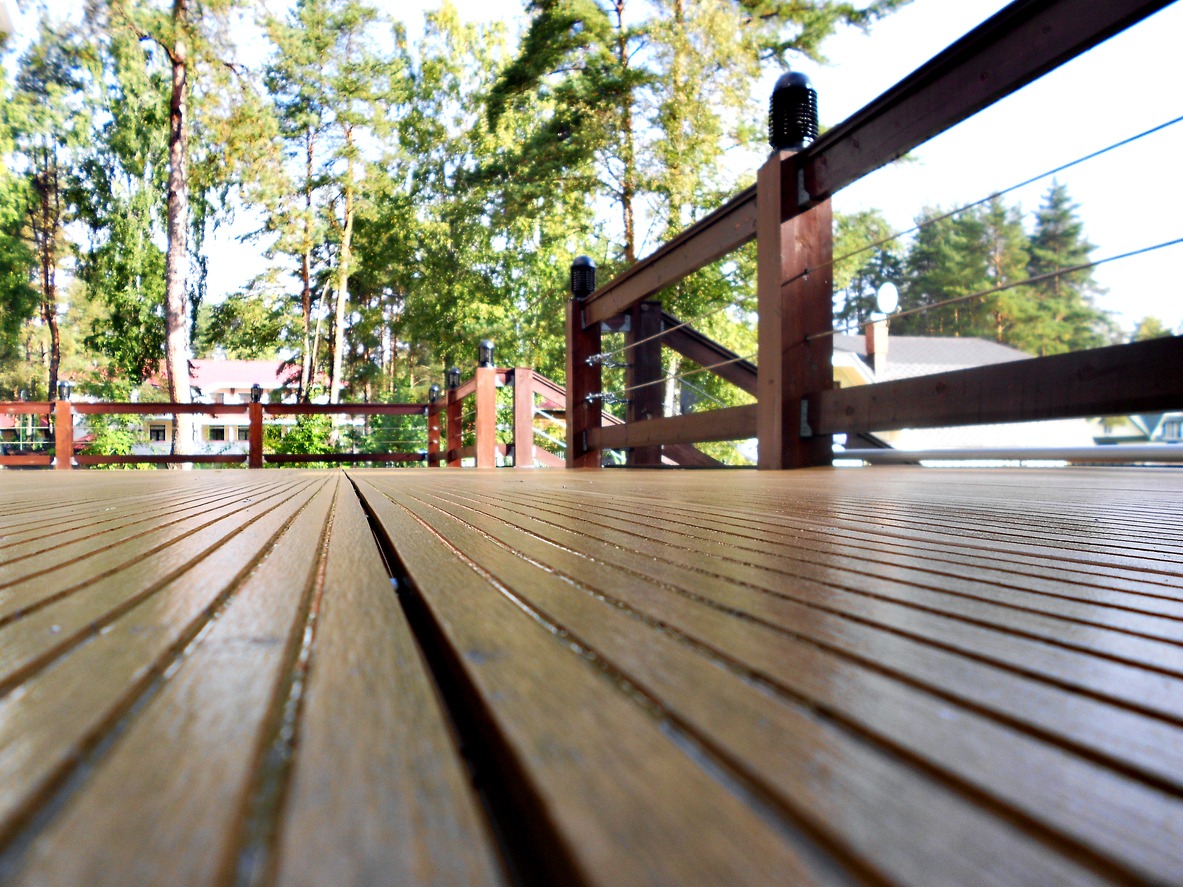
Leave gaps between deck boards.
It’s essential to leave gaps when you’re installing wooden decking boards. These gaps serve two purposes: they aid in better drainage and prevent debris buildup. If the gaps are too small, water will initially flow through them but might get clogged with dirt, leading to moisture retention. To ensure your gaps are effective, make them wide enough so you can easily sweep away debris, and it should be roughly the thickness of a deck screw head.
Some builders prefer tightly spaced deck boards for a neat appearance, thinking they’ll shrink over time. However, this isn’t always the case. Wet wood may stay the same size or even expand when exposed to regular rainfall. So, leaving suitable gaps is a safer bet.
Use under-mounted deck fasteners for a clean look.
Here’s a method that demands a bit more effort but provides a clean look with no visible screws on your deck boards. Many opt for this approach to avoid water damage around screw holes. It involves attaching a metal bracket to the side of the joist, allowing you to screw up into the bottom of the board and pull it down. However, this method is most practical for raised decks that can be accessed from beneath unless you enjoy crawling around in the mud.
While under-mounted deck boards offer an appealing aesthetic, they can be more time-consuming. Be careful not to overtighten the screws and strip the wood, as they won’t hold securely. Ensure you have the right screw length before spending hours securing your deck, or you might end up with a bed of protruding nails!
Use double joists at deck joints.
When two deck boards meet, there’s typically a slight gap that allows water to run down between them and collect on top of the joist. To prevent this, consider building your deck base with doubled joists and a gap between them. While this requires careful design planning to determine where your joints will be, it can significantly extend your deck’s lifespan.
Keep in mind that the cut ends of wood are more prone to water absorption, and if you inspect older decks, you’ll often find that it’s the joints in the decking that deteriorate first. Effective planning and ordering the right lengths of decking can minimize waste from cutting, and using longer decking lengths can reduce the number of double joists required.
Cut accurate notches.
For the most accurate notch cuts around a deck post, start by holding the deck board tightly against the post. Use a combination square to mark the post’s location on the board. Measure and mark the notch’s depth.
When determining the notch’s depth, check both sides of the post. Sometimes, posts can have a twist, causing uneven measurements. Use a jigsaw to carefully cut out the notch.
Keep unwanted animals away with diamond lath.
When it comes to your deck, it’s not just about durability; it’s also about your quality of life. Dealing with raccoons or skunks taking up residence under your deck can be far from enjoyable (though baby raccoons are undeniably adorable). To deter most animals, attach a diamond lath to the back of the deck joists and bury it.
Check the seasons before staining.
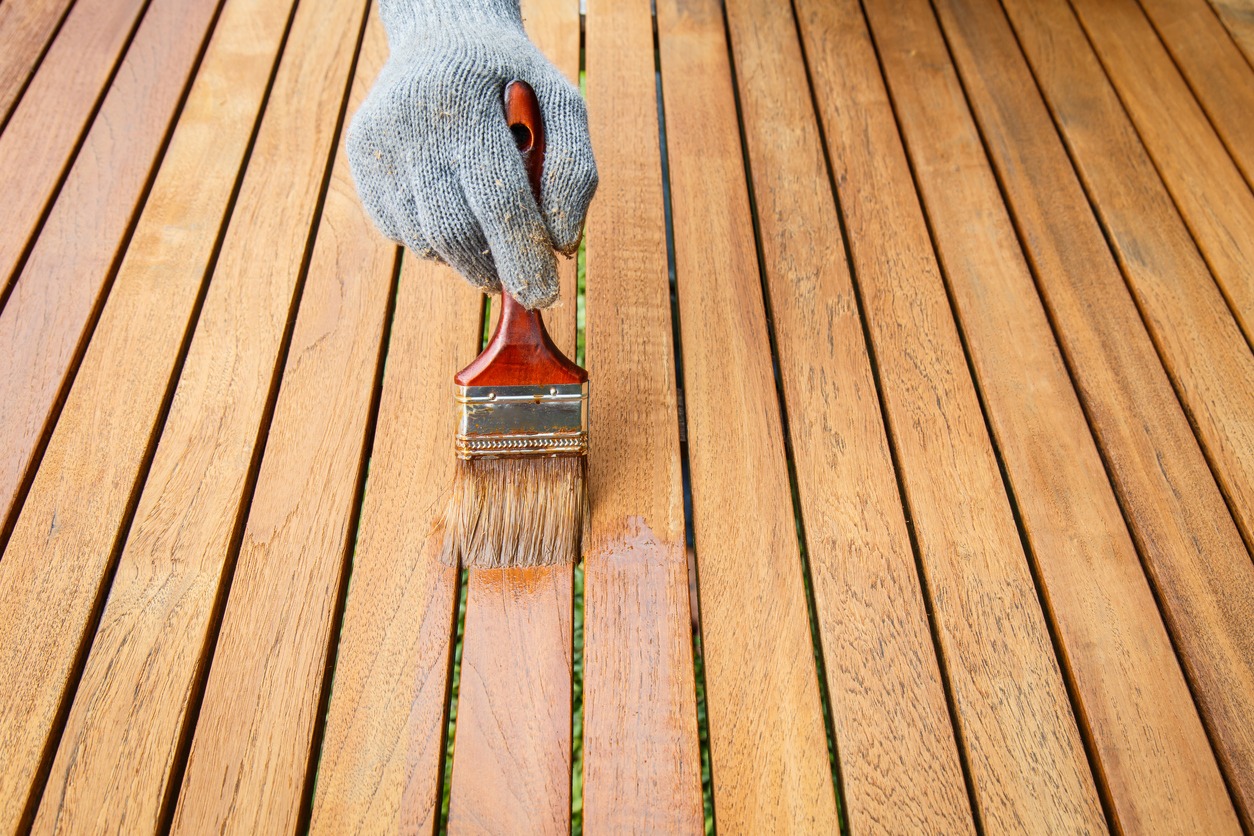
If you’re planning to stain your deck in the fall or spring, it’s essential to consider the weather and drying time of the stain. Check the can for the recommended temperature range for application and the drying duration. Ensure the weather won’t dip below the recommended temperature during the listed drying period. For new cedar decks, we prefer using a non-toxic natural wood finishing oil. If you’re refinishing or working with reclaimed timber, we’ve had success with a cleaning, lighting, and staining system for older wood decks. Be sure to watch the how-to video for guidance.
Pay attention to deck-to-wall connections.
This is where many projects can go wrong. You can either build a deck that’s entirely independent of the building (using Sonotubes near the wall connection) or take meticulous steps to avoid creating a gap in your building envelope that can invite water, air, and unwanted visitors like carpenter ants.
After trimming the exterior cladding at the joint with the deck, ensure there’s a metal drip cap tucked beneath the original weather barrier. This cap directs water over the edge of the rim joist, which is bolted to the wall. Use squares of self-sealing elastomeric membrane behind the joist against the wall to prevent water from wicking through the hole created by the bolt.
Don’t forget the 2% slope.
Finally, remember to incorporate a 2% slope into your deck design, angling it away from other structures to ensure proper water drainage. The base structure should establish this slope, and your decking will naturally follow suit.