
Dealing with a roof leak can be a hassle for homeowners, both in terms of time and money. You don’t want to resort to using a drip bucket every time it rains. That’s why it’s important to catch the warning signs early and understand why roof leaks happen. Even though you might initially notice a small drip from the ceiling, the hidden water infiltration could already be causing significant harm to your property. Quick response is essential to prevent the situation from worsening.
Let’s delve into the causes of roof leaks, where they appear, and the steps to remedy them.
Roof Aging
Sometimes, a leaking roof is simply a result of the roofing materials reaching the end of their lifespan. For instance, asphalt shingles typically have a lifespan of 15 to 20 years before needing replacement. While roofing materials are built to endure for decades, their protective abilities can diminish over time, making them susceptible to water infiltration.
You can delay this process with proper care, like clearing moss from the tiles, but nothing stays new forever. As time passes, your roof bears the brunt of extreme temperatures, harsh weather, impacts, and debris, which can render the tiles brittle and cause cracks down the line.
But there are times when your roof has simply seen better days, and the only repair that’s worth your while is a replacement. Over the years, weather and wear have taken their toll on roofing materials, decreasing their ability to keep water out of your home. If this is the case, it’s time to reach out to a roofing contractor to refresh your roof with new materials and restore its functionality.
Damaged or Improperly Installed Flashing
Flashing is positioned where the roof meets a dormer or where the chimney connects. Essentially, any point where your roof intersects with a wall, valley, or angle needs properly installed flashing. Depending on the condition and material of your roof, flashing should last about 30 years or more. Flashing segments might become displaced if nails are missing, and caulk can dry and crack due to weather exposure.
If your flashing becomes cracked or damaged, it can become a prime starting point for a roof leak, leading to serious problems. Flashing can deteriorate due to age-related wear, exposure to temperature fluctuations, direct impacts, or even if fixings or caulk come loose. A close examination of your flashing should reveal any cracks or damages.
Due to the critical function of flashing around spots like skylights, chimneys, or intersections between roof sections, it’s best to repair damaged flashing ASAP. To damage lead flashing, remove the damaged segment by removing any fixings and then install a new area of flashing. Secure it in place using roofing nails, which can be further protected with roofing sealant on the nail heads. We recommend inspecting your roof’s flashings a few times annually, even if you don’t suspect an issue.
Cracked or Displaced Roof Tiles or Slates
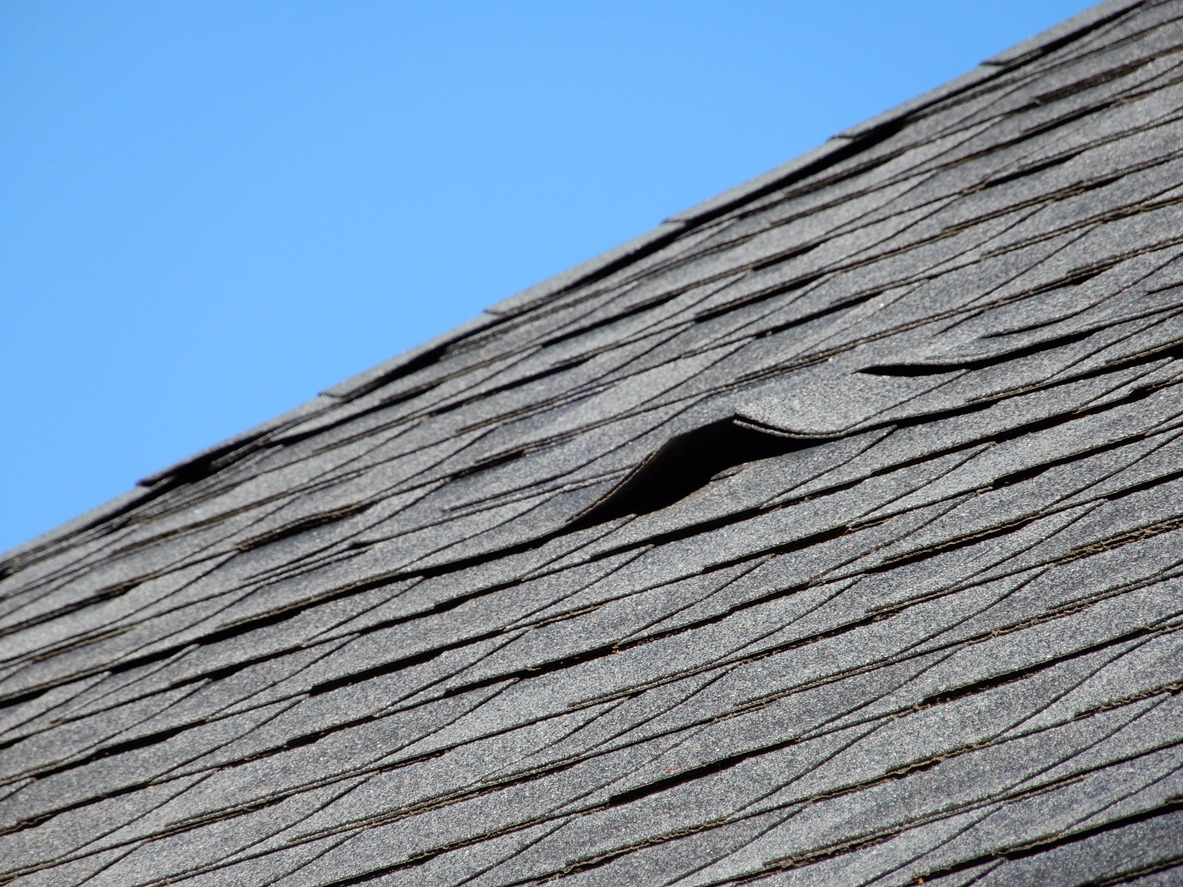
A common cause of roof leaks is when your roof tiles or slates are damaged or have shifted out of place. These are your roof’s main defenders, but they can be affected by falling debris or other sources of harm. Although roofing materials are built to be strong, they do have limits. Identifying cracked or missing tiles on your roof is straightforward; you might spot chips or whole tiles in your backyard after a heavy wind.
Compromised roof tiles can cause big problems, especially during rainy weather. Rainwater can now penetrate your roof space, burdening the underlay and seeping into the structural timbers. This can result in issues like dampness, condensation, and rot. Fixing this is often as simple as replacing the tiles. To do this, you’ll lift the tiles and slide new ones into position. Keep in mind that the sarking boards underneath might also need replacement if it has started to rot due to moisture.
Nails Driven Incorrectly
Another common cause of leaks arises from nails backing out of shingles. Whether air-nailed or hand-nailed, nails that are driven correctly, snug, and not overdone should not cause problems. However, insufficiently driven or sideways-driven nails can allow water entry through the nail head as it runs down the roof during rainfall.
This issue isn’t limited to roofing nails on shingles; it can also involve decking nails. If the decking nail didn’t secure to the wood during framing, the sun might draw the nail up through the shingle. Nail heads sticking up usually indicate a potential leak.
Selecting a roofing company known for proper installations reduces the likelihood of leaks due to incorrectly driven nails. To fix this type of leak, the roofer will break the seal on the shingle, lift it, and remove and reposition the nail. If the nail was not driven straight, they’ll properly insert it and apply an ice and water shield. If the nail worked through the shingle, they’d reseal the shingle. If a decking nail misses the wood, the roofer will reposition it to catch a rafter, fill the nail hole, and reseal the shingle.
Wrong Roofing Materials for the Roof’s Pitch
Roofing materials such as tiles, slates, or sheets are intended for specific roof pitch ranges. Furthermore, the installation method varies based on the slope. For instance, roofs with shallow pitches might require double-layer underlay for equivalent waterproofing. Incorrect choices or installations by you or your hired roofer can lead to costly issues like leaks.
A tiled roof with a low pitch is more exposed to elements like strong winds and rain. That’s why manufacturers recommend less spacing between tiles and extra fixings for added security. To avoid roof leaks caused by improper materials or installations, consult manufacturer guidelines, and ensure chosen materials suit your roof’s pitch and are installed correctly.
If you have the budget, you may want to consider installing a new roof that’s more suitable for its slope and climate.
Poorly Placed Nails and Fixings
A preventable source of future roof leaks occurs when roofing nails or fixings aren’t securely fastened to the rafters. Missing the rafters leaves exposed nails, creating a direct route for water and leaks. This can be particularly problematic after cold weather when frost on the nail turns to water as it warms, causing dripping. Poorly ventilated or insulated attic spaces worsen the problem by fostering excess moisture. To address misplaced fixings, pry them up and seal the holes.
Moisture in the Loft Space
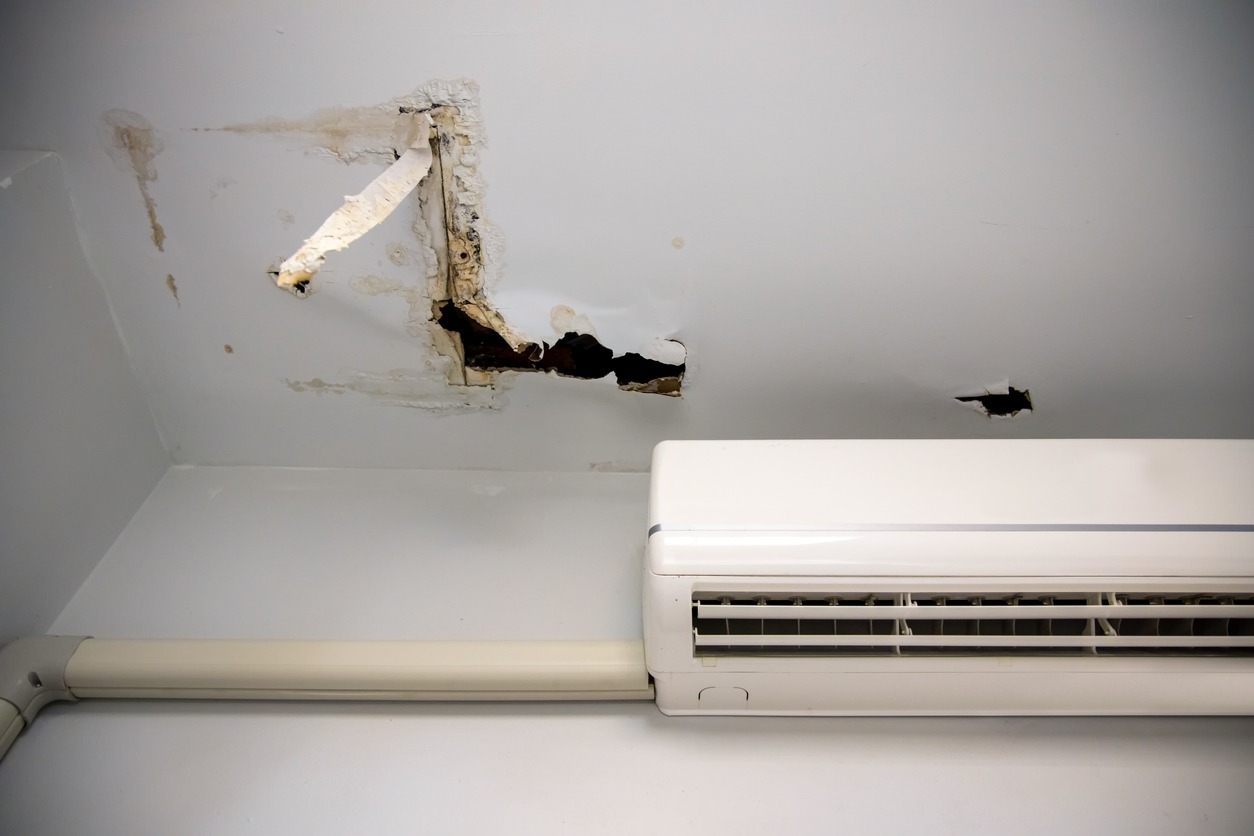
Condensation is a serious matter that can lead to various issues for homeowners, including roof leaks. The loft space, being the uppermost part of your home, is particularly vulnerable to condensation due to the way warm air rises and its location between indoor and outdoor temperatures. Condensation forms when warm air meets cold surfaces, creating a potential trigger. When condensation becomes a significant problem in your home, the accumulated moisture can eventually drip down into your loft, causing water damage over time.
When mold or mildew accompanies the leak, it’s likely due to excessive condensation buildup in the attic. To address this, remove the mold growth and ensure proper attic insulation. Introducing a ventilation fan or using a dehumidifier can also aid in maintaining optimal moisture levels. Then, have it checked by a roofing contractor to address the issues?
Skylights Installed Incorrectly
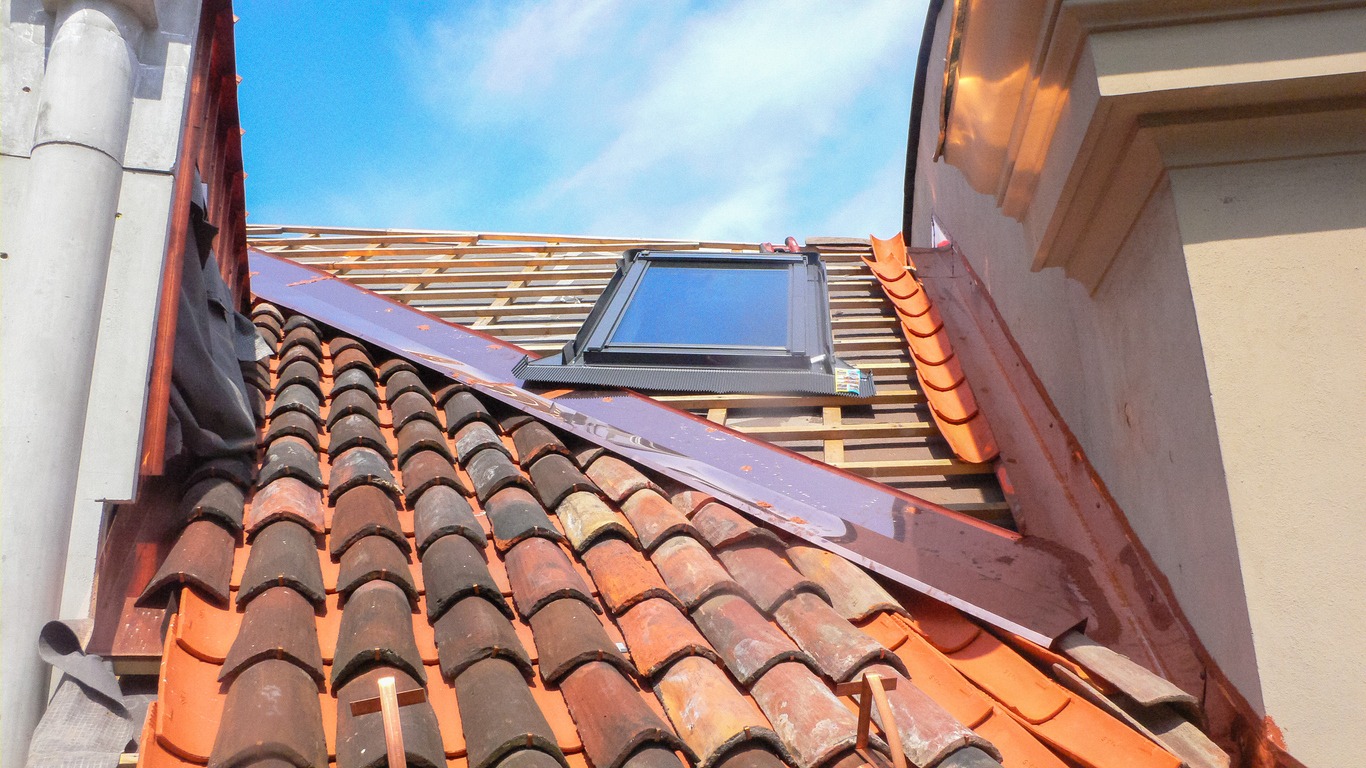
If not set up correctly, skylights can lead to troublesome leaks. Often, it’s not the skylight itself but rather the flashing around it that cause issues. Many leaks arise because installers neglect to follow the manufacturer’s installation instructions.
To address this, a roofing contractor may need to peel back the cladding – the aluminum covering over the glass – and add an ice and water underlay for added protection. Reattaching the flashing creates a waterproof seal that prevents future leaks. If you have multiple skylights on your roof, reflashing them all is a good idea, as a failing set of flashings could indicate a broader problem.
To mend a leaky skylight window, start by clearing the area of any debris, especially moss or dirt. Then, carefully examine every aspect of the window to locate any cracks or damages. Once you’re confident you’ve identified all problems, seal these cracks using resin or silicone. Even if you don’t suspect window-related issues, this is an ideal time to scrutinize the window flashing for potential future complications.
Holes Left Open
While this may seem like an easy oversight, sometimes holes left by objects like TV antennas can become problematic. Ensure the area is properly sealed whenever something is removed from your roof. This includes vents, boots, chimneys, and the like. You can temporarily seal holes in your roof using caulk, but it’s best to consult a contractor for a comprehensive solution.
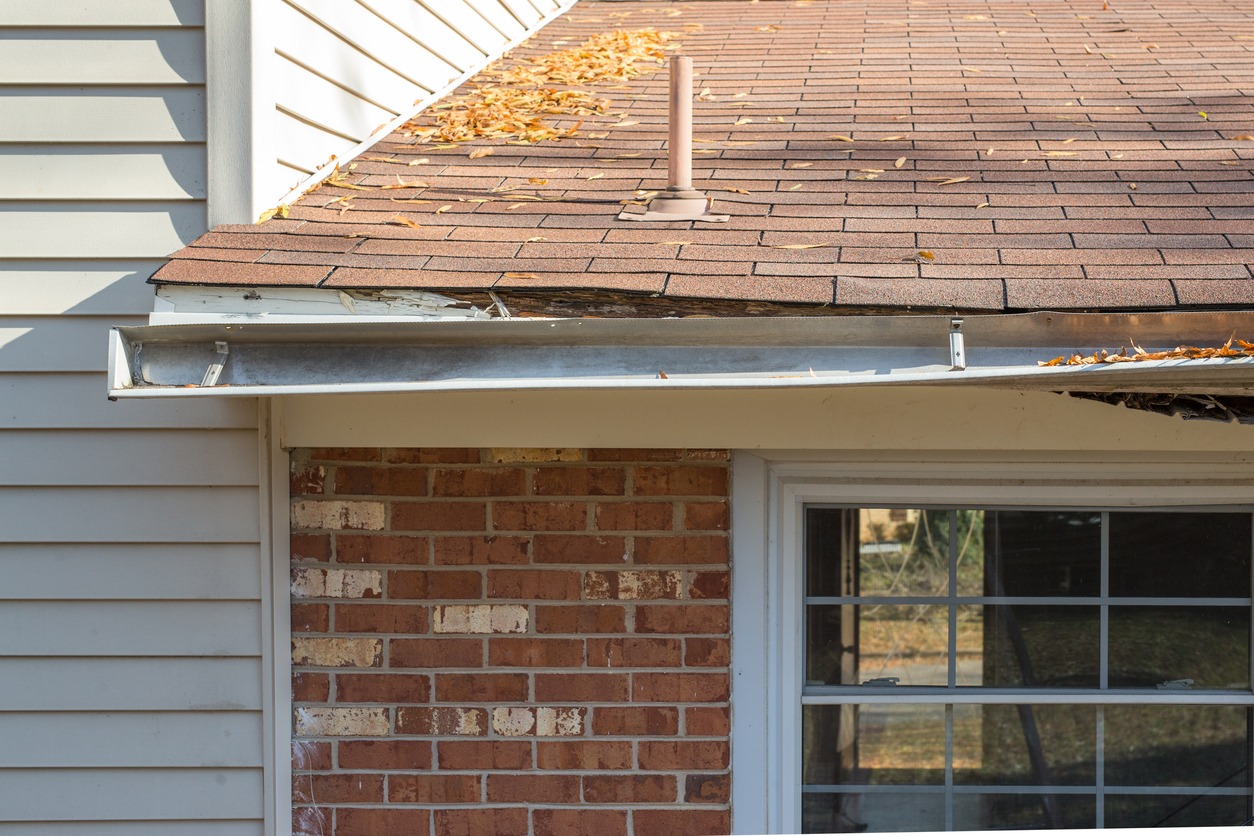
Clogged Gutters
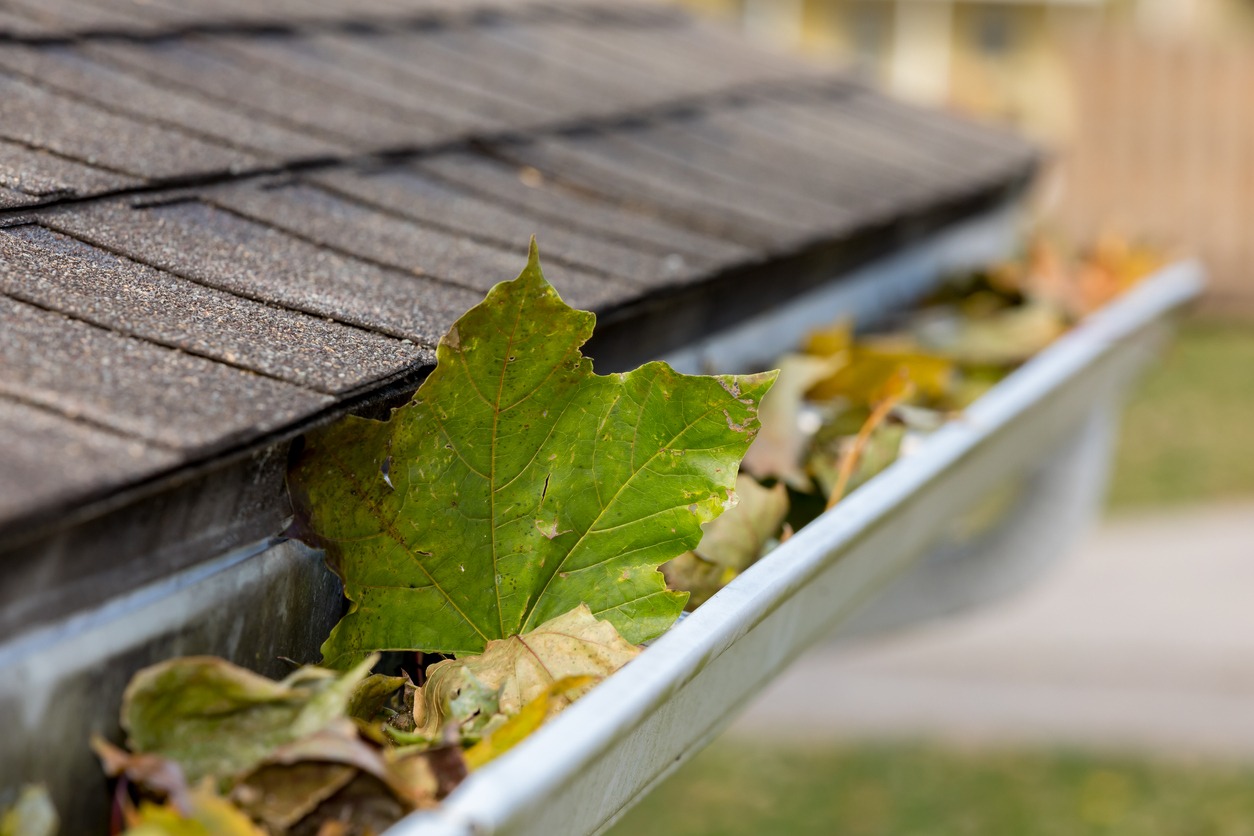
Your gutters play a crucial role in protecting your house, as it keeps rainwater and snow from causing leaks in your roof or causing damage to your house’s foundation. However, if your gutters become clogged, they can lose effectiveness and potentially leak. This increases the risk of roof leaks as collected water enters roof spaces through cracks and vulnerable points. Identifying clogged gutters is often straightforward, especially in autumn when leaves, twigs, and debris might protrude from the top. You might also notice reduced water flow through the downspout during heavy rain.
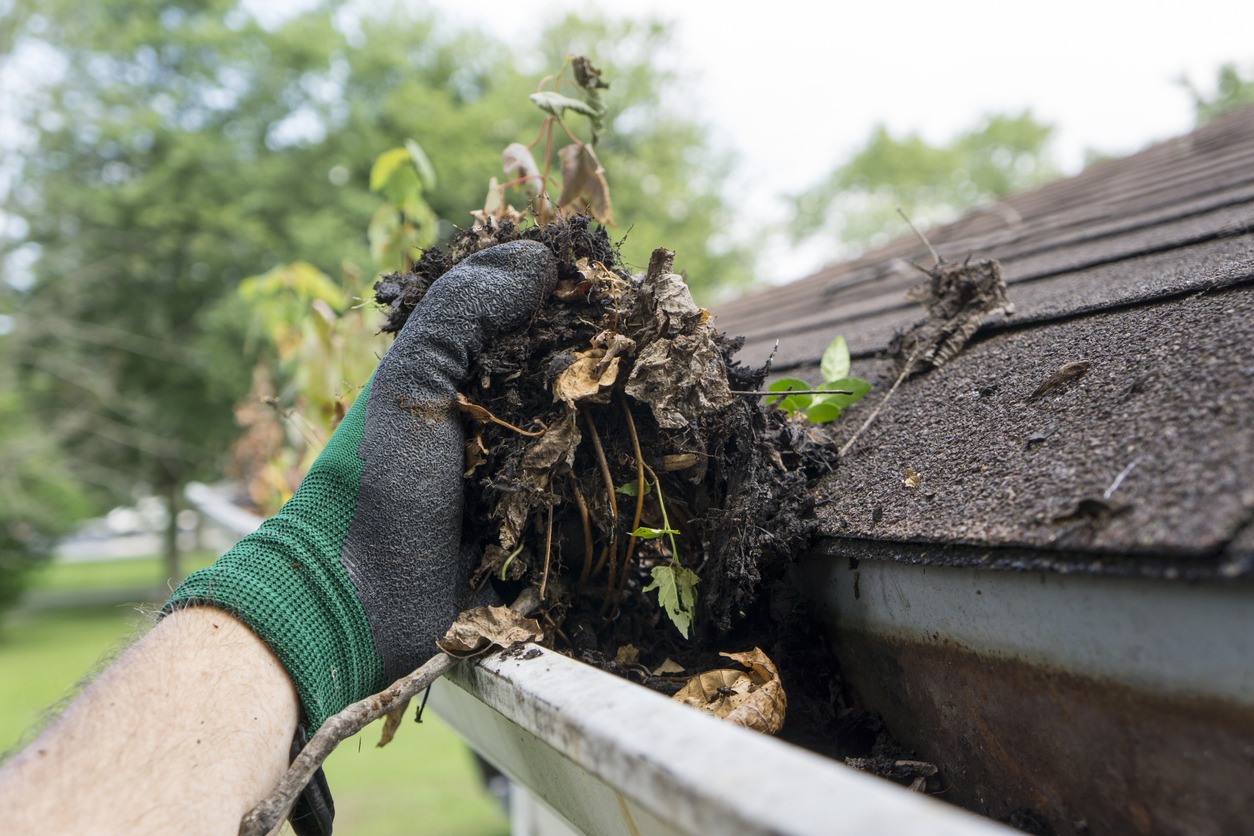
The only way to address this is to get up a ladder and manually clear the debris. Start by using your hands or a plastic scoop to remove larger pieces, discarding them onto a plastic sheet below. Once you’re confident, the gutters are clean, test them by pouring water from the top and observing if it flows smoothly to the bottom. We recommend inspecting your gutters at the beginning of spring and winter.
Debris in Gutters Above a Valley
If your house has a valley (a V-shape form caused by two roof slopes that meet), it usually has a gutter attached to it, allowing water to continue its downward flow. Sometimes, problems arise at the fascia, the board along the roof’s lower edge that supports the gutters. When proper flashing isn’t applied to this board, leaks can occur.
This type of leak might not happen under normal conditions and may be triggered by heavy rain or clogged gutters. When debris accumulates, the gutter in the valley can direct water through the path of least resistance. If water manages to get beneath the soffit (the underside of the roof’s lower edge) behind the gutter, it can lead to various damages.
To resolve this, roofing contractors detach the gutter, inserting three pieces of flashing – one behind the channel, one on the roof, and the third beneath the problematic valley.
Debris Buildup
After a storm, if you haven’t had a chance to clear branches, leaves, and twigs from your roof, debris can gather water, causing it to seep through small roof cracks. The solution is simple: clean your roof when debris accumulates. You may want to use a leaf blower or power washer to remove debris. Trim overhanging trees to minimize debris accumulation. Just ensure you take proper safety measures when working on your roof.
Damage on the Roof Vents
Roof vents play a crucial role in maintaining a healthy roof. They allow warm air to escape, preventing excess moisture buildup in your loft space. Without proper ventilation, issues like dampness and condensation can arise. Roof vents can lead to leaks due to cracks in the vents themselves or damaged flashing used to seal where they protrude from the roof. To identify a leaking roof vent, look for dark spots underneath them, which signal moisture entry.
If you have a leaking roof vent, start by removing the rubber boot around the base of the vent using a tool like a knife. Then, carefully lift the surrounding tiles. Replace the problematic element – whether it’s the flashing, rubber vent boot, or the vent itself. Put the roof tiles back in place, and your job is done.
You might also need to replace the entire unit or the flashing around it. Proper sealing with caulk, sealant, and flashing is essential. Replace those components and install a new vent to resolve the problem completely.
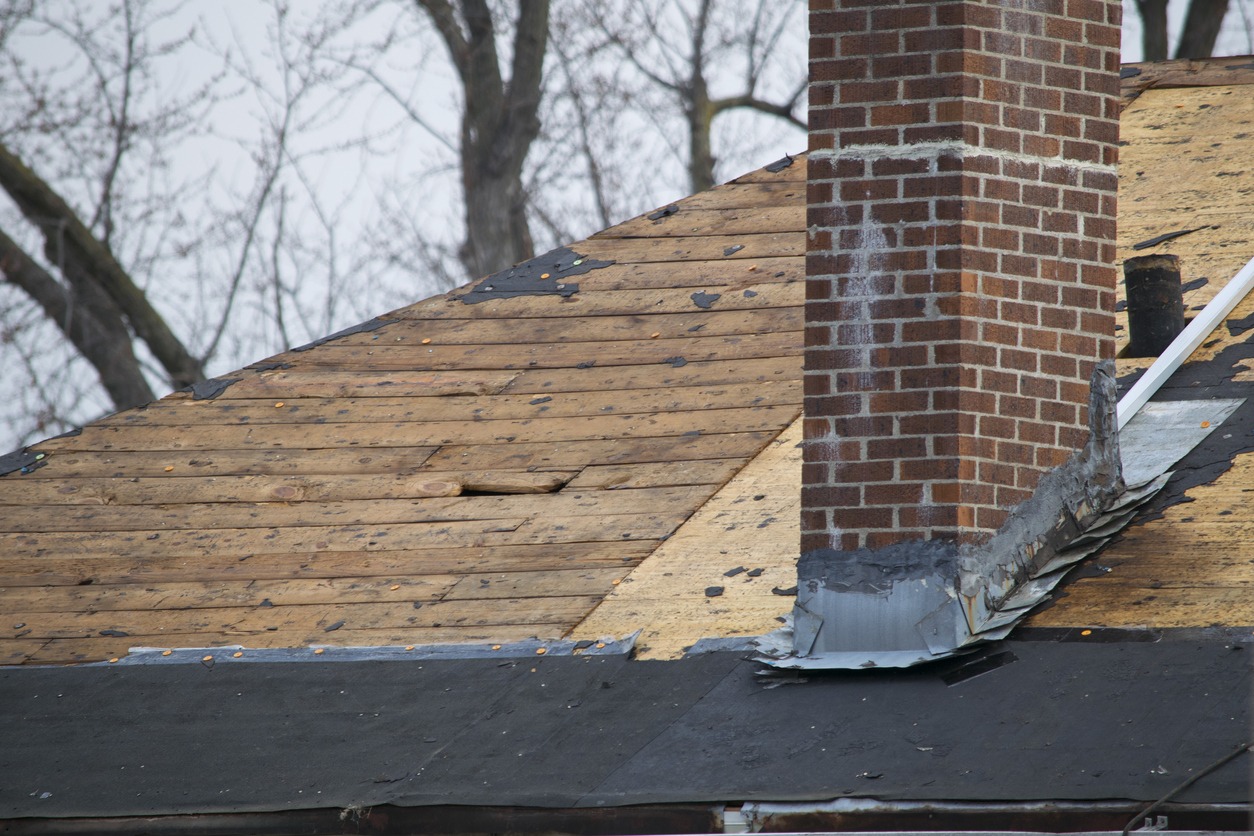
Chimney Deterioration
Chimneys can become problematic as they degrade over time, leading to leaks in various ways. The metal flashing, situated under shingles around the chimney, can malfunction. Bricks and mortar that constitute the chimney might erode, allowing water to seep into the home through the chimney. Another leak point is where the chimney meets wooden corner boards; these boards can rot due to exposure to water leaks. The tricky part is that damage might be hidden until it’s too late.
There are two repair methods: applying new flashing or adding masonry repellant to create a waterproof seal. If issues are more severe, a professional chimney sweep service is essential, as only licensed contractors with expertise can effectively handle the problem. Insurance coverage might also require skilled professionals to conduct repairs.
Pipe Boot Issues
A pipe boot is a piece of flashing designed to keep your roof watertight. It comes in various materials like metal, plastic, or copper. A pipe boot can last around ten years, although factors like location, weather, and animals play a role in its lifespan.
One common issue with pipe boots involves synthetic rubber and neoprene versions. These can crack due to exposure to UV rays, creating an entryway for water. When this happens, water can flow down your walls wherever the pipe exits your roof.
The simplest fix involves adding a rubber collar over the old cracked neoprene pipe boot. This collar covers the existing flange (the flat rectangular flashing around the pipe’s base) and should provide another 10-15 years of protection.
Collar Failure Around Gas Vents
Gas vents are crucial for maintaining indoor air quality by preventing carbon monoxide from accumulating. HVAC professionals install these vents to ensure gas appliances vent properly. Typically, they add a collar to secure the unsealed pipe and cover the flange, which is a good solution.
However, heavy rains can force water under the collar, causing leaks. To prevent this, contractors raise the collar, apply caulking, and then lower the collar back in place. Handling these pipes requires care, as mistakes could lead to carbon monoxide poisoning.
Repairing this type of leak around an HVAC-installed component can be tricky for a roofer. They can cautiously lift the collar, seal it with dark-colored caulk, and then slide the metal collar back down into the seal. Due to the significance of these pipes, roofers must take extreme care during repairs to prevent carbon monoxide from entering the house.
Ice Dams
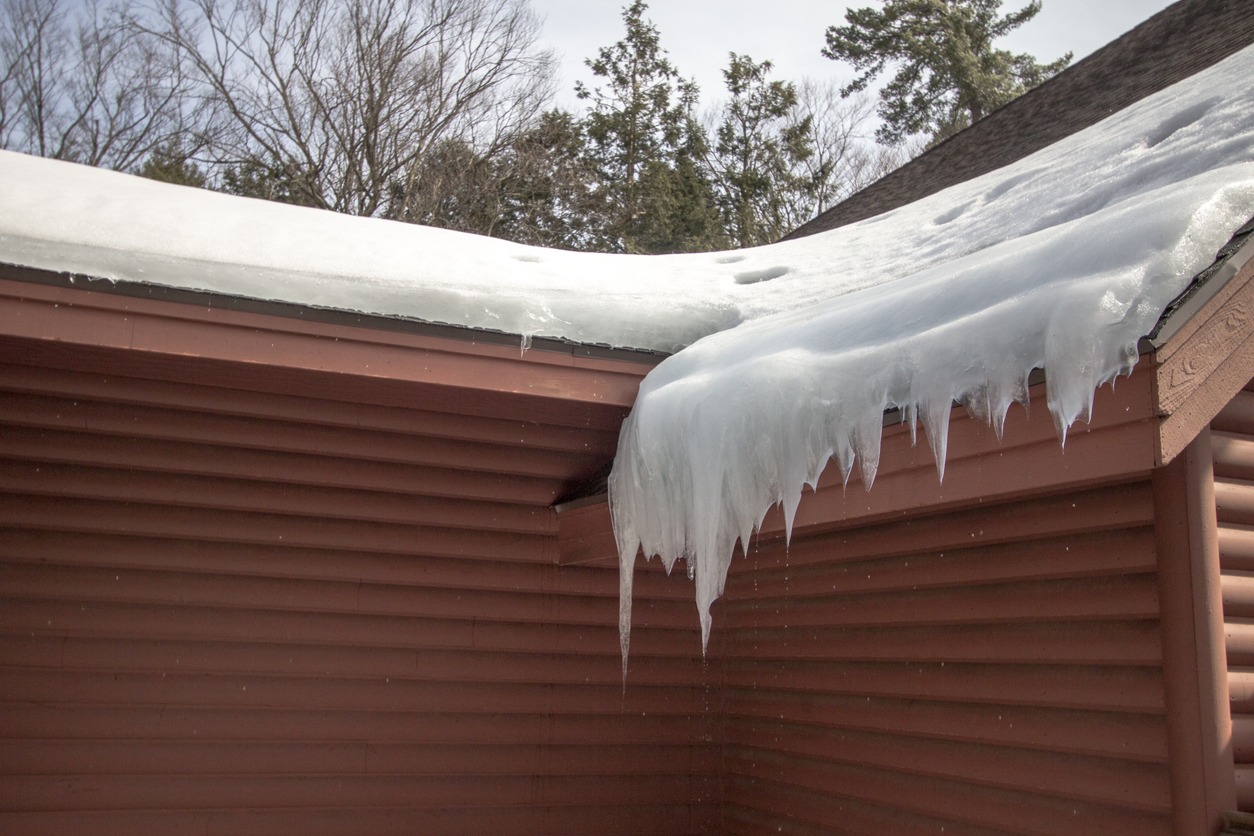
Ice damming happens when ice forms along your roof’s edges, creating a barrier that traps melting snow or rainwater. This can lead to serious problems because the weight of pooled water or trapped snow can strain your roof’s structure. Additionally, water can leak into your roof space through cracks or weak spots. An ice dam forms when roof snow melts due to your home’s warmth and then refreezes at the colder edge of your property.
Dealing with ice dams or excess rooftop snow can be risky, so it might be safer to wait for the snow to melt. If you choose to tackle the issue, using a roof rake is a good idea. It allows you to remove snow safely, preventing ice dams. If ice dams have already formed, using ice melt is recommended to clear them quickly.
Ridge Cap Leaks
The ridge is the peak where two roof panels meet, and it’s the opposite of a valley. Both sides of the ridge should be folded over with underlayment and felt paper during the roof installation. Shingles are then placed horizontally on the ridge, using longer nails to secure them through all layers. Incorrectly installed shingles on the ridge cap can lead to loose nails and shingles, causing leaks.
If ridge cap leaks occur, it’s usually related to the roof’s initial construction. For severe leaks, it’s advisable to contact a contractor. If the problem arises early in your roof’s life, your workmanship warranty might offer coverage if you have one from the roof installation.
Conclusion
Understanding the potential sources of roof leaks is an important part of home ownership. By being aware of these common causes, you can take proactive steps to maintain the health of your roof and protect your home from the unexpected downpour of troubles. Regular inspections, proper maintenance, and addressing issues promptly will ensure that your roof remains a sturdy shield against the elements, keeping your living space cozy and leak-free for years to come.