
Imagine you’re about to tackle a drywall project in your home, armed with only a basic understanding of taping, mudding, and sanding. Without the right techniques, you’ll likely face a bumpy road towards achieving that coveted smooth finish. This guide is here to equip you with professional drywall finishing methods, from selecting the appropriate tools and materials to mastering the art of seamless taping and precise sanding.
But what makes the difference between amateur and expert finishes often lies in the subtle tricks and adjustments you make along the way. Let’s explore how you can elevate your drywall finishing game, ensuring your walls are flawlessly smooth and ready for paint.
Tools Required
To achieve professional-quality drywall finishing, you’ll need specific tools such as a drywall sander, mud pan, and sanding block. These aren’t just recommendations; they’re essential for working with the joint compound effectively, ensuring your drywall taping and finishing process goes smoothly. You’ll find that a taping knife and a drywall knife play vital roles in applying joint compound and fitting drywall tape precisely where it needs to be.
The mud pan is your best friend when it comes to holding and transporting joint compound around the room as you work. It’s not just about convenience; it’s about efficiency. You’ll dip your taping knife into the mud pan, scoop up some joint compound, and apply it to the seams and corners where the drywall tape will go. This step is critical for preventing cracks and ensuring a smooth, professional finish.
Materials Required
After covering the necessary tools for drywall finishing, it’s time to focus on the materials you’ll need for a seamless project. To achieve the smooth finish you’re aiming for, especially in those challenging corners, it’s important to have the right compound, tape, and additional supplies at the ready. Here’s a concise guide to make sure you’ve got everything necessary to apply, layer, and finish drywall like a pro.
| Material | Use | Why It’s Essential |
|---|---|---|
| Joint Compound | Filling joints, covering tape, and finishing surfaces | Creates a smooth, paintable surface |
| Tape (Paper/Mesh) | Bridging joints between drywall sheets | Prevents cracks, makes seamless joints |
| Drywall Mud Pan | Holding and mixing joint compound | Facilitates easy application of compound |
Preparing Your Drywall
Before you start the finishing touches, it is essential to properly prepare your drywall by cleaning the surface to remove any dust and debris. Ensuring your drywall surface is spotless sets the stage for a flawless finish. You’ll also want to check for any protruding screws or nails. Using your knife, set these below the surface to avoid any bumps under your final finish.
Applying a coat of primer is your next step. This isn’t just important; it helps the joint compound adhere better and guarantees a uniform finish across your drywall surface. After priming, don’t skip sanding. It might seem like a minor step, but sanding creates a smooth base that’s vital for the next steps, like applying joint compound and paper tape.
When you’re ready to apply a second coat of joint compound, remember to feather the edges. This technique helps create a seamless shift between the compound and your drywall surface, especially around inside corners. Proper preparation is key to achieving those professional, flawless results you’re aiming for. So, take your time with these steps before moving on.
Taping Techniques
Choosing the right type of tape—be it paper or mesh—is essential for ensuring strong adhesion and durability when taping your drywall joints. Before diving into taping and mudding, you’ll need to apply joint compound evenly under the tape. This step is critical for achieving smooth connections between the wall sections. Once you’ve spread the compound, it’s time to lay down your tape. You’ll want to press firmly to embed the tape into the joint compound thoroughly. This action helps prevent air bubbles, which can mar the surface, ensuring a flat, seamless finish.
When it comes to corners and seams, remember to slightly overlap tape. This technique strengthens the joint, minimizing the risk of cracking as the drywall settles or experiences shifts. As you work, use a sharp knife to cut tape cleanly. Frayed edges can lead to an uneven finish, disrupting the sleek look you’re aiming for. A clean cut is necessary for a professional-grade appearance.
Mudding Strategies
Having covered taping techniques, let’s now turn our attention to mudding strategies to achieve a flawless finish on your drywall. The application of joint compound, also known as mud, is critical in creating a smooth surface that’s ready for painting. Here’s how you can master mudding techniques:
- For inside corners, use a 6-inch drywall knife to apply a thin layer of joint compound. Fold your drywall tape in half and press it firmly into the compound at 12-inch intervals to make certain secure adhesion. This prevents the tape from bubbling and creates a smooth angle.
- When dealing with outside corner beads, apply the joint compound generously. This not only secures the bead in place but also allows for a durable and smooth finish that can withstand impact.
- To achieve seamless blending between coats, it’s vital to feather the edges of the dried compound. This involves gently extending the compound beyond the area of application, creating a gradual shift that avoids noticeable lines or bumps. Before priming, use a damp sponge to smooth out any rough parts for an even surface.
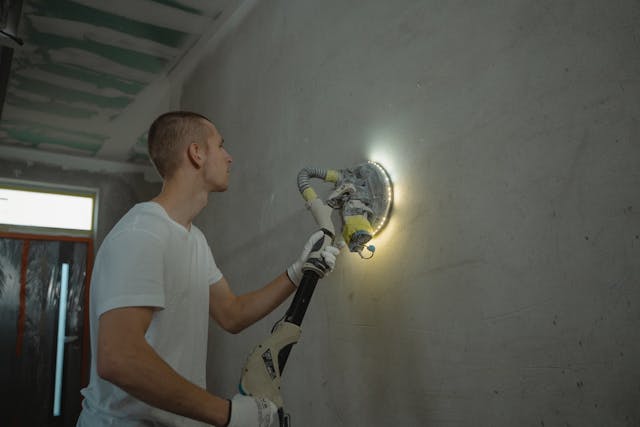
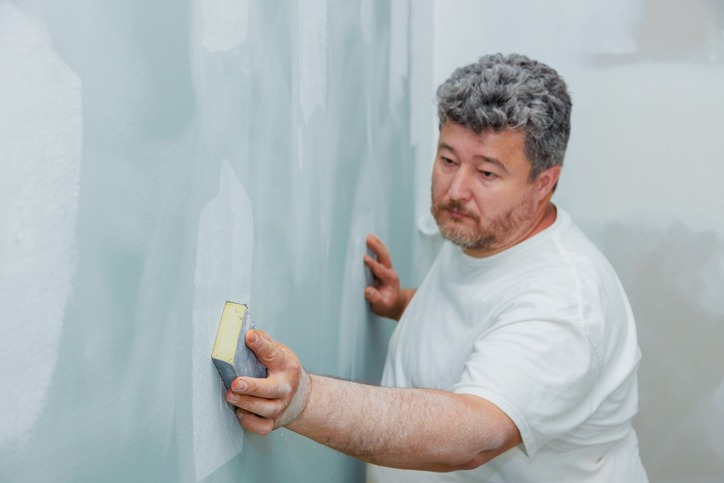
Sanding for Smoothness

After applying joint compound, you’ll need to sand the surface to achieve a smooth finish. Sanding for smoothness is important in removing imperfections and leveling the surface to make sure your walls look flawless. You’ll want to use fine-grit sandpaper or a sanding sponge, which are effective for smoothing out the joint compound and drywall seams, including those tricky butt joints.
Begin by applying a thin layer of joint compound, using care to feather the edges to blend seamlessly with the rest of the wall. Once dry, start sanding in a circular motion. This technique helps avoid creating grooves and ensures the edges of the compound blend evenly into the drywall. As you sand, keep an eye out for any bumps, ridges, or visible tape lines that could mar the surface’s appearance.
It’s important to check your work for any imperfections that need addressing. After you’re satisfied with the level of smoothness, wipe down the walls to remove all dust and debris. This creates a clean, smooth surface that’s ready for the next steps in your finishing process, making sure you achieve a smooth, professional-looking finish.
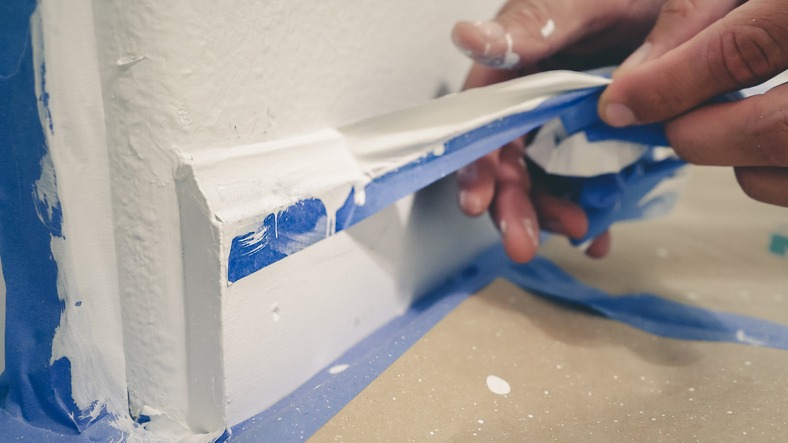
Final Touches
Now that you’ve achieved a smooth surface through careful sanding, it’s time to focus on the final touches to make sure your drywall looks impeccable. At this stage, your goal is to make sure that the drywall sheets are ready for painting, showing off a professional finish that you can be proud of. To achieve this, there are a few critical steps you should follow:
- Inspect the walls for any imperfections or rough areas. Use a light to angle across the surface, revealing any dips or bumps you might have missed. If you find any, a light application of mud might be necessary. Remember, achieving a smooth finish often requires up to three coats, especially around corner bead areas and non-tapered ends.
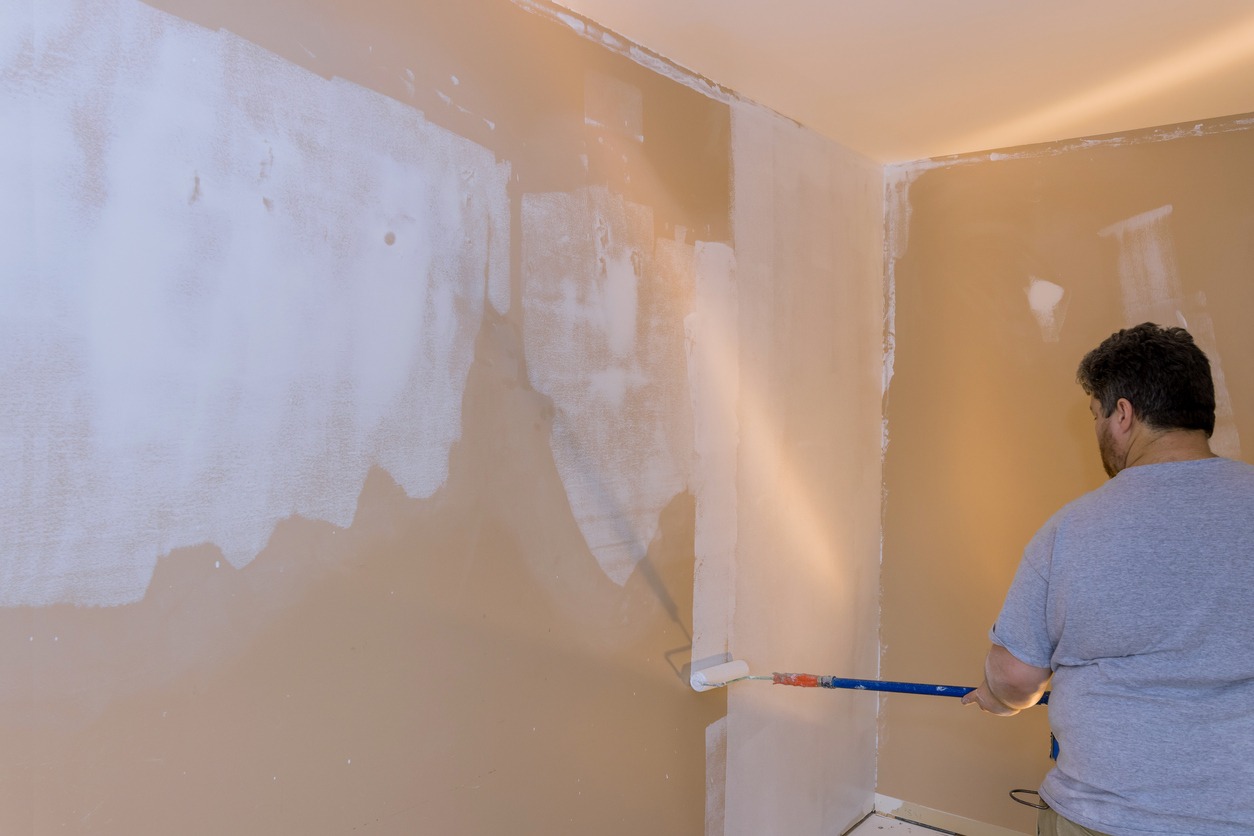
- Prime the walls before painting to make sure proper adhesion and a professional-looking result. Priming helps to seal the drywall and prevent the paint from soaking in, which can cause an uneven finish.
- Use a damp sponge to clean the surface and remove any dust from sanding. This step is critical for preparing the drywall for painting, as dust can interfere with the smoothness of your paint job.
Conclusion
You’ve now got the know-how to master drywall finishing. With the right tools and materials in hand, you’re set. Remember, prepping your drywall is key. By guaranteeing taping, mudding, and sanding techniques, you’ll secure a smooth, seamless finish. Don’t rush; patience pays off. Tackle each step with care, and those final touches will make all the difference. Follow this guide, and you’ll be proud of the professional-looking finish you achieve. Happy drywalling!