
Engineered wood flooring gives you the richness of real wood without breaking the bank. It’s moisture-resistant, making it perfect for kitchens and bathrooms. You’ll find it eco-friendlier, too, using less solid wood and incorporating recycled materials. When installing, you can choose between floating, glue-down, or nail-down methods, based on your needs and skill level. Remember to acclimate your planks, prep your subfloor, and use underlayment for protection. With the right care, like regular sweeping and mopping, your floors will look stunning for years. Start imagining your home with this gorgeous, durable flooring. There’s so much more to uncover.
Key Takeaways
- Engineered wood flooring combines the elegance of hardwood with added moisture resistance, making it suitable for bathrooms and kitchens.
- Installation can be done via floating, glue-down, nail-down, or staple-down methods, catering to different preferences and subfloor conditions.
- Prior to installation, planks should be acclimatized and the subfloor prepared to ensure a seamless and stable flooring surface.
- Regular maintenance includes sweeping, light mopping, and using felt pads under furniture to protect the flooring and keep it looking new.
- When considering restoration, it’s important to assess the thickness of the top wood layer, as not all engineered floors can be sanded and refinished.
Benefits of Engineered Wood Flooring
Engineered wood flooring offers you the timeless elegance of real wood without the hefty price tag, making it a smart choice for budget-conscious homeowners. This cost-effective solution doesn’t skimp on style or quality. You’re getting the aesthetic appeal of hardwood, with added benefits that solid wood can’t match.
One of the standout features of engineered flooring is its moisture resistance. You won’t have to worry about warping or swelling in damp areas like bathrooms and kitchens, where traditional hardwood might falter. This resilience extends the life of your floors and keeps maintenance headaches to a minimum.
Installation is a breeze with engineered wood. Whether you’re a DIY enthusiast or prefer professional help, the versatile methods—floating, glue-down, nail-down, or staple-down—offer flexibility to suit any project. You’re not just saving on upfront costs; you’re also investing in a hassle-free process.
Being environmentally conscious is another perk. Engineered wood uses less hardwood per plank and often incorporates recycled materials, reducing your ecological footprint. Plus, with proper care, these floors can last up to 30 years or more, making them a sustainable choice for your home and the planet.
Preparing for Installation

Having explored the benefits of engineered wood flooring, let’s now focus on getting your space ready for installation. The first step is acclimation. You’ll need to let your engineered hardwood planks adjust to room temperature, preventing future issues like buckling. It’s not just about opening boxes; it’s about avoiding headaches down the road.
Next up is subfloor preparation. This means removing baseboards, pulling out nails, and sweeping away debris to guarantee a clean, smooth surface. It’s like setting the stage for your flooring to shine. Don’t skip this step, as any imperfection can impact the final look.
You’ll also want to lay down underlayment. This unsung hero provides moisture barriers, adds warmth, and reduces noise, making your engineered hardwood feel as good as it looks. Think of it as the foundation of your flooring’s comfort.
Now, grab your tools, but don’t forget safety measures. When cutting engineered hardwood planks, protective eyewear and gloves are your best friends. Precise cuts are essential for a seamless installation, so measure twice and cut once.
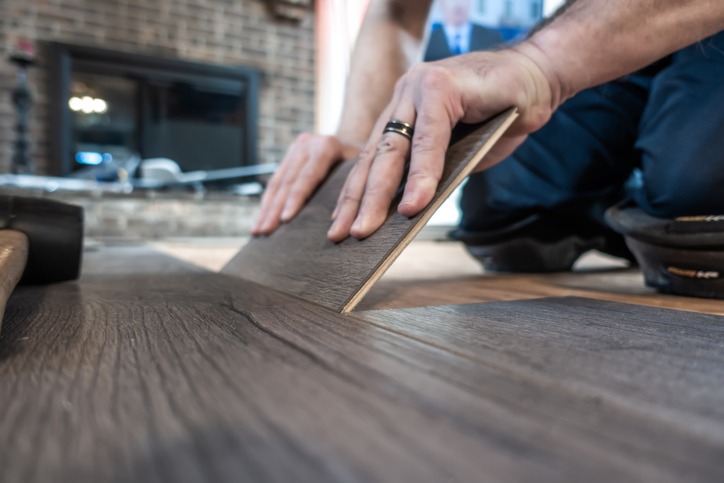
Floating Floor Installation
Diving into floating floor installation, you’ll find it’s a straightforward method that snaps your engineered wood planks together without glue or nails. This DIY-friendly approach uses interlocking planks, designed with tongue and groove connectors, ensuring a secure fit that’s both simple and effective. You’ll appreciate how each piece seamlessly locks into place, creating a stable and attractive surface underfoot.
To accommodate the natural expansion and contraction of your engineered wood flooring, spacers are a must during installation. These small yet significant tools help maintain the necessary gap around the perimeter of your room, preventing buckling and ensuring long-term durability. The beauty of floating floors isn’t just in their ease of installation but also in their allowance for the wood to move, breathe, and settle over time.

Glue-Down Installation Method
Switching gears to the glue-down installation method, the first step you’ll tackle is prepping your subfloor. It’s critical to get this foundation right because you’re going to apply adhesive directly onto it for a bond that’s meant to last. Then, you’ll master the art of applying the adhesive correctly, ensuring your engineered wood flooring stays put for years to come.
Preparing the Subfloor
Before laying your engineered wood flooring, you must make sure the subfloor is clean, level, and moisture-free. Subfloor preparation is not just a step; it’s the foundation for your floor’s long-term performance and durability. Start by sweeping away any debris. Next, level out any uneven areas because bumps or dips can compromise the adhesive’s ability to form a secure bond with your engineered wood planks.
Don’t skip checking the moisture levels with a moisture meter. High moisture can wreak havoc, leading to warping or mold down the line. Achieving a moisture-free state guarantees your flooring remains steadfast and beautiful for years. Remember, thorough subfloor preparation is the key to a successful, durable installation.
Applying Adhesive Correctly
After verifying your subfloor is perfectly prepped, it’s time to focus on applying adhesive correctly for the glue-down installation method. The glue-down technique secures engineered wood floors firmly, ensuring they don’t shift or move later on. Here’s how to nail the application:
- Use the recommended flooring adhesive to guarantee a strong bond.
- Apply the adhesive evenly across the subfloor before laying down the planks.
- Place the engineered wood planks gently on the adhesive-covered subfloor.
- Employ a tapping block and rubber mallet to snugly fit planks together, avoiding gaps.
- Follow the manufacturer’s guidelines for adhesive application to ensure a lasting installation.
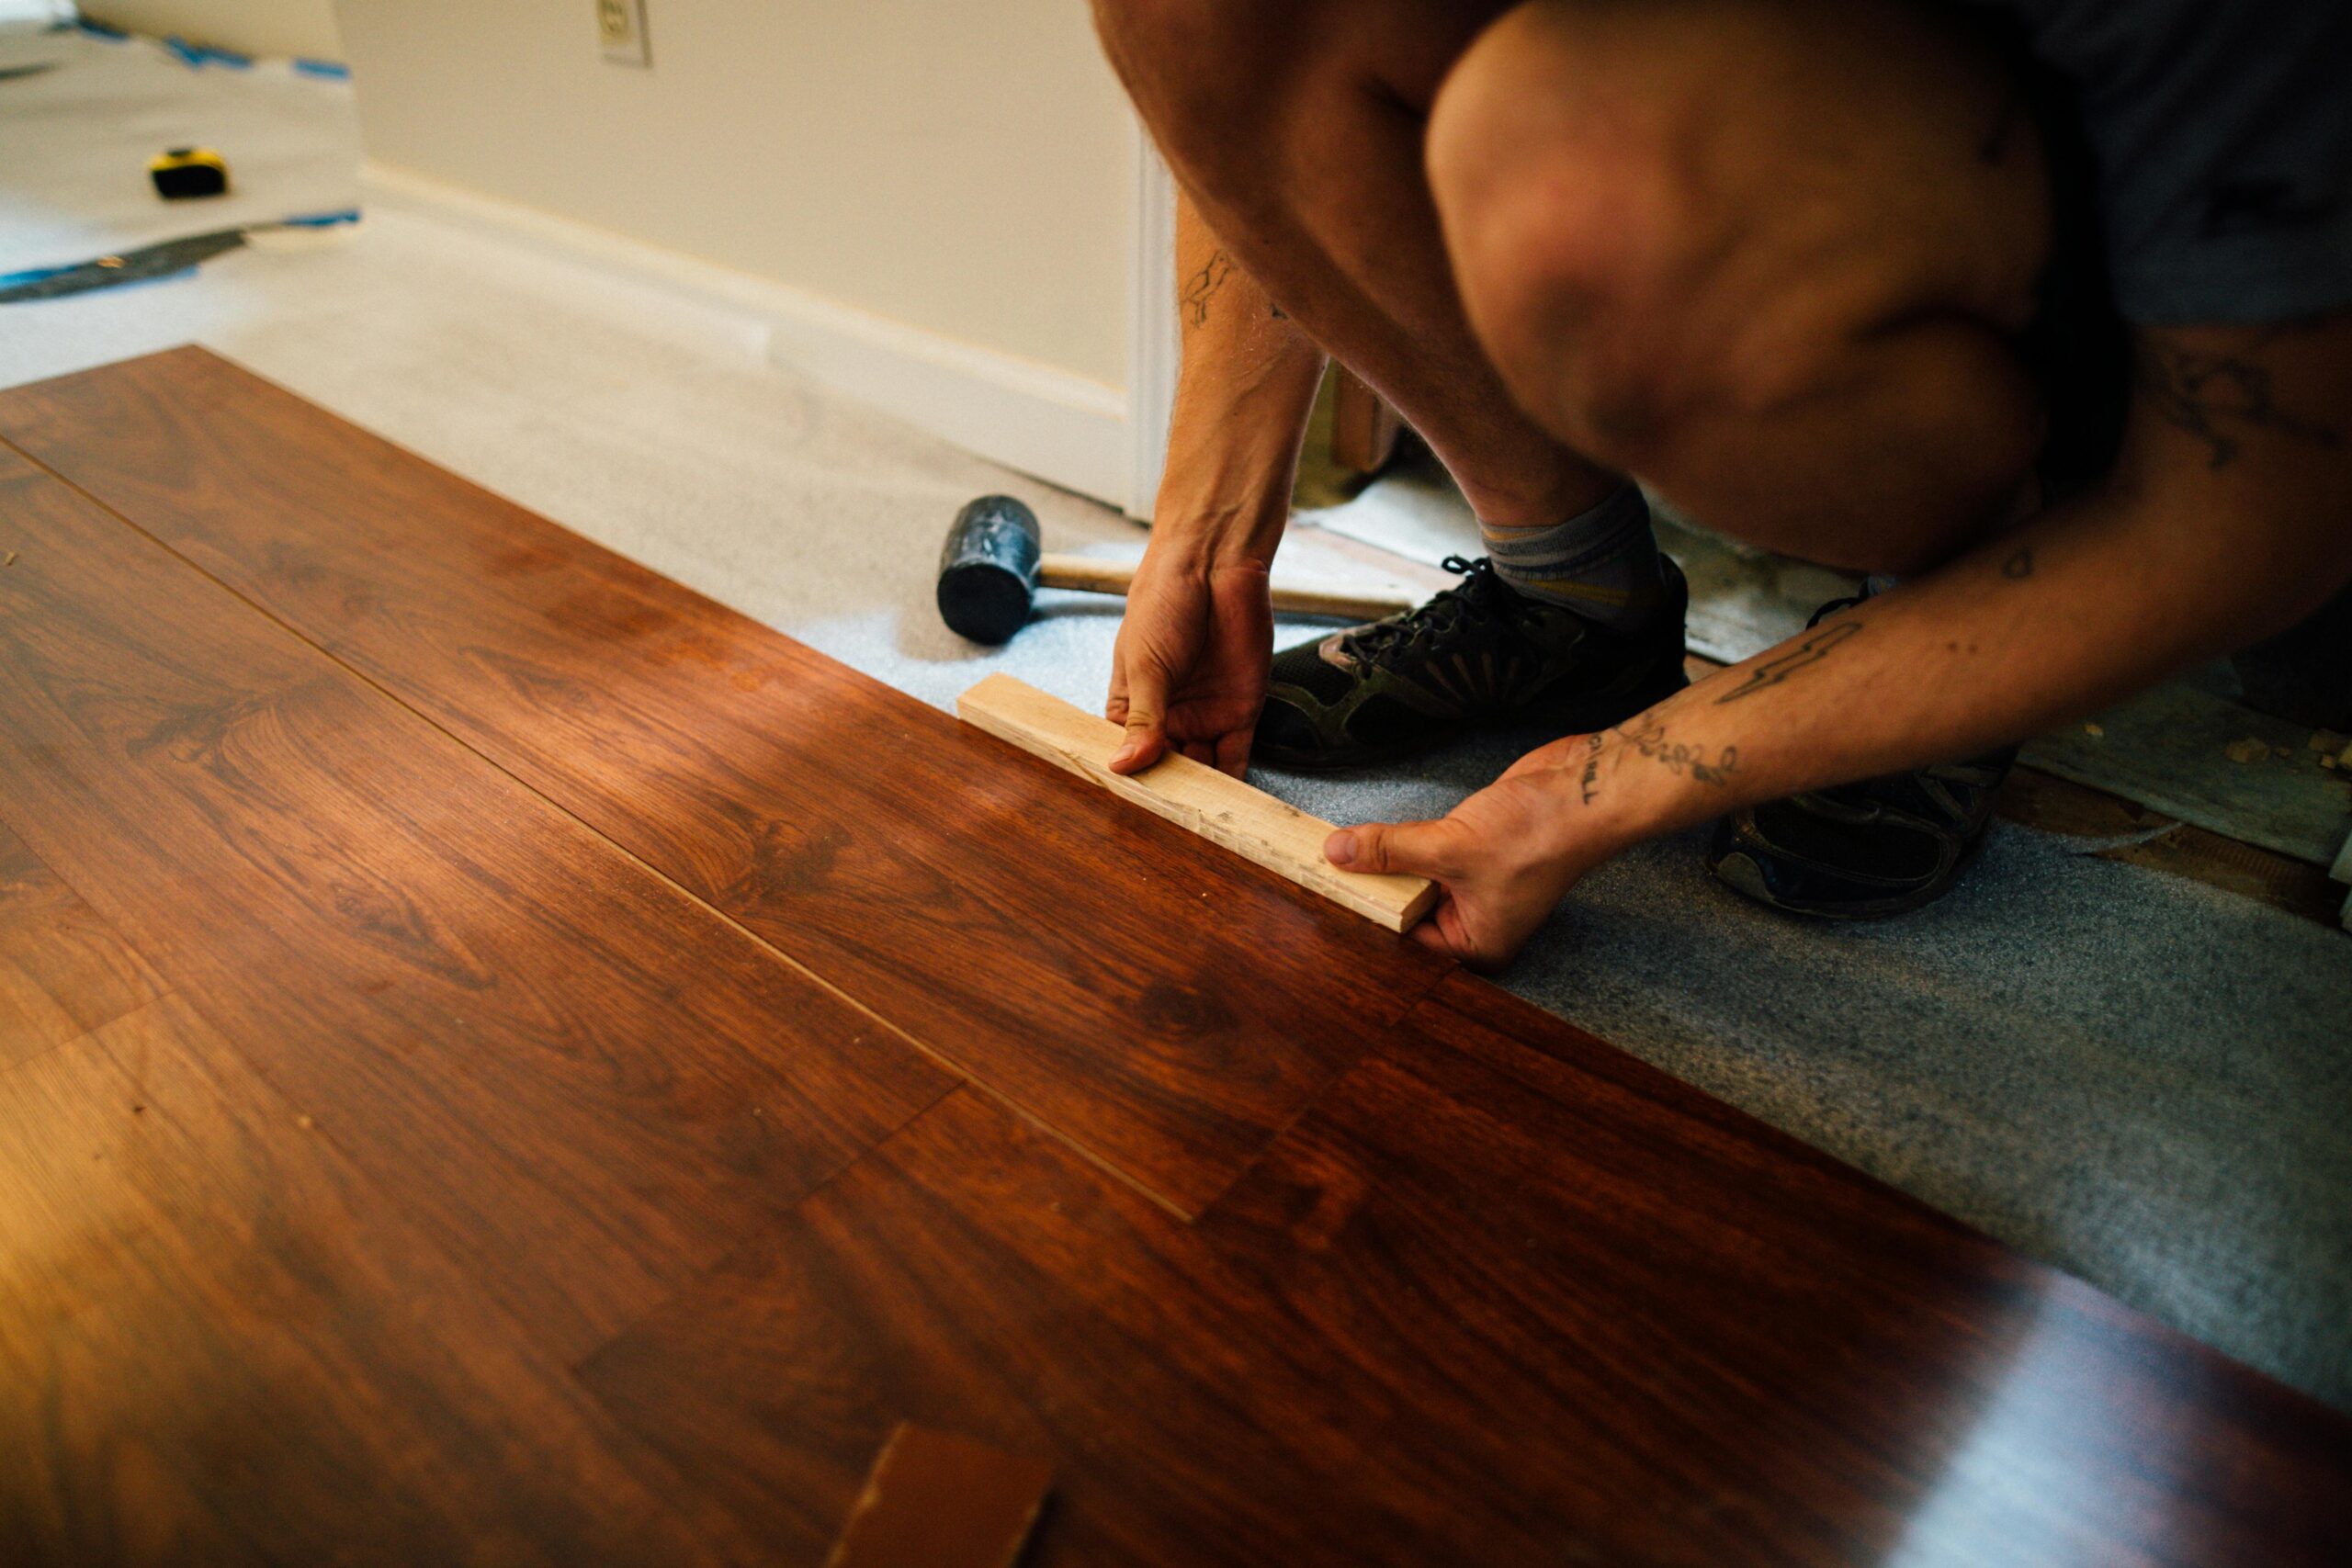
Nail-Down and Staple-Down Techniques
After exploring the glue-down method, you’re now ready to tackle the nail-down and staple-down techniques, both of which guarantee your engineered wood flooring stays securely in place. You’ll need to decide between nails or staples, a choice that impacts your installation process and the durability of your flooring. We’ll give you straightforward tips on how to ace the installation, guaranteeing your floors look stunning and stand the test of time.
Choosing Nails or Staples
When selecting between nails or staples for installing engineered wood flooring, it’s important to take into account the specifics of your project and the type of subfloor you have. Both nail-down and staple-down installation methods offer a secure attachment to the subfloor, but they come with their nuances.
- Nail-down is ideal for plywood subfloors, providing a stable hold.
- Staple-down works best for thinner engineered wood floors.
- Specialized nail guns and staplers are required for these techniques.
- Spacers are pivotal for maintaining proper expansion gaps to avoid warping.
- The choice between nails and staples affects the longevity and stability of your flooring.
Choosing the right method guarantees your engineered wood flooring remains secure and beautiful for years to come.
Installation Process Tips
Starting the installation of engineered wood flooring requires selecting the right tools and techniques, whether you choose the nail-down or staple-down methods. These traditional approaches are perfect for plywood subfloors, anchoring planks securely.
| Nail-Down | Staple-Down |
|---|---|
| Requires a nail gun | Needs a staple gun |
| Ideal for thicker planks | Suited for all thickness |
| Spacers for expansion | Spacers prevent warping |
| Permanent solution | Sturdy, lasting floor |
Using spacers guarantees gaps for natural expansion and contraction, preventing warping. Both methods offer a permanent, robust flooring solution when executed correctly. Remember, the key lies in the precise use of tools and adherence to the method suitable for your engineered wood flooring’s thickness and subfloor type.
Maintenance and Care Tips


How can you guarantee your engineered wood flooring remains in pristine condition for years to come? By adhering to a few simple maintenance and care tips, you can prevent scratches, preserve its beauty, and extend its lifespan. Engineered wood flooring, with its unique construction, demands specific cleaning and prevention strategies to maintain its allure.
Here are five essential tips to keep your flooring in top shape:
- Regularly sweep and lightly mop to avoid scratches and keep the surface looking new. This simple step prevents dirt and grit from acting like sandpaper underfoot.
- Place furniture felt pads under legs to protect your flooring from dents and scratches. It’s an easy and effective solution.
- Steer clear of harsh chemicals and excessive water during cleaning. Opt for products designed for engineered wood floors to maintain their finish.
- Use doormats or rugs in high-traffic areas. This not only adds a touch of style but also protects your floors from unnecessary wear.
- Refrain from sanding and refinishing unless you’re sure the top wood layer can handle it. This preserves the integrity and appearance of your flooring.
Frequently Asked Questions
What Is the Best Way to Install Engineered Flooring?
The best way to install your engineered flooring involves choosing between the floating method or glue-down approach. Prep your room, consider underlayment choices, moisture barriers, align planks accurately, master cutting techniques, and use boundary strips wisely.
What Is the Main Benefit of Using Engineered Wood Flooring?
The main benefit you’ll find with engineered wood flooring is its unbeatable moisture resistance, offering durability, aesthetic versatility, and easy maintenance. It’s cost-effective, environmentally friendly, and comes in a wide selection for quick installation.
How Long Does Engineered Hardwood Need to Sit Before Installation?
You’ll need to let your engineered hardwood sit for 48 to 72 hours before laying it down. This acclimation process, considering room prep, humidity control, and temperature, guarantees less expansion issues and a smoother installation.
What Are the Disadvantages of Engineered Wood?
Engineered wood’s downsides include cost considerations, moisture susceptibility, limited refinishing options, and scratch sensitivity. You’ll also face chemical emissions, structural weaknesses, acclimation issues, and complex installation. It’s important to weigh these before deciding.
Conclusion
You’ve now explored the perks of engineered wood flooring and grasped the essentials of laying it down. Whether you’re immersing, gluing, nailing, or stapling, you’re equipped for success. Remember, it’s all about preparation and picking the right method for your space. Keep up with simple maintenance, and your floors will stay stunning for years. Plunge into transforming your home with these sleek, durable floors, and enjoy the warmth and elegance they bring to every room.


