
Stucco is typically used for exterior walls, but it can also be applied as a decorative interior wall finish. It’s an easy and affordable way of adding colour and texture to your home without painting the entire surface area. Stucco comes in many different colours, textures, patterns, and finishes that you can choose from depending on what type of look you want to achieve. This article will give you a guide on how to Install Stucco.
1. Prepare the Surface
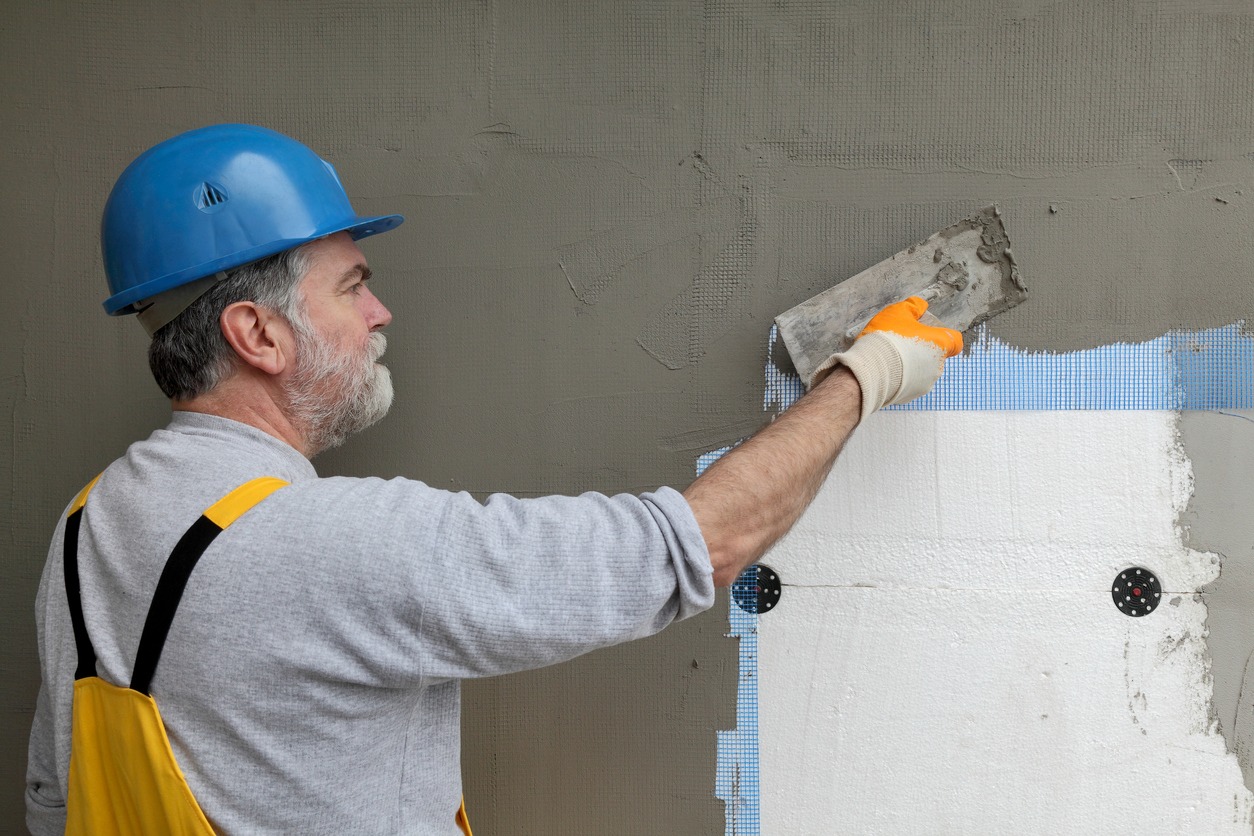
The first step when installing any Stucco is preparing your surface. This includes removing all existing paint, wallpaper, drywall, insulation, and anything else that may interfere with the installation process. According to the manufacturer’s instructions, you have to mix up some mortar once you have prepared your surface. You should also ensure that you follow the manufacturer’s guidelines regarding mixing time, temperature, humidity, etc. When using cement-based materials like Stucco, it is essential to keep these factors in mind because they affect how long it takes to harden. If you do not adhere to the manufacturers’ recommendations, you could have problems later down the road.
2. Apply the Mixture
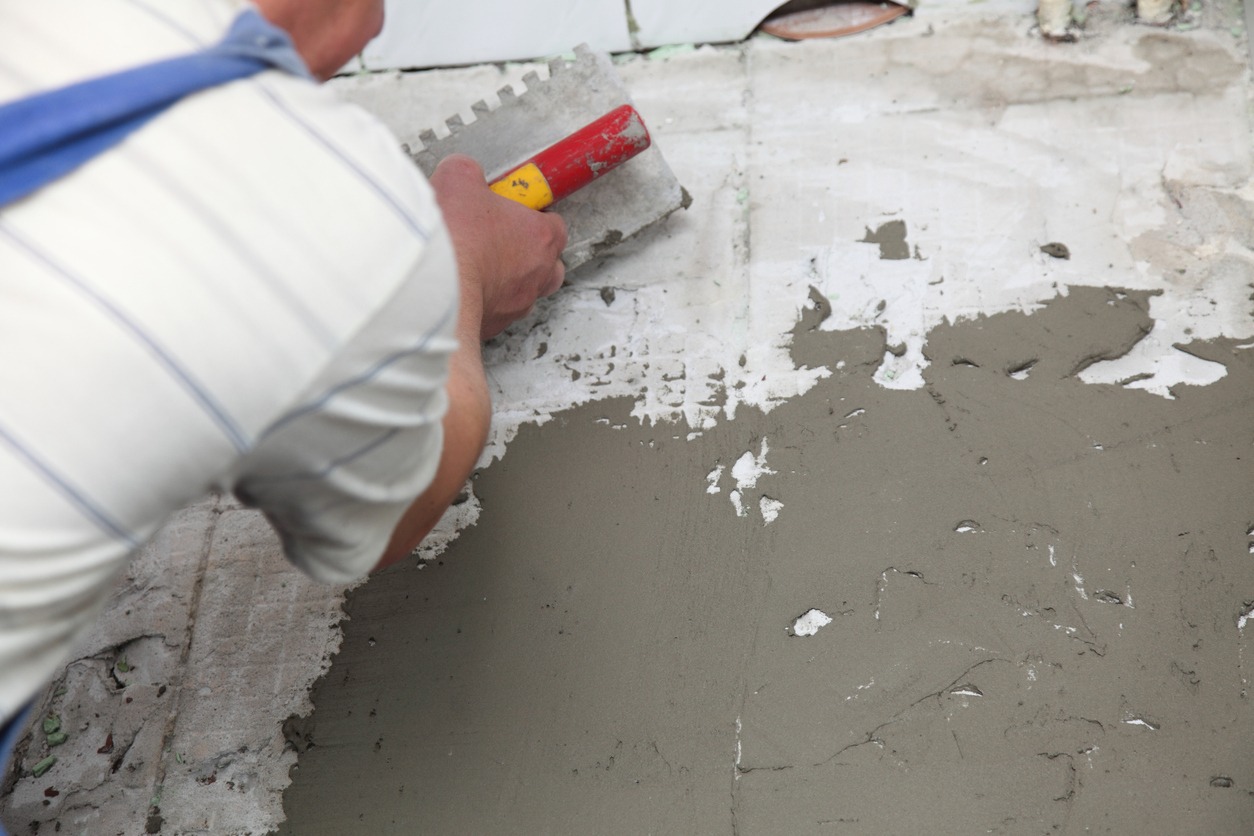
Once you have mixed up the mortar properly, you will want to start applying it onto the surface where you would like to install the Stucco. Make sure that you spread out the mortar evenly so that it covers every inch of the area. After spreading the mortar, wait until it dries completely before moving forward. Depending on the type of Stucco you choose from, this might take anywhere between one hour to several days. When applying the mixture, you need to follow some rules, and these include :
- Never walk barefoot over freshly applied Stucco. Instead, wear shoes or boots while working around the house.
- Do not allow children to play near newly installed Stucco. They could get hurt if they fall into an open hole.
- Keep pets away from freshly laid Stucco. Their paws could damage the finish.
- Be careful when cleaning windowsills after finishing work. Cleaning them too soon could cause water spots. You should wait at least 24 hours before washing the window sills.
- Avoid touching this area. Your hands could leave marks behind.
3. Let It Set
Once the mortar has dried, you will now want to allow it to cure fully. This means waiting at least 24 hours after application before doing any work. During this period, the mortar needs to fully bond together and form into a solid mass. While curing, you must avoid touching the freshly applied Stucco since it still contains moisture which could cause damage if touched. Also, once the mortar cures, you cannot remove it without damaging the underlying structure. Therefore, it is best to leave the newly installed Stucco alone until it is ready to be painted. Please note that you may need to add more drying time than expected if you live in extreme temperatures. In addition, if you plan on painting the finished product, you will need additional time to ensure that the new coat adheres correctly.
4. Finish Up
After allowing the mortar to cure fully, you will next want to give it a final coat of sealant. This helps protect against water penetration and keeps the Stucco looking fresh longer. Some people prefer to skip this step. However, depending on the weather conditions outside when doing this can help prevent cracking. To complete the job, simply use a trowel to smooth out the top layer of the Stucco. Then, wipe off excess dust by wiping the wall with a clean cloth. Finally, wash the walls thoroughly to remove any remaining dirt particles.
5. Enjoy!
Now that you are done with your stucco installation project, you can finally relax knowing that you did everything correctly. Your new stucco job looks excellent and will last for years to come. So you go ahead and pat yourself on the back for completing another successful DIY home improvement project.
Summary
Stucco is a popular choice among homeowners because it adds value to their homes and makes them look better. However, installing Stucco requires patience and skill. Note that if this project is done incorrectly, it can lead to costly repairs later down the road. For those interested in learning how to do it right, we hope our guide was helpful!