
Sifting flour is another one of those steps you might want to skip if you’re short on time, don’t have the right tools, or don’t want to make a big mess. However, as with most baking procedures, sifting can make or break the outcome.
Sifting aerates the flour, mixing it more uniformly into the batter in some recipes. Many recipes require sifted flour, but you might not have one on hand. But don’t worry if you don’t have a sifter or sieve. While a flour sifter (check out the most effective way of cleaning a flour sifter!) is useful, it is unnecessary when sifting flour. You can sift flour using the methods listed below.
Using a Fork or a Wire Whisk to Sift Flour
Gather your materials. If you don’t have a sifter or strainer, you can sift the flour with a wire whisk. Get a large bowl to hold as much flour as you need and a wire whisk. If you don’t own a wire whisk, a fork will suffice. Choose a larger fork to help you sift the flour quite efficiently. Fill your mixing bowl halfway with flour. Insert your fork or wire whisk into the flour. In a quick, circular motion, swirl the fork or whisk.
The flour should start evening out and lose some hard spots and lumps. Use faster motions if the flour is not evenly distributed or loses lumps. When stirring your flour, be patient. This method can take a long time to sift flour, especially if you’re sifting a significant amount. Continue working on the flour, swirling your fork or whisk in quick circular movements until the flour is even throughout and light. When you’re done, the flour should have no lumps. The result should be a light, even powdery substance. It’s also fine to pause from sifting if your wrist becomes sore.
Making Use of a Strainer
Collect your materials. If you don’t have a sifter, you can sift your flour with a strainer. Find a strainer large enough to accommodate the amount of flour you should sift, then find a bowl slightly bigger than the strainer, as you will keep the strainer over the bowl.
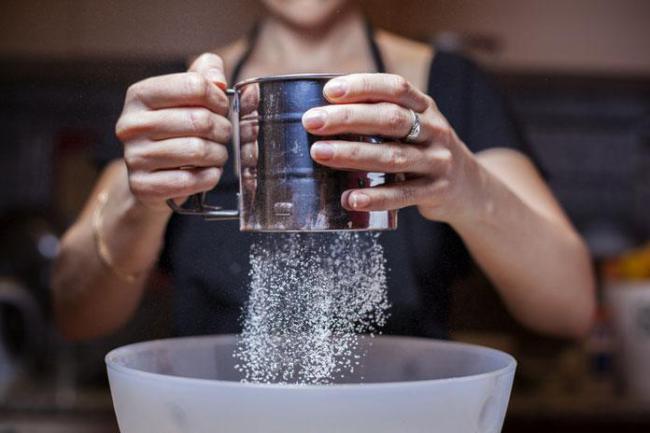
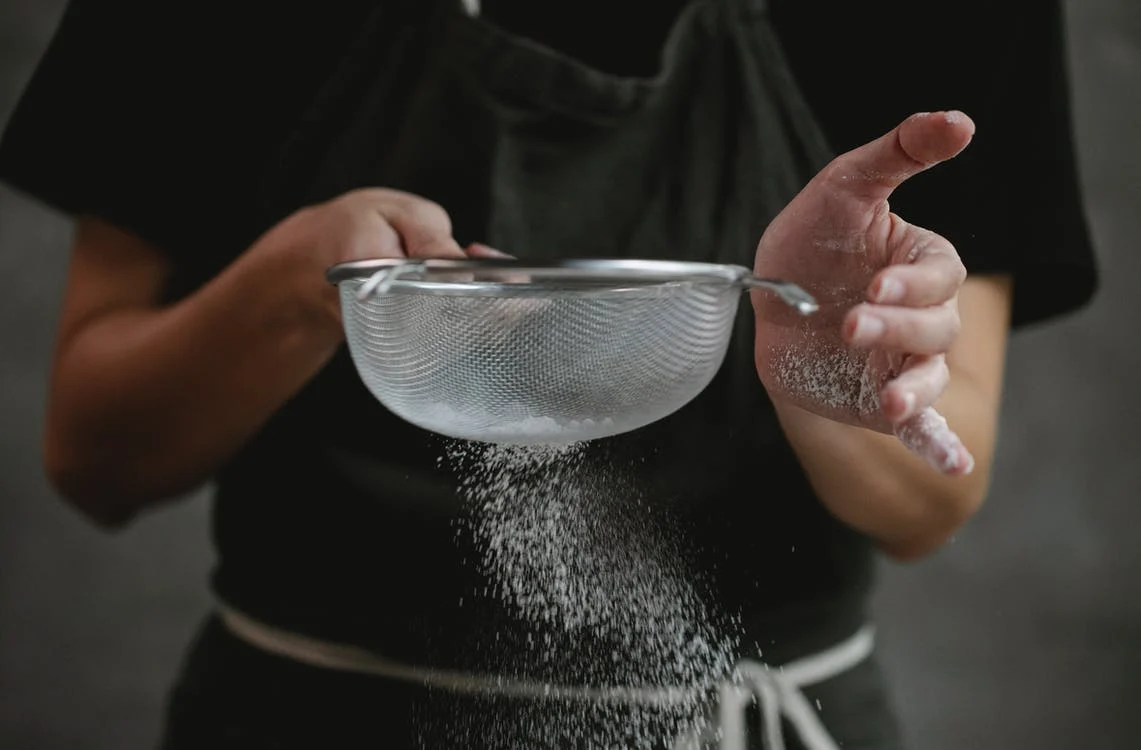
Fill the strainer halfway with flour. Pour while holding the strainer in one hand. Place the strainer directly over the bowl you’re using to get the flour. Because flour is a powdery substance, it can be a little messy. Pour slowly if possible. The flour will get on your shirt and work surface if you pour too quickly. When sifting flour, it’s advisable to wear an apron or an old shirt.
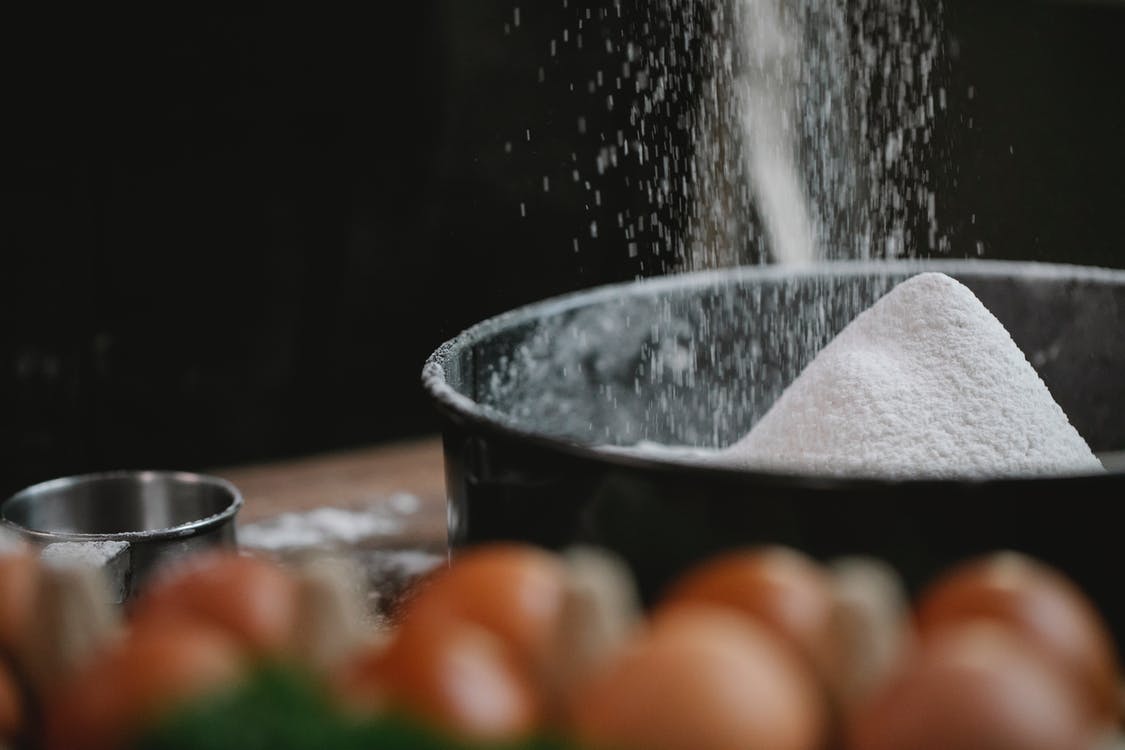
Tap the strainer until all of the flour drops into the bowl. Tap with caution. Tap with one hand while holding the strainer with the other. Flour should be lightly sprinkled out of your strainer and into your bowl as a result of your tapping. As it falls into the bowl, the flour must be thinner and lump-free. If the flour still has lumps when it falls into the bowl, you’re tapping too hard; return the flour to the strainer and begin again.
Be patient, as it may take some time to get all of the flour through the strainer. To expedite the process, do not vigorously tap the strainer. If the flour passes through the strainer too quickly, it may not be thoroughly sifted.
Identifying When You Need to Sift Flour

Determine when to sift your flour. When sifting your flour, pay attention to the recipe instructions. The wording of a recipe influences how flour is sifted. There is a distinction between “1 cup sifted flour” and “1 cup flour, sifted.”
If a recipe says “1 cup flour, sifted,” measure it first. Sift it into a bowl after that. If the recipe demands “1 cup sifted flour,” sift a good amount of flour, then measure out the amount required for the recipe.
Sift flour from a bag that has been sitting for a while. It is not always necessary to sift flour. If the flour hasn’t been sitting in a bag for too long, it might be light enough to use in a recipe. However, flour becomes compact after a while in a bag and must be sifted. It’s crucial to sift your flour if it was squeezed into a cabinet or had some other item perched on top.
For recipes with delicate textures, sift the flour. Some recipes may allow you to skip the sifting step if your flour isn’t tightly packed. However, always sift the flour first if you’re baking something with a delicate texture. Sifted flour is required in recipes such as angel food cake.
Sift flour onto a work surface before rolling or kneading dough. Flour can help prevent dough from adhering to a work surface when rolling out or kneading it. Sifted flour is preferable in this case because it has fewer clumps and spreads more evenly.
If you’re dusting flour over a wax paper to roll out sugar cookie dough, you should also sift it. Sifting flour is essential because it incorporates air into batters, which aids bakers in producing light and airy baked goods. Before commercially-refined flour, cooks sifted flour before cooking and baking to separate any particles left behind by the chaff and husk.
Today’s flour, refined to remove milling residues, mostly requires sifting to separate lumps and produce light, aerated baked goods. As a result, a sifter can be used for any flour, including cake flour, bread flour, and pastry flour.
Aerating all of the dry ingredients, like baking soda, flour, and baking powder, is required in some recipes. Sifting can also help break up clumps that can ruin the finished texture of a baked good. You should sift the cocoa powder and powdered sugar (confectioners’ sugar) to a light, dusty consistency.
If you’re a professional baker, chances are, you don’t have a flour sifter. So, should you forgo the sifting step because you lack a specific tool? You won’t need to inquire once you’ve learned how to sift without needing a sifter.