
When you’re in a bonafide emergency survival situation, you may be living off canned food and packaged snacks. If the situation requires you to stay at home for extended periods of time (like with a flu pandemic), you’re going to miss the usual yummy foods you eat. And you may get one hankering for some cheese that’s not Velveeta, not the squirt kind of cheese, and of course not the powdered stuff.
If you’re a prepper, one food you may want to consider storing is cheese. We know the real stuff can get bad easily, so they’re not an ideal food item to add to your emergency food supply. The key to storing them for consumption during an indefinite future is waxing. Cheese wax prevents the growth of mold or bacteria while keeping the moisture of the cheese in. When cheese is treated with cheese wax, it will store up to 25 years at a mild to cool temperature. Sure, it will age, but at least it won’t get worse because of mold.
So, if you’re looking to complete your prepper’s food supply, don’t forget the cheese. Here’s how to wax cheese for preservation:
1. Gather equipment.
For you to be able to wax cheese, you need to get a cheese wax, double broiler, parchment paper, a boar’s hairbrush, thermometer, and muslin. Spoiler alert: you won’t be able to get these items clean again so that these things will be your designated cheese waxing paraphernalia. So be forewarned.
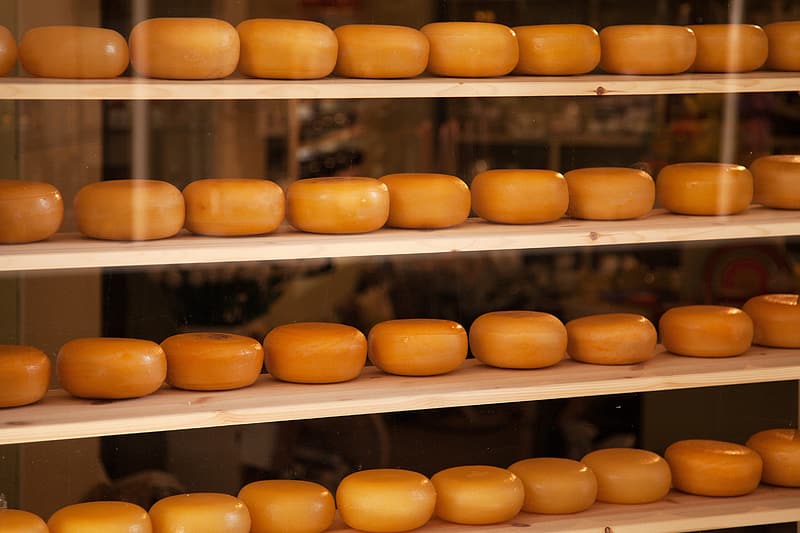
2. Buy your cheese.
Buy the cheese that you want, but if you’re going to preserve the cheese successfully by waxing, use hard cheeses. As you buy, hold the cheese and press your thumb against it. If it doesn’t leave a thumb imprint, then it’s dry enough and good for waxing. Also, avoid cheap brands. Always go for your trusted brand – as some brands may give your problems in storage in the future.
3. Prepare and dry the cheese.
For your convenience in case SHTF, you will want to cut the cheese into meal-sized portions. If you break a waxed cheese and you did not finish it, you will need to re-wax the remaining cheese again. But if you’re willing to do that, then proceed with drying. Wipe down the cheese with vinegar and wrap it loosely with a paper towel. Place it on the counter to get to room temperature to let it dry out better. You want the cheese to be dry because moisture will make it hard for wax to adhere.
4. Prepare the wax.
Get the cheese wax and remove the plastic wrapping off. Cut it and melt into the double boiler until the temperature reaches about 180 to 200 degrees.
5. Cover the cheese with wax.
Once you’re done, you can now wax the cheese. Wash your hands first before handling the cheese, or, better yet, use food handling gloves. Dip the half part of it in the melted wax. Do it slowly and carefully, in and out of the wax three times. This will create three layers of the wax. Hold the cheese over the pot for a few seconds to allow the excess wax to drip off.
6. Set aside.
Carefully set the cheese on parchment paper, with the uncovered side of the cheese down. Gravity will do its work to smoothen the waxed part on top. Let it cool for at least 90 seconds.
7. Repeat Step 5 for the uncovered portion of the cheese.
Cover the remaining portion of the cheese and dip it three times as well. Be on the lookout for spaces where it may not have been covered. Place it on parchment paper again once you’re done, with the newly waxed portion facing upwards. Check the block of cheese and apply one more layer using a brush.
8. Add label.
If you want to, you can cut the labels out of the cheese wrappers in advance then add it to your waxed cheese. But of course, you can make your own label and add the date when you waxed it. Place the label to the block of waxed cheese and wax a thin coat over it with a brush to adhere to it. Don’t overdo the wax layer so you can still read the label.
9. Let dry and store.
Let the waxed block of cheese dry, then wrap them up in cheesecloth like a gift package. Store the finished product in a cold, dark, and fairly dull place.
Some Tips to Keep in Mind:
- After your cheese is waxed, wrap up the brush and thermometer together in a foil. Let the remaining wax in the double broiler cool, and pack it in a box with all your waxing equipment.
- Make sure you check the waxed cheese periodically for any seepage, cracks, or molds. You can store it in the fridge, but if you live off-grid, you can store it in a wire rack or hang on a pantyhose or net.
- Do not use paraffin wax – stick to cheese wax only. Paraffin wax tends to crack, while cheese wax heats to a higher temperature, warms slower, and adheres better to any shape and size of cheese.
- Boar’s hairbrush is the perfect brush to use for waxing cheese because it doesn’t apply the cheese wax too thick or with crevices, unlike when you use other brushes.
- It’s always smart to add the date when it was waxed to your cheese label, besides the cheese’s brand name.
- You don’t need more than four layers of cheese wax.