


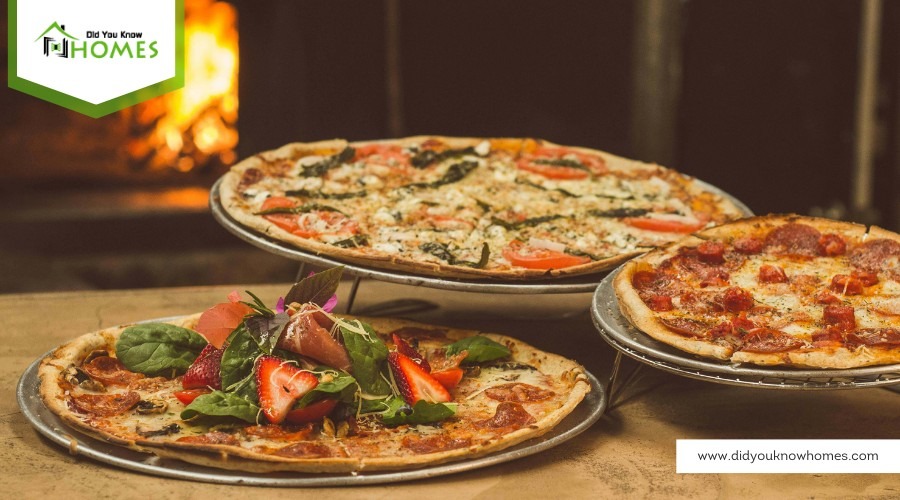
Pizza is one of the most widely consumed fast foods in the world. In America, it has become a staple food in the past century. If you are a pizza-lover, you must spend a lot of time skimming through food books and YouTube channels, looking for that one perfect pizza recipe. Some spend hours making airy dough, while others spend dollars on the ingredients for the sauce. However, if you’re a pizza connoisseur, you must know that the magic of a perfect pizza lies not only in the recipe or ingredients but also in the way you bake it. When baking the dough, the first and most important thing you need to ensure is that you choose the right surface to support your pizza in the oven.
The baking surface should not only be able to heat the bottom of your dough quickly but also distribute heat uniformly throughout the crust to ensure even cooking. So which one is better? A pizza stone, screen, or pan? All three serve the formerly mentioned purposes well, but their distinct characteristics set them apart.
Selecting the right pizza surface can prove to be a hectic task if you are a novice in culinary arts. However, with our help, you will be ready to bake a pizza crust that rivals those from Italy in no time! Keep reading this article to get a thorough guide on choosing the right baking surface for your pizza.
Pizza Stones
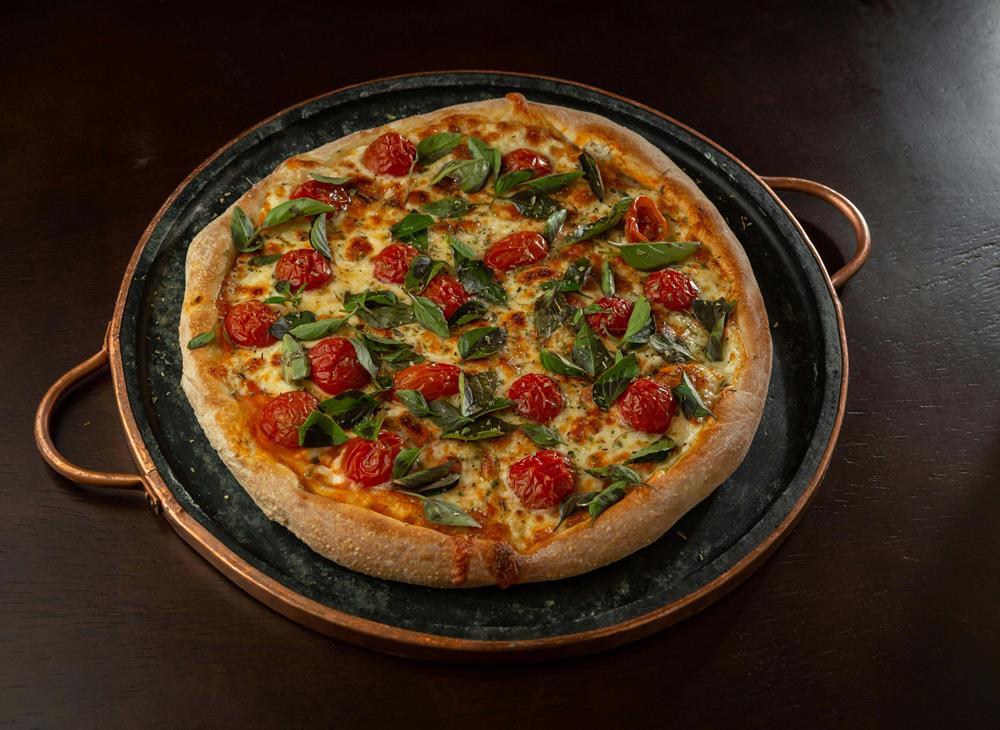

Pizza stones are stoneware slabs made of either ceramic or clay. They usually come in a round shape with dimensions varying from 8″ diameter up to 19″; however, the most widely used is 15″. Some pizza stones come in a rectangular shape as well; they also come in different sizes: from 14″ up to 20″.
With the help of its porous material, pizza stones let you savor a crispy crust synonymous with those baked in a wood-fired oven. Tiny holes are spread throughout the surface of the material. As the pizza stone is preheated, heat accumulates in these pores. When you place the dough on this preheated pizza stone, the pores absorb all the moisture from the dough and replace it with heat. The bottom of the dough is heated immediately, followed by an even distribution of heat throughout the crust. As a result, the pizza is cooked uniformly with a crispy crust and crunchy toppings.
However, a pizza stone requires extra care and attention. It is more difficult to use and operate than other traditional baking surfaces.
How to Use Pizza Stones
Using a pizza stone can elevate your homemade pizza to a level that rivals your favorite pizzeria. These stones mimic the conditions of a brick oven, distributing heat evenly and absorbing excess moisture from the dough, resulting in a perfectly crispy crust every time. Here’s a straightforward guide to using a pizza stone, ensuring you get delicious results with every bake.
- Preheat the Pizza Stone: Place your pizza stone in a cold oven. Turn the oven to the highest setting, usually between 475°F to 500°F (245°C to 260°C), and let the stone heat up for at least 30 minutes to an hour. This step is crucial for a crispy crust.
- Prepare Your Pizza: While the stone is heating, prepare your pizza on a piece of parchment paper. This will make it easier to transfer the pizza to the hot stone without causing a mess or risking burns.
- Transfer the Pizza to the Stone: Once your pizza is ready and the stone is heated, use a pizza peel or the back of a baking sheet to slide the pizza, still on the parchment paper, onto the stone. If you’re skilled with a peel, you can transfer it directly without the parchment paper for an even crispier crust.
- Bake the Pizza: Bake the pizza according to your recipe’s instructions, usually between 10 to 15 minutes, until the crust is golden brown and the cheese is bubbly. The exact time will depend on your oven and the thickness of your pizza.
- Remove the Pizza Safely: Use the pizza peel or a large spatula to remove the pizza from the oven. Be careful, as the stone and pizza will be extremely hot. Transfer the pizza to a cutting board to cool for a few minutes before slicing. This resting period allows the cheese to set, preventing it from sliding off when you cut it.
- Let the Stone Cool Before Cleaning: Allow the pizza stone to cool completely in the oven before attempting to clean it. Avoid using soap or submerging it in water, as this can weaken the stone. Instead, scrape off any stuck bits with a plastic utensil and wipe it with a damp cloth if necessary.
- Store the Pizza Stone Properly: Once clean and completely dry, store your pizza stone in the oven or a dry, safe place until its next use. Keeping it in the oven can actually benefit your oven’s heat distribution for other baking projects.
How to Maintain and Care for a Pizza Stone
A pizza stone is a valuable tool for any home chef looking to replicate the crispy crust of a pizzeria-style pizza. However, to ensure it continues to deliver the best results and lasts for many pizza nights to come, proper maintenance and care are essential. Here’s how to keep your pizza stone in top condition with some simple, yet effective tips.
- Avoid Sudden Temperature Changes: Never place a cold pizza stone in a hot oven, as this can cause it to crack. Always put the stone in a cold oven and then preheat it. Similarly, don’t expose a hot stone to cold water or cold surfaces immediately after use.
- Clean It with a Stiff Brush: After each use, let the stone cool completely before cleaning. Use a stiff brush or plastic scraper to remove any leftover food particles. Avoid using soap or detergents, as the porous stone can absorb them and impact the flavor of your pizzas.
- Wipe with a Damp Cloth: If necessary, wipe the stone with a damp cloth to remove any remaining residue. Do not soak the stone in water or run it under a faucet, as excessive moisture can weaken the stone over time.
- Use Baking Soda for Tough Stains: For stubborn stains, make a paste of baking soda and water and gently scrub the affected area. This natural cleaner is effective at removing stains without leaving behind any flavors or odors.
- Dry Thoroughly Before Storing: Ensure the stone is completely dry before you store it. You can either air dry it overnight or place it in the oven on a low setting to evaporate any residual moisture.
- Store in a Safe, Dry Place: When not in use, store your pizza stone in a dry place where it won’t be at risk of being chipped or cracked. Many people choose to leave their stone in the oven, as it can help regulate oven temperature and protect the stone from damage.
- Seasoning Isn’t Necessary: Unlike cast iron cookware, pizza stones do not need to be seasoned. The stone will naturally become seasoned over time with use. Adding oils or fats can clog the pores of the stone, affecting its moisture-absorbing capabilities.
Pizza Pans
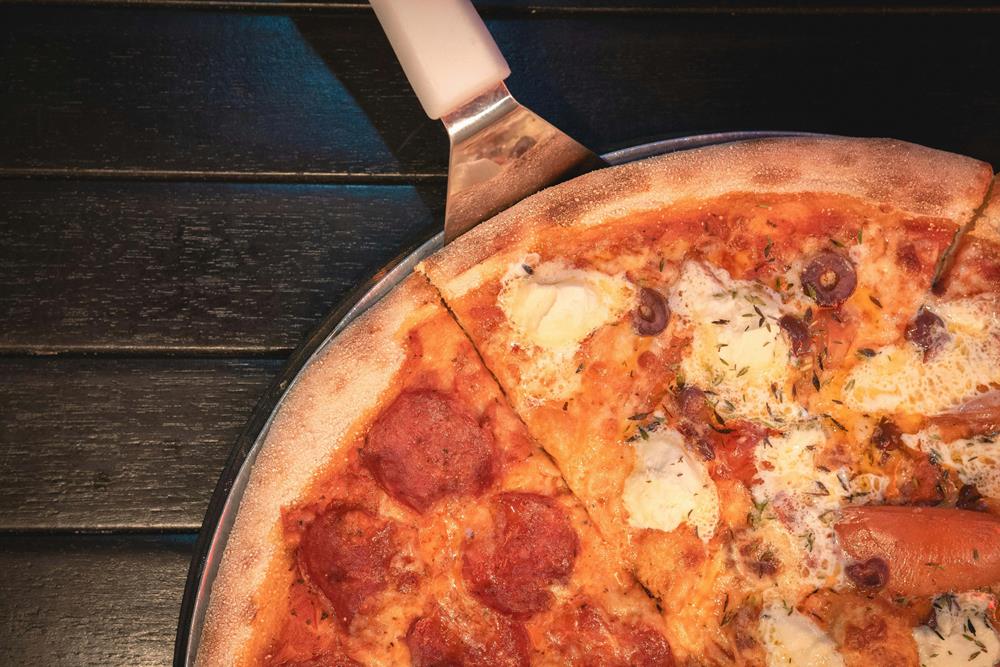

A thick layer of either aluminum, hard coat anodized aluminum, or cast iron is used to make pizza pans. These metals are good thermal conductors and, therefore, able to both accumulate and transfer heat to the bottom of the crisp in a short period. This way, uniform temperature spreads throughout the crust, ensuring a splendidly cooked pizza with no burned crust or uncooked toppings.
Pizza pans also come in an array of sizes and styles, such as coupe-tray, deep-dish, perforated, smooth, and nibbed. All these pizza pans are designed to serve different purposes. The coupe-style pan is the most commonly used pizza pan; it is essentially a flat tray with a rounded rim around it. The highlight of coupe-style pans is that they are very versatile. Thanks to their multifaceted functionality, the pizza can be baked, sliced, and even served on the same pan. Using a coupe-style pizza pan will save you both money and time. It is also easy to handle and prevents any potential injury while transferring pizza from the oven. Deep-dished pans are best suited to make softer and chewier pizza crusts, while smooth pizza pans specialize in baking thick and bready-like crusts. Perforated pizza pans have tiny holes on the surface, which allow the heat to reach the bottom of the crust directly. These pans are widely popular among those who love a super crispy crust and want a faster baking process.
How to Use Pizza Pans
Pizza pans offer a straightforward and efficient way to bake pizzas at home, providing an alternative to the more traditional pizza stones. Whether you prefer a crispy, thin crust or a deep-dish delight, using a pizza pan can help you achieve your desired results with ease. Follow these steps to use a pizza pan effectively and enjoy homemade pizza that rivals your favorite delivery option.
- Choose the Right Pan: Select a pan based on the type of pizza you want to make. For thin crusts, a flat pizza pan or one with perforations works best. Deep-dish pizzas require a deeper pan with sides.
- Prepare the Pan: If your pan is not non-stick, lightly grease it with cooking oil or spray to prevent the pizza from sticking. No preparation is necessary for pans designed for crispy crusts.
- Preheat Your Oven: Preheat your oven to the temperature recommended by your pizza dough recipe. A hot oven is key to achieving a well-cooked crust and melted cheese.
- Shape Your Pizza Dough: On a lightly floured surface, roll out your pizza dough to fit the size of your pan. You can place the dough directly in the pan and then stretch it to fit the edges for a perfect fit.
- Add Toppings: Spread a thin layer of pizza sauce over the dough, leaving a small border around the edges. Add your favorite cheese and toppings. Remember, less is more; overloading your pizza can result in a soggy crust.
- Bake the Pizza: Place the pan in the oven and bake according to your recipe’s instructions, usually between 10 to 20 minutes, depending on the thickness of the crust and the amount of toppings. The pizza is done when the crust is golden and the cheese is bubbly and slightly browned.
- Cool Before Slicing: Remove the pizza pan from the oven and let the pizza cool for a few minutes. This makes it easier to slice and helps the cheese set, ensuring toppings stay in place when you cut into the pizza.
- Clean the Pan: After the pan has cooled, wash it by hand with warm soapy water. Avoid using abrasive scrubbers on non-stick surfaces. Dry the pan thoroughly before storing it to prevent rust and prolong its life.
How to Maintain and Care for a Pizza Pan
Maintaining and caring for a pizza pan properly is essential to ensure that it lasts for many pizza nights to come. A well-maintained pizza pan not only helps in baking pizzas more effectively but also prevents flavors from previous bakes from transferring to your next creation. Whether you have a non-stick, cast iron, or perforated pizza pan, following these simple maintenance tips will keep it in top shape.
- Clean After Each Use: Always clean your pizza pan after every use to remove grease and food particles. This prevents buildup that can affect the taste and quality of your pizzas.
- Use the Right Cleaning Tools: For non-stick pizza pans, use a soft sponge or cloth to avoid scratching the surface. Cast iron pans can handle more abrasive scrubbers, but be cautious not to remove the seasoned coating.
- Avoid Dishwasher for Certain Pans: Non-stick and cast iron pizza pans should be washed by hand. The dishwasher’s harsh detergents and high heat can damage the pan’s surface and strip away its seasoning.
- Dry Thoroughly: After washing, dry your pizza pan completely to prevent rust, especially if it’s made of cast iron or steel. Cast iron pans should be placed on a stovetop over low heat to remove any remaining moisture before storing.
- Season Cast Iron Pans: If you have a cast iron pizza pan, season it regularly to maintain its non-stick surface. Apply a thin layer of cooking oil and bake it in the oven for an hour at 375°F (190°C). This process helps create a natural, non-stick layer.
- Store Properly: Store your pizza pan in a dry place where it won’t get scratched or dented. If stacking pans, consider placing a paper towel or soft cloth between them to prevent scratches, especially on non-stick surfaces.
- Avoid Metal Utensils: When cutting pizza, avoid using metal knives or pizza cutters directly on the pan, as they can scratch and damage the surface. Transfer the pizza to a cutting board before slicing.
- Handle with Care: Be mindful when handling your pizza pan, especially when it’s hot. Use oven mitts to prevent burns and avoid dropping them, which can warp the shape and affect its baking efficiency.
Pizza Screens
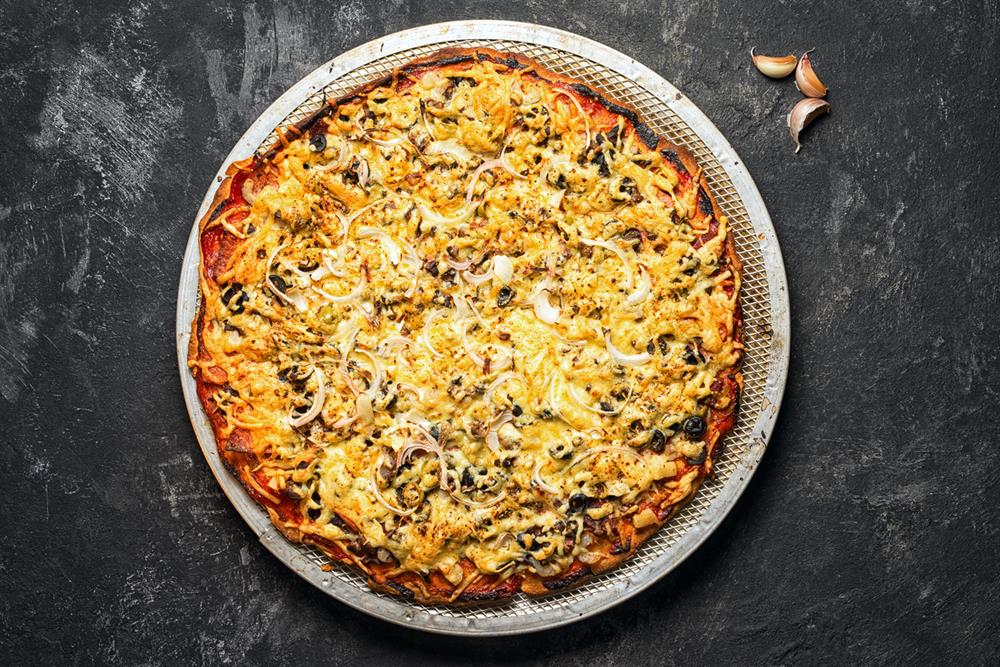
A pizza screen is a lightweight last mesh disk which is best known for baking the crispiest pizza crusts. It is made of thin aluminum, which makes a pizza screen highly portable and easy to store. Pizza screens are usually available in a round shape with sizes ranging from 8″ diameter up to 30″.
The aluminum allows the uniform transfer of heat throughout the crust while the mesh network allows air to circulate beneath the crust, heating it quickly. The airflow further promotes even heat distribution and fastens the baking process. It also sustains the crispiness of the pizza long after it’s baked. Pizza screens will create the most finger-licking crispy pizzas even in convection ovens.
How to Use Pizza Screens
Pizza screens are a favorite tool among pizza enthusiasts and professionals for their ability to produce a uniformly cooked, crispy crust. Unlike solid pans, the mesh-like structure of a pizza screen allows heat to distribute evenly across the pizza’s bottom. This tool is especially useful in a home oven, helping to mimic the effect of a commercial pizza oven. Here’s how to use a pizza screen for your next homemade pizza venture.
- Preheat the Oven: Start by preheating your oven to its highest setting. The exact temperature will depend on your oven’s capabilities and the pizza recipe you’re following, but a range of 475°F to 500°F (245°C to 260°C) is typical.
- Prepare the Pizza Screen: While it’s not necessary to grease the screen, you can lightly oil it to ensure an easy release of the pizza after cooking. This step is optional and may depend on your dough’s moisture content.
- Assemble the Pizza on the Screen: Roll out your pizza dough directly on the screen. Then, add your sauce, cheese, and toppings. Constructing the pizza directly on the screen means you won’t have to transfer it later, reducing the risk of mishaps or the dough sagging through the mesh.
- Transfer to the Oven: Carefully place the pizza on the screen in the preheated oven. If your oven has a baking stone, you can place the screen directly on the stone for an even crisper bottom crust.
- Bake the Pizza: Bake the pizza according to your recipe’s recommendations or until the crust is golden and crispy and the cheese is bubbling. The time will vary depending on the thickness of the dough and the amount of toppings.
- Remove and Cool: Use a pizza peel or a large spatula to remove the pizza and screen from the oven. Let it cool for a couple of minutes on the screen before transferring the pizza to a cutting board. This brief cooling period allows the crust to set and makes it easier to slice.
- Clean the Screen: After the screen has cooled down, wash it with warm, soapy water and a soft brush or sponge. Avoid using harsh abrasives, as they can damage the screen. Rinse well and dry completely to prevent rust.
- Store Properly: Ensure your pizza screen is completely dry before storing. Hang it up or store it flat in a dry area to keep it in the best condition for your next pizza night.
How to Maintain and Care for a Pizza Screen
Caring for a pizza screen is important to maintain its functionality and extend its lifespan, ensuring many nights of perfect pizza making. A pizza screen’s unique design promotes even cooking and a crispy crust, but its mesh-like structure requires specific maintenance to keep it in top condition. Here’s how you can take care of your pizza screen effectively:
- Clean After Every Use: To prevent the buildup of cheese and toppings, it’s crucial to clean your pizza screen after each use. Leftover food particles can cause the screen to stick to the pizza during future bakes or even begin to rust.
- Use Mild Detergent: Wash the pizza screen with warm water and a mild detergent. Harsh chemicals can damage the screen’s coating, leading to rust and deterioration over time.
- Scrub Gently: If there are stuck-on bits of food, use a soft-bristle brush or sponge to gently scrub them away. Avoid using metal scrubbers or anything abrasive that could tear the mesh or strip the screen’s surface.
- Rinse Thoroughly: Make sure to rinse the screen thoroughly to remove all soap residue. Leftover detergent can not only affect the taste of your pizzas but also contribute to the degradation of the screen.
- Dry Completely Before Storing: After washing, dry the screen completely to prevent rust. You can air-dry it or use a clean towel to pat it dry. Some prefer to place it back in the oven for a few minutes on a low setting to ensure all moisture is evaporated.
- Store Flat or Hang: To avoid warping, store your pizza screen flat in a dry place or hang it up. Storing it improperly could lead to bends or damage that affects its performance.
- Check for Wear and Tear: Regularly inspect your pizza screen for any signs of wear or rust. If the screen begins to deteriorate, it’s time to replace it to ensure the quality of your pizzas remains high.
- Avoid Harsh Conditions: Do not expose your pizza screen to extreme conditions, such as direct flames or very high temperatures beyond what is recommended for pizza baking, as this could warp or damage the screen.
The Takeaway
Pizza stones, pans, and screens are all suited to heating the bottom of the crust rapidly and providing even heat transfer throughout the crust. However, their designs and functionalities serve different purposes; therefore, it is necessary to choose a baking surface that best suits your needs and taste preferences. If you wish to savor a mouth-watering crispy and thin pizza crust, pizza stones and screens are the top choices for you. However, if you prefer a pizza with a softer and gooey crust, purchase deep-dished or smooth pizza pans to get the gist of a heavenly experience.