
Sump pumps are amazing devices that keep your under-the-house area dry. However, no matter how good the pump you have, you might need to replace it over time. It means additional costs for calling the professionals to do the job.
WaterFiltersAdvisor explains that replacing a sump pump is not as difficult as it might seem. Even if you are not a DIY professional, you can still do it properly and at ease. In this guide, we will explain how to remove an old pump, install a new unit, and run a quick assembly test.
How to Replace the Sump Pump by Yourself
Replacing the Old Sump Pump
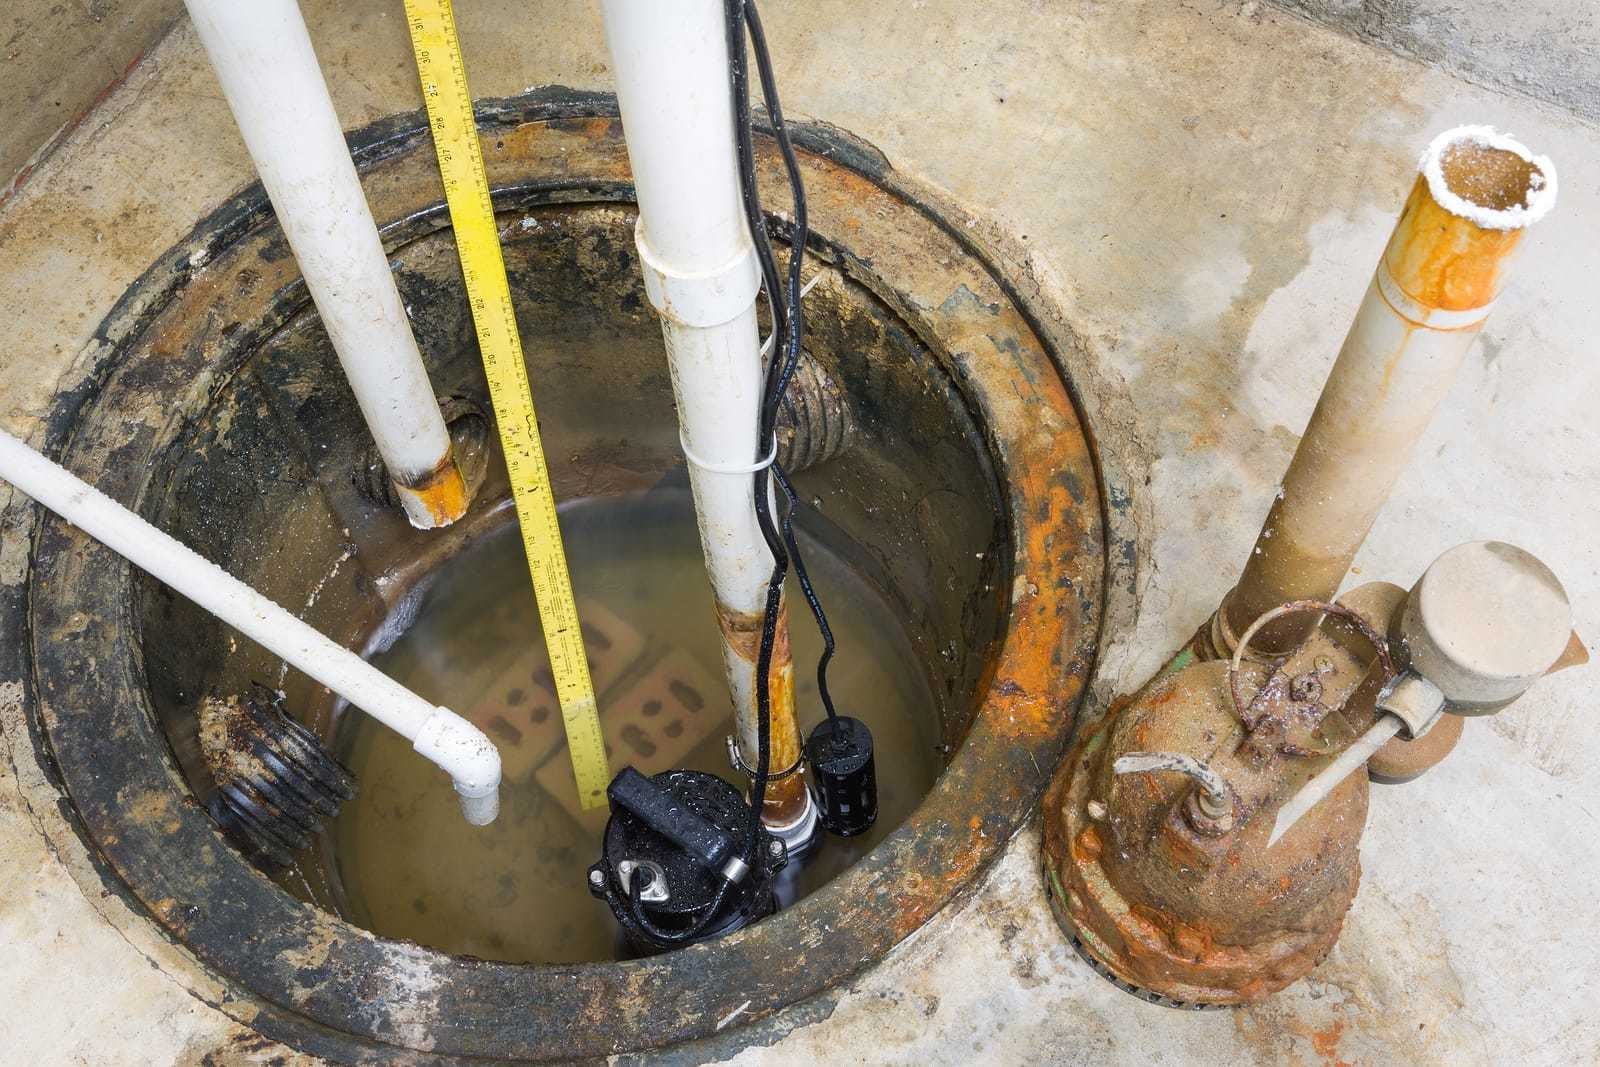
Before you install a new pump, of course, you need to remove the old one. First, remove the sump cover and disconnect all power cords. If there were multiple sump pumps, you need to disconnect them as well.
The next thing to do is to cut away the PVC pipe which exits the pump. Carefully choose the cutting area, so that it doesn’t interfere with other pipes. Cut it away using the hacksaw, and pull out the old pump.
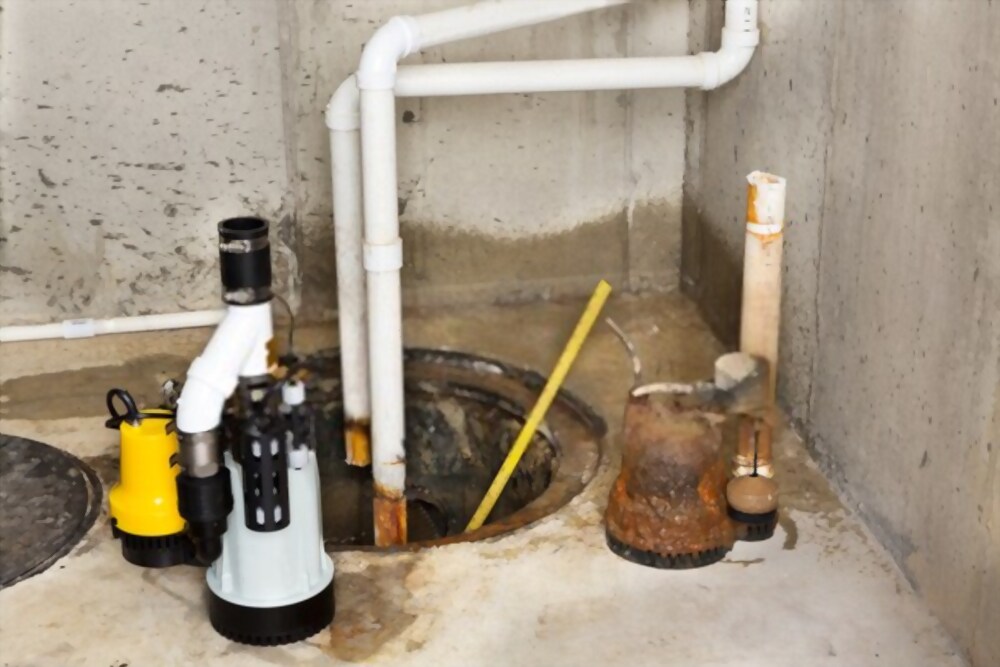
Installing a New Pump
Measure the length of the PVC pipe that you’ve just cut. According to the measurement, decide what pipe length you will need for the new pump. Cut it carefully using the hacksaw. If you cut it too short, you will need all sorts of connectors to make it work properly.
Now, you need to make another cut. First, put the pipe vertically alongside the pump, and mark the point just a bit higher than the top of the sump. Cut the pipe at the marked position, and using the male connector, place the PVC pipe into the discharge of the pump. You should also apply the priming material and white cement, to make sure that the pipe won’t move under high water pressure.
After the cement has dried, it’s time for a bit of testing. Put the pump in a bucket full of water from your utility sink, and connect the power. The water should flow out of the PVC pipe properly, but if there are any obstructions, you need to remove it right away. Using a long and narrow stick might help.
If everything works well, it’s time to put the pump into the sump. Carefully lower the pump and place it in the proper position, making sure that the sides of the pump don’t touch the walls of the sump.
Next, you need to attach the valve at the top of the PVC pipe. Make sure that the arrows on the valve are in the right direction, or it might cause trouble. By blocking the water flow, the unit will be rapidly destroyed, so double-check the arrows.
Attach the remaining piece of PVC pipe at the other end of the valve. Basically, the valve should be something like a bridge between these two pipes. Using the union connector, attach the other end of the mentioned PVC pipe to the original pipes in the basement. That’s it!
Related post:
Testing the Unit
Now that a new pump is installed, you should do some quick and simple testing. Pour 5-6 gallons of water into the sump. It’s a large amount of water, which should cause the pump to start working immediately.
Of course, before doing that, make sure that the pump is connected to the power supply. Optionally, if you have multiple pumps, connect all of them to the main power supply. The pump/s should kick in shortly, and you will notice the water level drop. It means that your pump is working perfectly fine!
How Do I Know If My Pump is Going Bad?
There are some basic signs that pump needs replacement. The first thing to check is the age of your pump. An average life expectancy of the sump pump is around ten years. However, there are a few more things that affect the pump’s lifespan. It’s the frequency of use, the electrical source, and of course, the quality of the pump.
Another sign can be a noisy pump. Of course, pumps constantly make sounds while working, but things like grinding and gurgling are not good. It means that, in most cases, there are problems with the motor. Now, if the pump is relatively new, you should replace only the motor. However, if your pump is over 8 years old, it’s better to replace the whole pump.
If your pump runs too frequently, it’s unable to handle the water like it was able to do before. Various things can cause this problem, and you should address it as soon as possible. If the damage is big, again, it’s better to replace the pump. Otherwise, you might spend lots of time and money to make it work again.
Visible rust is another common problem with sump pumps. Sometimes, it’s due to corroded battery terminals, but also, it might be caused by bacteria. In extreme cases, it can form a gel-like substance, which can clog the pump. The rust in the sump pump is not hazardous for your health, but it can cause water system problems in the long run.
In the end, if you notice continuous flooding, it means that your pump is not doing its job properly. If raising the pump doesn’t solve the problem, you should get another one. Also, if your area is prone to frequent power outages, have in mind that it directly affects the sump pump’s lifespan.
Conclusion
As you can see, replacing the sump pump is not a difficult task to do. Without the need to hire a professional, you can save money and do it yourself. If the pump is new, it’s always better to replace individual parts, instead of replacing a brand new pump. However, if it’s old, replacing the bad parts will only solve the problems for a certain amount of time. In that case, replacing the pump is the best long-term investment. Good luck!