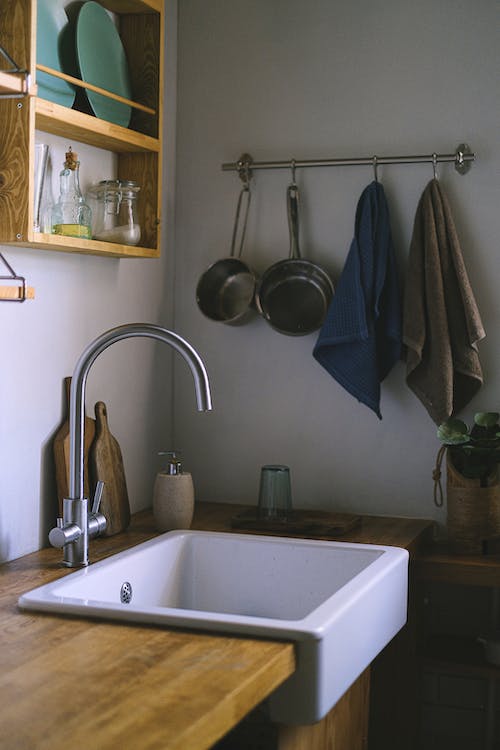
Breaking down of a faucet is every day scenario. Unless you intentionally break it, you can’t predict when your faucet might break. We are here to help you fix that broken faucet. You can follow this guide to change your faucet for a brand new one.
This will be a straightforward guide. Without further ado let us begin.
Removing the old faucet
To repair the faucet or even replace it, you need to remove the old broken faucet first. To do that you must follow some steps in order.
Turn off the main water valve
Before you start doing anything, turn off the main water valve that transfers water to the faucet. This way when you remove the connected pipes there won’t be any water leaks. Be sure to check for any knifegate valves as well.
Drain the sprayer
Turn on the faucet head and leave it on for a minute. This way the pipes will be drained.
Remove the water pipes
Usually, there are two pipes connected to the faucet. One for hot water and another for cold water. You need to remove the connection. Make sure to keep a bucket nearby. Because there is a chance that there is water inside the pipes. If you don’t want to spill water everywhere then your best bet is to place a bucket underneath.
Remove the bolts
When you are underneath the faucet, you will notice that there are a couple of screws with washer holding the faucet sprayer with the sink.
To remove the faucet, you will need to remove screws first. Rotate them counterclockwise and they will come loose. Before they fall off use your fingers to remove them.
Remove the sprayer
After removing all the pipe connections and the screws. The faucet will become free. You will need to pull the faucet upwards and the faucet will come off cleanly. If any wire/pipes tend to get stuck just straighten that pipe from underneath.
Now that you are done removing the faucet. You can open the sprayer head and see if there is anything broken inside. If you can’t fix it then you are better off buying a new one.
Installing the new faucet
Just like you removed the old faucet you will need to replace it with a new one. Keep the water valve turned off and follow the steps below. Be sure to understand your options to select a new faucet.
Place the faucet
After taking the bar sink faucet out of the box, remove every bit of plastic and capes covering the pipe end. After doing that, take all of the pipes in one hand and shove them down the sinkhole. The same hole where your previous sprayer was.
Tighten the screws
After putting all the wires down the whole, place the faucet sprayer according to your wish. You have to tighten it to place so you can’t change the direction of it afterwards.
That’s why tell someone to keep the sprayer straight for you while you tighten the screws underneath the sink.
Connect the pipes
According to the color code, connect the hot and cold water pipe. Make sure to use Teflon tape on the end of the male connector. Teflon tape will prevent any kind of leaks.
Before you connect the pipes make sure to add the weight in. This step is only applicable to faucets that need weight.
That’s it now turns on the water valve and leave the faucet on for a good minute. This way it will clear any debris inside the faucet.
But make sure to go underneath once again and look for any visible leak. If there are any leaks you need to shut off the water valve and fix that leak first.

