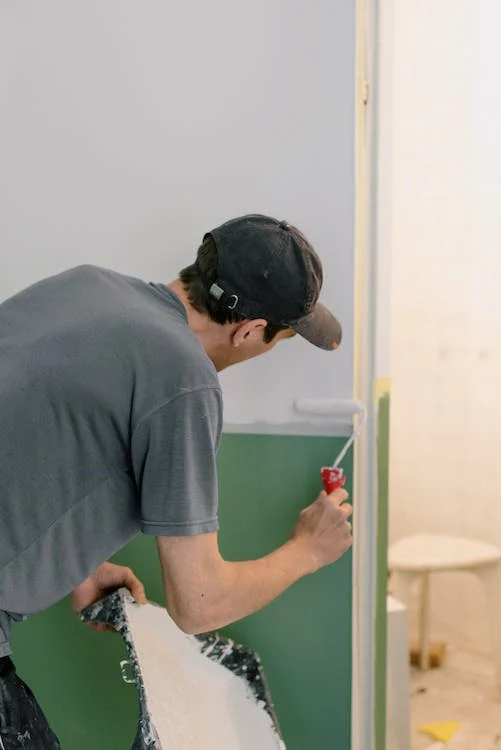
Paint spraying an interior wall versus using a roller offers you different advantages. A paint sprayer is the more efficient choice for large spaces and it also allows for more precision and technique.
On the other hand, a roller is cheaper, has a smaller learning curve and is more forgiving when you make a mistake.
Still, there is a visible difference in the final result so if you have more experience in DIY projects then a paint sprayer is a great new challenge.
Once you get your hands on the best paint sprayer for walls it is time to get started on the best paint job you have ever done.
Follow these instructions on how to paint a wall, complete with the most common mistakes that new painters make and you now know to avoid.
5 Steps to Paint a Wall without making a Mistake
Step 1: Gather the Right Tools
One of the advantages of using a paint sprayer is that it requires fewer tools. The list of required tools when using a roller is rather extensive while all you need for paint spraying is the tool itself, an empty bucket, paint stirrer, chosen paint, masking tape, leftover cardboard and safety equipment such as suitable clothes, a paint mask and goggles.
Note that you don’t need any tools for pre-mixing the paint in this case. That remains true as long as you choose a paint sprayer for wall that can handle both the primer and type of paint that you have chosen.
Common mistake: Not using a check list for all the required tools. Make sure you have everything you need before you start.
Step 2: Prepare the Area
There are two things to remember in this second step; clean and covered. The surfaces to be painted must be perfectly clean and all other areas should be covered.
As mentioned, a paint sprayer is less forgiving so you need to know how to clean walls in preparation of painting. This means dusting it down and washing it lightly with a mixture of hot water and liquid soap.
Since this paint method creates a mist, there is a much greater chance of the paint getting stuck on unwanted places.
That is why all surfaces should be covered starting – move as many things as possible out of the room, cover furniture and use drop cloths on the floor.
Common Mistake: Not sticking masking tape over nearby switches, door frames and all along the edge of the wall. Everything should be covered!
Step 3: Test the Setting
As this is precision work, you’ll want to make sure the paint sprayer is on the right setting. Most models come with several spray tips so you have to know the what each size does best when choosing the correct spray tip size.
The general rule is that the thicker the viscosity, the bigger the spray tip should be and vice versa. The same applies to surface sizes; smaller tips for smaller surfaces and larger tips for smaller surfaces.
For the main color on an interior wall a tip size between 0.015 and 0.019 is usually suitable. Suitable pressures are between 2000 and 3000 PSI, depending on the size of the surface.
Common mistake: Testing on the wall. This is what the leftover cardboard is for – so you don’t leave test marks on the wall.
Step 4: Keeping Steady
Having a steady hand is very important because of the potential overspray. Move the spray gun in steady straight strokes, following the same pattern from start to finish.
Other important factors are keeping the same distance between the wall and the tip and keeping the tip perpendicular to the wall, at all times.
Not keeping the tip steady creates runs and uneven paint layers which definitely show in the end.
Common Mistake: Not overlapping the pattern. Overlap about half the pattern on each pass so that the final layer is even.
Step 5: Check the Result
Chances are that the wall is not perfect after the first go. This is normal and we even recommend going light on the paint for the first round so that it is easier to cover missed spots and fix potential mistakes.
Common Mistake: Using the same setting for corners and edges. Since more precision is required for these spots, adjust the settings accordingly i.e. less volume per second.
Step 6: Clean Equipment Properly
The empty bucket is for washing off all the paint from the equipment without splatters. Dried up leftover paint strongly influences the paint pattern so make sure you do a thorough job.
Common Mistake: Rushing the cleaning. Follow the instructions for cleaning in the paint sprayer manual and don’t skip any steps since there are many small parts to cover.


