
Installing windows is one of the most critical aspects of building or remodelling your house. While it may seem like a simple task, installing windows correctly is not as easy as you think. Window installation can make or break the look of your home, so it’s essential to do it right! The installation process can vary depending on the type of window you install and what kind of home or structure you are working with. You will have to make sure that you install your windows properly, so it doesn’t leak, and it looks good on both sides. The following are tips on how to install a window.
Consider the window’s appearance.
Your window might not fit in well with its surroundings, or it may stand out for all of the wrong reasons, so think about these aspects before purchasing a new one. Make sure that it fits the style of the house and is a colour that will fit in.
Take measurements of the window’s opening.
You need to ensure that you have all the correct measurements before purchasing a new window, as many different sizes, shapes, and colours are available. To save yourself from having to return a window for another size, measure the opening first.
Remove whatever is covering the old frame if you are installing a new one.
If there is any surrounding moulding, you may need to remove it before going ahead with your installation. You will want to make sure that this width of the frame matches perfectly on either side of the window as you assemble it later on in the process.
Put the window into its new frame.
Most windows will have a notch that slips into a groove on either side of the window’s opening, which allows you to put it in place without having to secure it with anything else. Make sure that this is situated ideally by putting it in and out until you find the proper alignment for both sides.
Create a “box” with your window’s new frame.
You will want to create an opening for both sides of the window using the two long pieces on either end of the window. Measure and cut them down until they fit perfectly into place, creating a lining that surrounds the entire piece of glass.
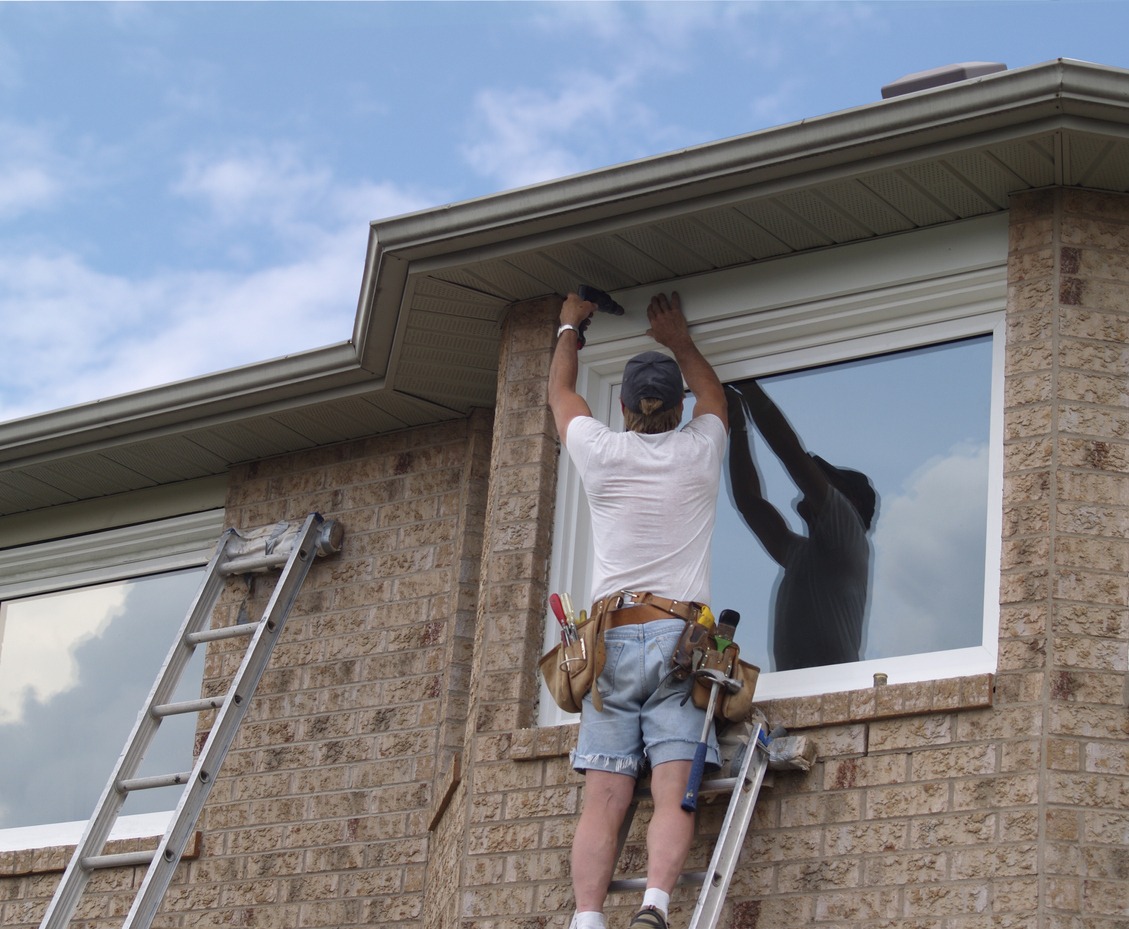
Secure the new frame into place.
You can now insert screws or nails into the long pieces that have been lined up to secure the frame into its new setting. Once they are firmly in, you should test out how it looks and feels before moving on to the next step of your installation process.
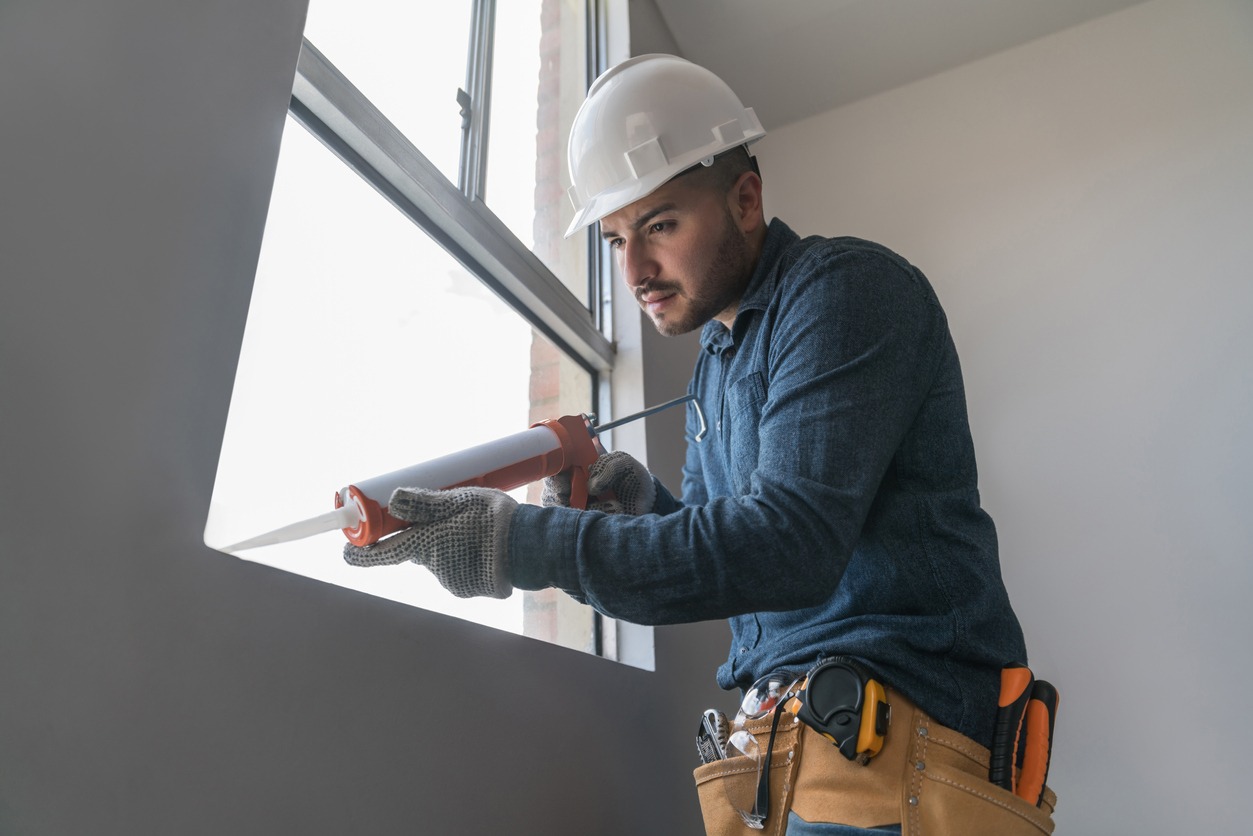
Add any finishing touches with caulk if necessary.
If you need to fill in any gaps between the frame and the walls or windowsills, use caulk instead. You can also add this to other areas that are not secure enough if desired.
Add any moulding at this point.
Moulding is only necessary if the window’s frame doesn’t have it already attached. This will finish your window installation and make it look like the window has always been there.
Add grating, screens, and any other safety features.
Depending on your new window’s purpose, you will want to have different safety precautions in place to ensure that it is safe for use at all times. For example, if this window is going to be used to reach the fire escape, you will need to install grating or bars over it.
Test out the window’s placement before moving on with your project.
You may need to adjust certain pieces to fit correctly, so give the window a test run before locking everything in place and calling it done. Once you have everything in place and all of the necessary safety features are turned on, make sure to test out your window before going any further.