
Does your Terrazo Floor look old? Has it lost the pretty attractive polishing? OR Are you tired of looking at the ugly and unpolished floor?
There is no need of worrying any further. You can bring the exceptionally beautiful, durable and mosaic-like floor back to life. Yes! You heard it right. This inexpensive, long-lasting and widely available floor can be restored.
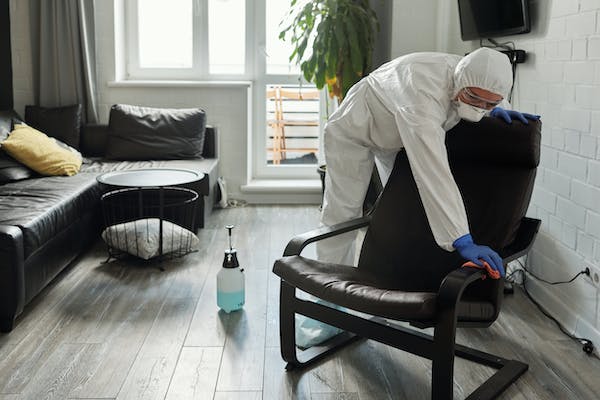
Here, we will be presenting you with the best DIYs to keep your favorite Terrazo Floors bright and shiny for years. But before you start restoring your Terrazo Floor, make sure you have traction tape with you. This helps a lot in adding friction between your shoes and the surface; thus, preventing slipping incidents while you are working. Moreover, we don’t want to consider what type of wear your floor has subjected to.
You can find the best services here about Terrazzo Restoration.
When your Terrazo Floor needs restoration?
Terrazo Floors are an old-time luxury, it’s back in fashion nowadays. The issue many of the house owners facing is the dull marks, cracks and holes.
At times few of us notice that the UV damaged surfaces or acidic stains caused due to the spill of food or beverages.
Well don’t lose hope there’s still a way to get the shiny and new again.
In few upcoming lines, you will know how to restore terrazzo and how to DIY to restore the beauty of your floor.
Things to keep in mind before you restore terrazzo;
If you have already decided to restore the terrazzo floor, keep one thing in mind. The restoration only makes sense when it’s done perfectly. Otherwise, it will be challenging to regain a clear sight of your floor and you will have to call any proper service.
Proper and neat restoration will not only save you from the extra charges of labour but will give you the satisfaction of doing something yourself. With a proper restoration we can assure you the following:
- Low- Maintenance;
Properly sealing and restoring can reduce your maintenance charges. You don’t need to clean it frequently to maintain its appearance.
- High home resale value;
The restoration of the old floor increases the value of the property. Many aesthetically sensed people know the cost of the property with restored terrazzo floor. Buyers are also aware of the functionality of this floor.
- No Mildew or mould;
The perfectly sealed terrazzo gives you the peace of dryness. You should be confident that not any moister will cause any fungal growth.
How to Restore Terrazo Floor Yourself?
The restoration will help you to get rid of cracked, chipped and worn out floor by the given method.
1. Prep the floor;
- Before you start any DIY procedure you should prep the area by removing every sort of covering. Remove the ugly looking adhesive marks used to attach the carpets to the floor.
- Clean the floor with a neutral tile cleaner. This will lead you to remove any wax coating and sealant. And for more efficient cleaning, it is recommended that you use floor scrubbers instead of using a mop.
2. Grind the terrazzo floor;
- Grinding, it’s the same process as buffing. Grinding helps you to achieve that same lustrous shine that is so eye-catching.
- You may need a proper mechanical diamond grind if you are a perfectionist. Many DIY-ers skip this step, which leads to an unprofessional look.
If you ask our recommendation, go for a 400 –pound planetary grinder. This tool will not only flatten the terrazzo surface but also expose the tiny damaged parts, that were previously covered.
- Once you are done with the grinding, switch towards finer grit. Repeat this process until you get your desired result.
3. Patch up the holes and cracks;
- You need to patch up the floor before polishing the surface.
- To start this process select any color-tinted epoxy whose color closely matches the marble chip in the terrazzo.
4. Seal the Terrazo;
- After grinding the terrazzo floor and patch up holes, the next step comes i.e seal. The process of sealing is done to ensure protection against moisture damage and to avoid oil-based stains.
- Apply any professional sealer to close any pores that remained.
- The seal protects you from any seep or discoloration.
5. Polish the Terrazo;
- The last step to DIY your terrazzo floor is to polish the surface.
- This is done by three methods, crystallization, polishing powder or by diamond polishing.
- This is the same step that leads to a high-gloss finished look without making the surface sticky or slippery.
- If you need to maintain a low-budget DIY polishing powder will be a good option. Apply some amount of powder and buff the surface. Repeat this process twice for a good result.
- Recrystallization requires buffing every couple of year.
- The diamond-polished terrazzo maintains a shine after years and does not need buffing.
Final Note
The terrazzo floors are in trend these days, although it’s not new technology. They are the proven durable and inexpensive flooring choice. These floors are good for shady as well as areas exposed to the sun. The sheer range of colors will serve your senses both aesthetically and economically. The adaptability of floors is also amazing. This can be molded into panels. These panels can fit in the stairs, countertops and even bathtubs and sinks.