
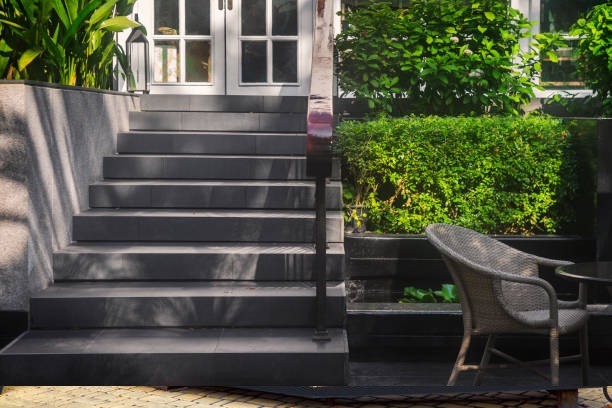
Outdoor steps are an essential feature of any home with more than one level. Not only do they provide a safe and convenient way to move between different elevation, but they can also add visual interest and architectural appeal to a property. When choosing materials for outdoor steps, it is important to consider both function and form. For example, natural stone might offer the best aesthetic appeal, but it can be slippery when wet. Conversely, concrete is very durable but can lack visual appeal. Ultimately, the best material for outdoor steps will depend on the specific needs and preferences of the homeowner. With proper care and maintenance, outdoor steps can provide years of function and beauty.
Installing outdoor steps can be a daunting task, but with the right instructions it can be done in just a few hours. This blog post will outline the steps necessary to install your very own set of outdoor steps. So whether you’re building them for the first time or replacing an old set, follow these simple steps and you’ll have them up in no time!
Get Accurate Measurements
When it comes to choosing the right steps for your home, it’s important to get accurate measurements of the height and width of the opening where you will be placing the steps. This will ensure that your outdoor steps are the right size and fit properly into the space. Most importantly, accurate measurements will help to prevent accidents and injuries. To get started, simply use a tape measure to measure the height and width of the opening. Then, use a calculator to determine the total number of steps you will need. Remember, safety should always be your top priority when choosing home stairs and steps. With a little planning and care, you can find the perfect set of outdoor steps for your home.
Outdoor Steps Of Weather-Resistant Material
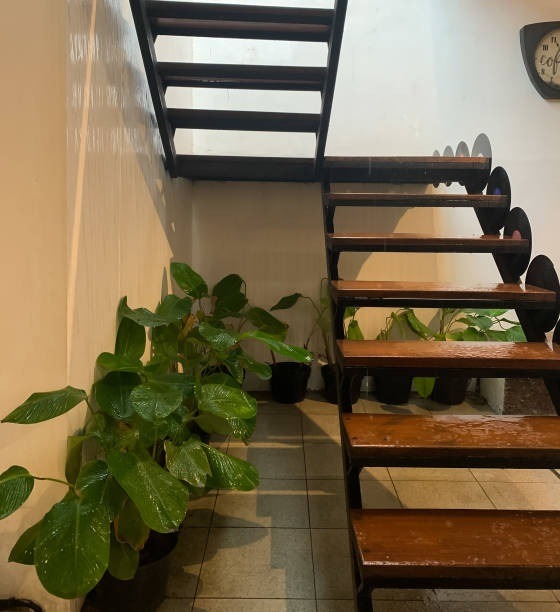
Making your way up to the front door of your home should be a simple task. But if your porch lacks steps, or if your steps are in disrepair, it can be a dangerous obstacle course. Slips and falls are all too common on stairs that are uneven or made from materials that are slick when wet. To avoid injuries, it is important to purchase outdoor steps that are made from a weather-resistant material like wood, metal, plastic or concrete e.g. precast concrete steps by Premier Precast. These materials will stand up to the elements and provide a safe, slip-resistant surface for you and your guests. With a little bit of care, your new steps will provide years of trouble-free service.
Gather All Needed Parts and Tools
Before you begin any do-it-yourself project, it is important to make sure that you have all of the necessary tools on hand. This will save you time and frustration as you complete the task. For a outdoor step assembly project, you will need a tape measure, a level, a drill, a saw (either a hand saw or power saw), screws, and nails. You may also need additional supplies depending on the type of steps you are assembling. Once you have gathered all of the necessary tools, you can begin the assembly process. By taking the time to do this upfront, you can be sure that your project will go smoothly from start to finish.
Assemble Following Manufacturer’s Instructions
Putting together a piece of ready made outdoor steps may seem daunting, but if you follow the manufacturer’s instructions, you’ll find that it’s not as difficult as it looks. Once you have everything you need, take a look at the instructions and familiarize yourself with the assembly process.strictly following the manufactures assembly guide eliminates mistakes that may cause accidents and injuries. It also helps save the time used to complete the assembly. Then, begin following the steps in order. If you run into any trouble, consult the instructions or reach out to customer service for assistance. With a little patience and attention to detail, you’ll have your new item assembled in no time.
Place Gravel At The Bottom Step
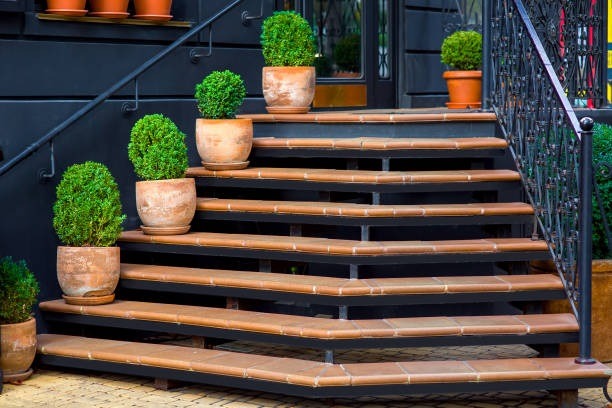
The first step to adding gravel at the bottom of a staircase is to remove any debris or vegetation that might be in the way. Next, mark out the area where you’ll be adding the gravel. Once the area is marked, excavate the soil to a depth of six inches. Next, spread a layer of gravel over the excavated area and compact it using a hand tamper. Finally, add a second layer of gravel and compact it again. By following these steps, you can ensure that your gravel steps will be stable and long-lasting. The different types of gravels are known to be good water drainers – adding gravel at the bottom step area will enhance drainage. This will prevent water from stagnating at the bottom of the step making it weak and prone to collapsing. It also comes in different colours and shapes making it an attractive option for decorating the bottom step area.
In Conclusion
If you follow these simple tips, you will be sure to end up with a great set of steps that will add both function and beauty to your home. Measuring and purchasing the right materials are essential, but with a little elbow grease, you can easily put together a wonderful set of stairs. Be sure to take into account things like drainage and leveling when placing your steps, and enjoy the extra bit of height they give you in your day-to-day life.