
A photo wall is a perfect way to add a truly unique touch to your home. You get to express your personality and cherish favorite moments all in one.
It also creates an excellent conversation starter for guests or when you’re in the mood to reminisce or take a trip down memory lane. This piece looks into the top five things to consider before you start your DIY photo hanging wall project. Also, get to know the pros of custom picture framing here.
Theme It
Start by deciding on a theme. Will you go classic, modern, or will it be an eclectic mix? You can choose only to do family photos or the best places you’ve ever visited. Or mix it up with a few others that bring you joy.
Draw some inspiration from what you have. Go through your albums and digital picture stash. Narrow it down to your most valued ones and expand your theme from there.
It doesn’t all have to be images and snapshots only. You can pick your favorite photo and turn it into a miniature artist replica to add another dimension.
Style It
Now that you’ve got the theme in mind decide on the style. It can be anything, a gallery wall or photo ledge.
Display your collection of prints as wall hangings or style it onto a shelf. You can even get extra creative in a bedroom and extend your photo wall to the ceiling.
Treat your wall as a blank canvas and fill it to the brim if you’re not keen on empty spaces and solos. If a straightforward arrangement is more your style, keep it minimal and select a few memorable ones as a focal point.
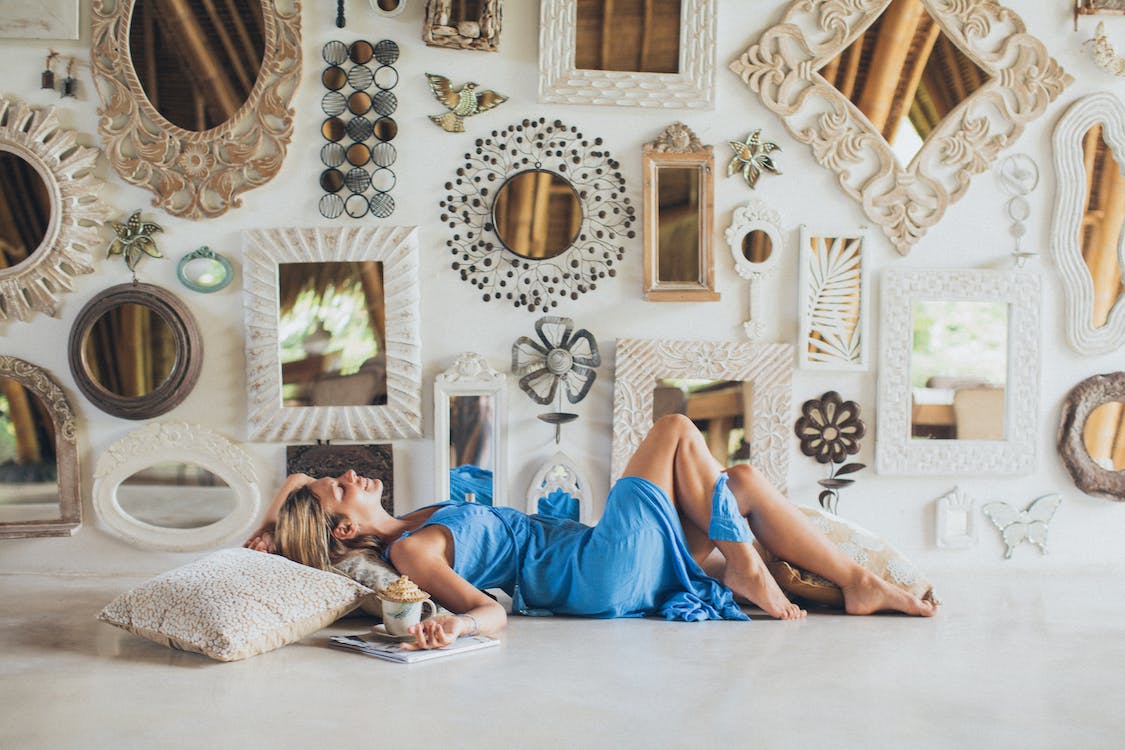
You can keep it rectangular and aligned or go for geometric and cascading options. Create shapes with your snaps, like a heart shape for your favorite family photos or a clock representing the places you’ve traveled to.
Frame It
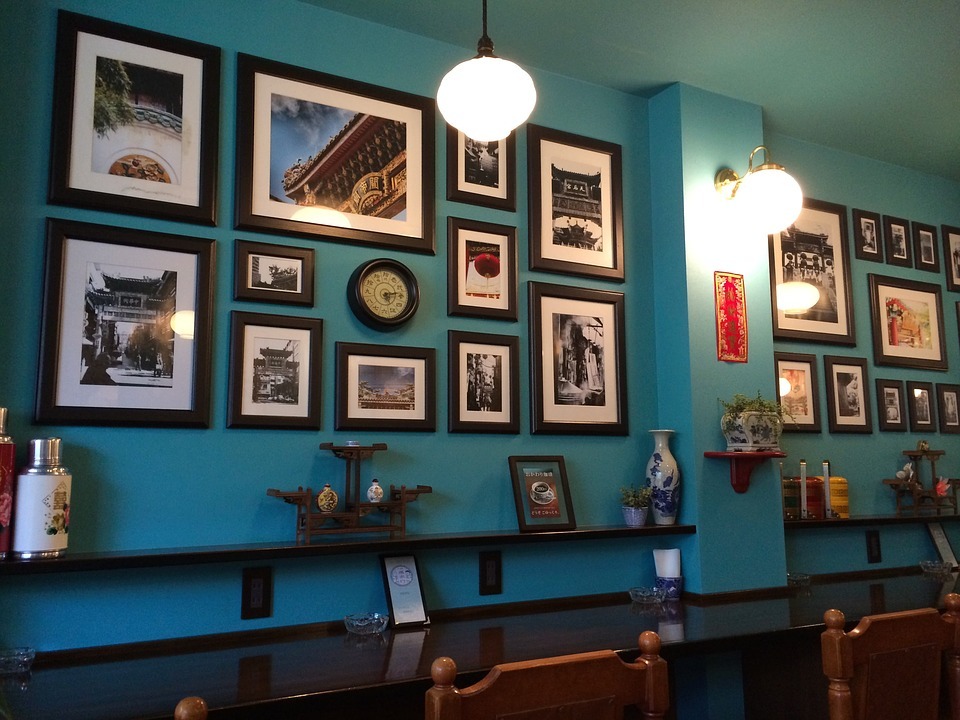
Once you’ve settled on a style, the frames bring the theme together. It’s often best to select your frames in the same color pallet or item.
Depending on the wall space available, you should ideally have a few in the same size and shape. Mix it up with some larger and smaller ones for variety. As long as it works well when grouped, there are no rules.
Consider your theme, and if you’re going for simplicity, a modern black or silver frame is timeless. Suppose your idea is more luxurious, then opt for more ornate gold or styled frames. For a casual and homely style, choose wood or a range of bright, bold colors.
When your frames have a link back to your theme and one common denominator like color, you’re ready to add to your photo grouping at any time in the future without worrying too much about each additional frame being an exact match.
Design & Build
Before you commit and start drilling holes, create your design on a flat surface like a table or the floor to review your ideas.
You can cut the shapes and sizes you plan to place on the wall out of newspaper and stick them to the wall to mock up your creation. Take a step back and then rearrange it to what works best for you.
This is your chance to increase or decrease the distance between pictures or take away if it feels too busy and cluttered. If you’re unsure, sleep on it before you devote yourself to the final step and build.
Decide when you’ve got the best arrangement that works for your visual pleasure. Once you’ve figured out what you want, you can start drilling or hitting in nails without worrying that it may not be the best spot.
Match It
Once you’ve got your photos up on your hanging wall display, you can further enhance it by matching the decor’s small elements to compliment your wall. Pick up or mirror a frame’s color or a centerpiece in the gallery wall by adding scatter cushions in the same color.
Accentuate the style or theme with some other standing photo frames in the room. Add a few plants in containers that fit the theme and style, and you’ll create a beautiful favorable space for your memories.
Final Thoughts
It’s easy to create a striking display with photos to represent your decor style. Decide on your picture theme and style and build it out over time.
Don’t rush in; plan our design with a mock-up before you commit to finally nailing it to the wall. Then match it and replicate that style and color with little touches to complement your complete room.